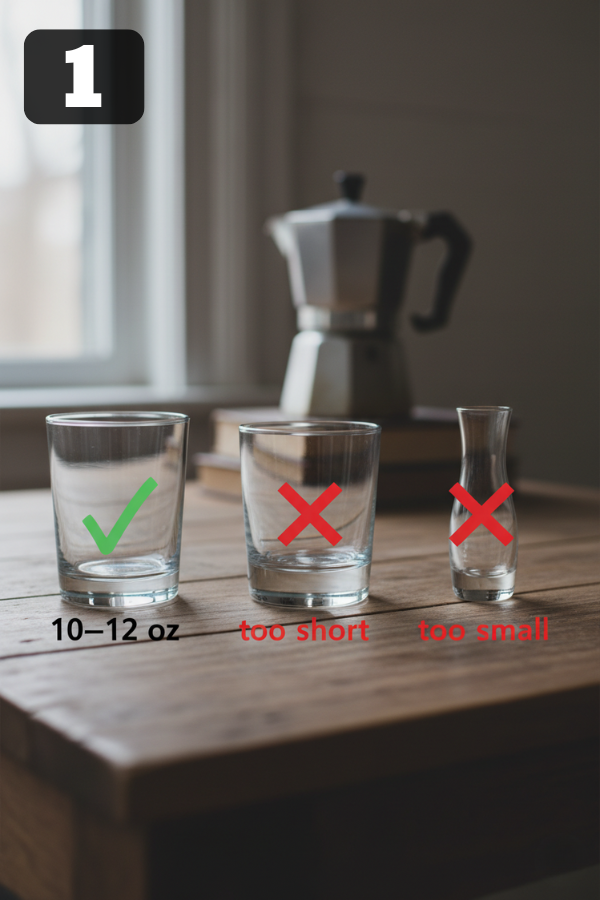
Pick The Right Mug
Use a microwave-safe mug that holds about 10–12 ounces (a standard big coffee mug).
The batter should fill the mug no more than halfway.
Avoid metal trims or very thin glass. A sturdy ceramic mug is your friend here.
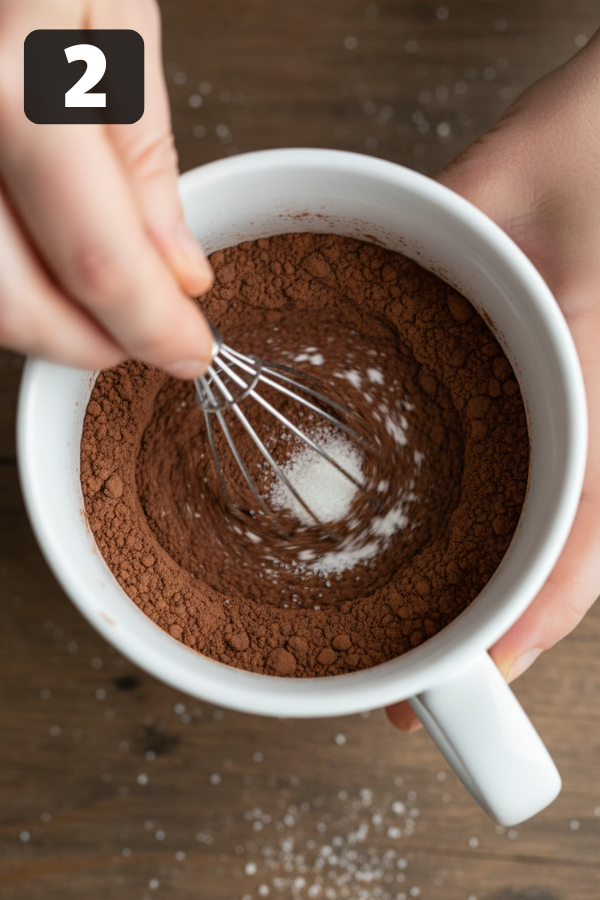
Whisk The Dry Ingredients Right In The Mug
Add your flour, cocoa, sugar, baking powder, and a pinch of salt directly into the mug.
Use a fork or mini whisk to stir everything until the color looks even.
This prevents dry pockets of flour hiding at the bottom.
Honestly, this 10-second whisking step makes the difference between “Oh wow” and “Why is there raw flour in my last bite?”
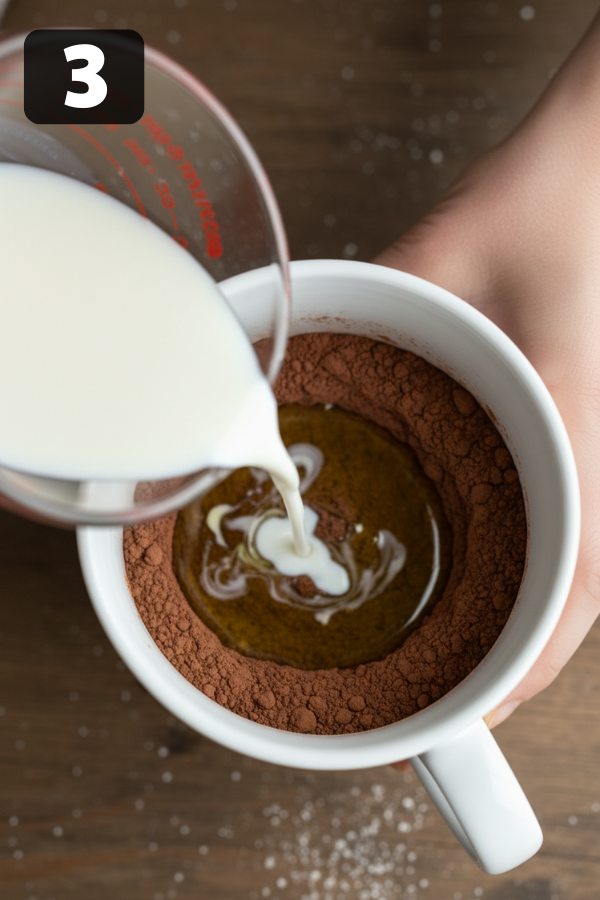
Add The Wet Ingredients And Mix Until Smooth
Pour in the milk, oil or melted butter, and vanilla.
Stir from the bottom of the mug up, scraping the sides as you go.
The batter should look smooth and slightly thick—like a loose brownie batter.
If it feels too thick, you can add a tiny splash of milk (about ½ teaspoon) to loosen it.
Try not to beat it like pancake batter. Just mix until you don’t see dry spots anymore.
Stir In Any Mix-Ins
Fold in chocolate chips, a few mini marshmallows, or a sprinkle of crushed nuts.
For a lava center, gently press a piece of chocolate or a small spoonful of Nutella right into the middle.
Don’t stir that part in—just let it sit there. It’ll melt as the cake cooks.
This is also a nice little “customization” moment if you’re making two mugs for movie night. Same base batter, different mix-ins.
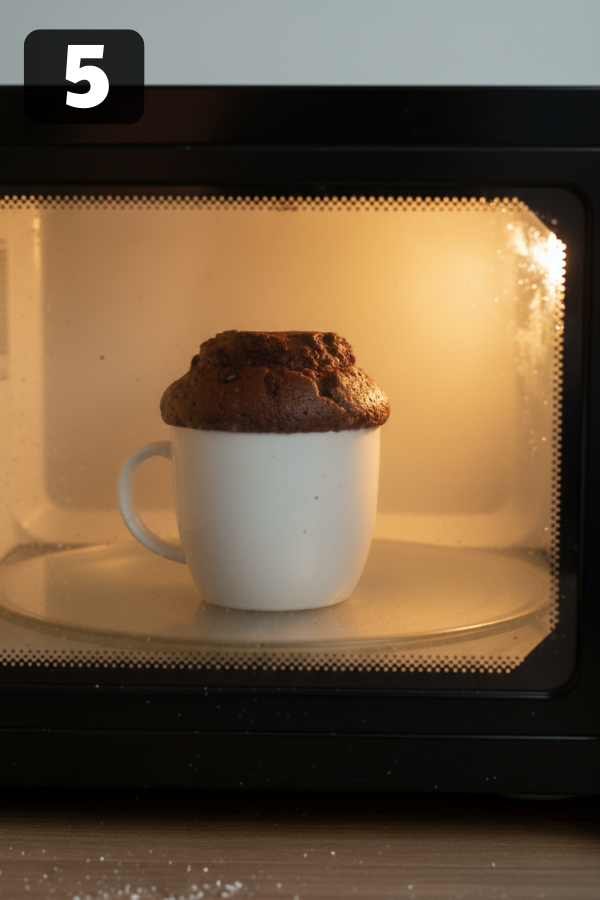
Microwave For About 1 Minute
Place the mug in the center of the microwave.
In a typical 1000W microwave, start with 45–60 seconds on high.
If your microwave is very powerful, you may need closer to 45 seconds.
If it’s older or lower wattage, you might need closer to 60–75 seconds, but always check early.
The cake should rise, set on top, and look slightly glossy in the middle. If it still looks very wet, microwave in 10-second bursts until it’s just done.
A tiny bit underdone is better than overdone. You can always add a few more seconds. You can’t un-cook a rubbery cake.
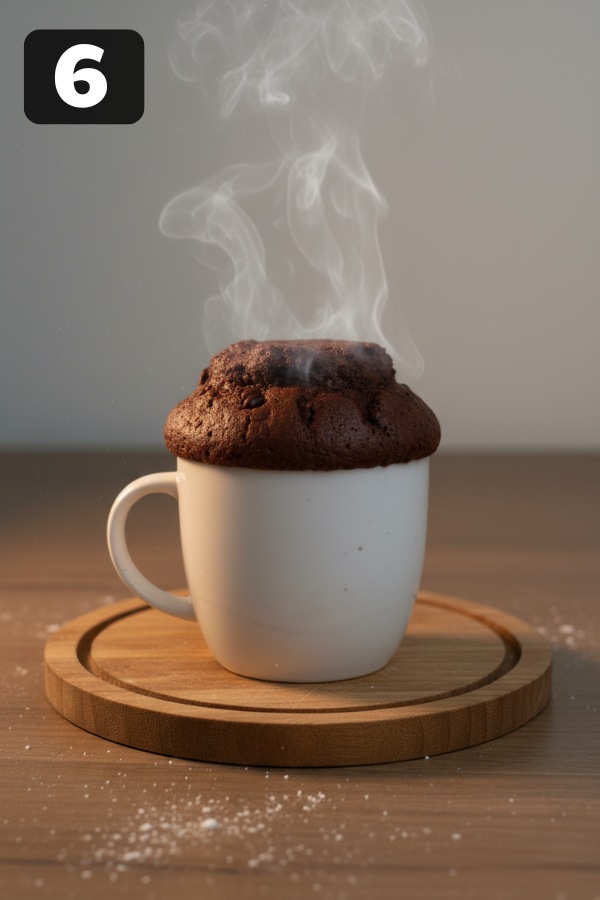
Let It Rest For A Minute
This part is easy to skip, but don’t:
Let the mug sit on the counter for 1–2 minutes.
The cake will finish cooking from residual heat and the crumb will settle.
The mug will also cool down just enough so you don’t burn your fingers.
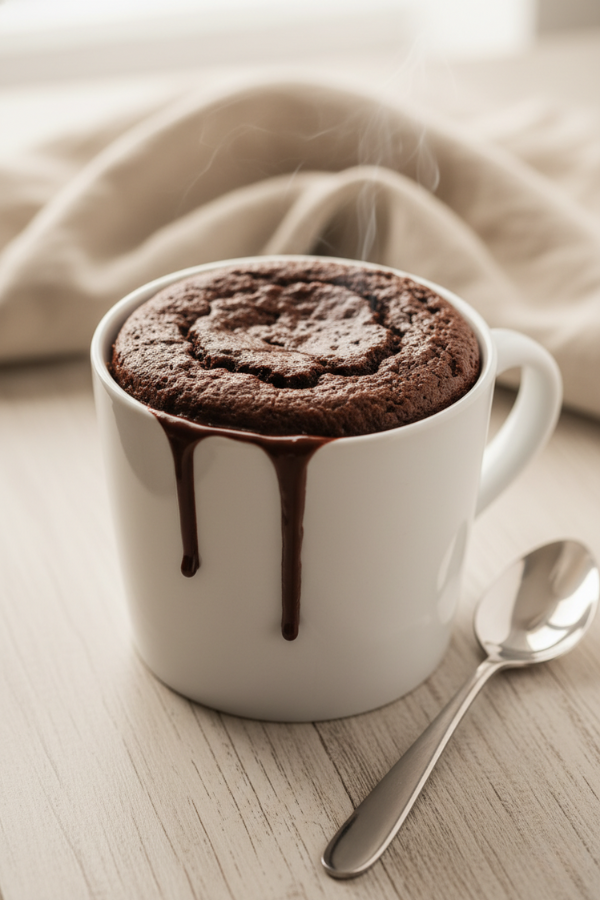
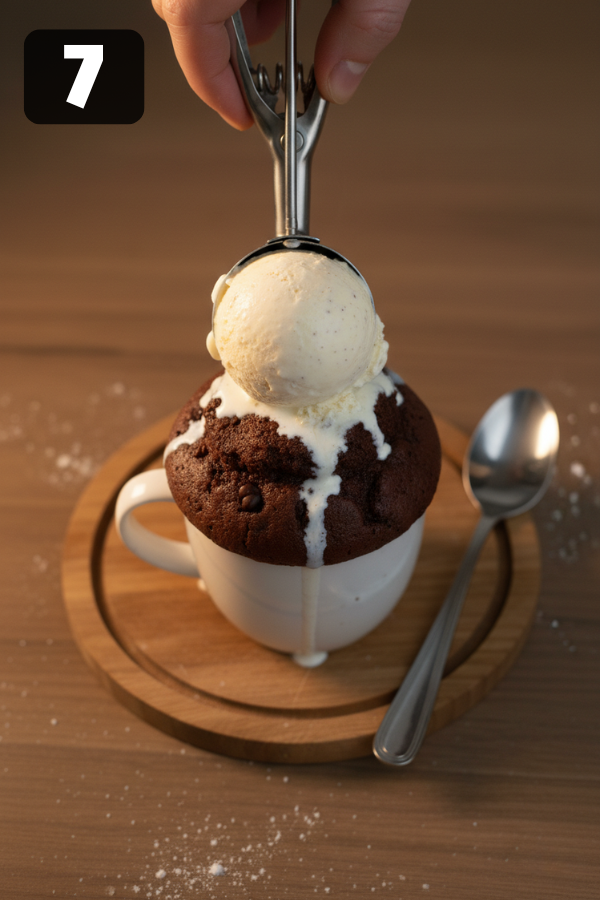
Top And Serve Warm
Now the fun part:
Add a scoop of vanilla ice cream, a swirl of whipped cream, or some berries.
Eat it straight from the mug with a spoon. No need to unmold it; this is a “lazy but smart” dessert.
If you’re serving someone else, you can wipe the rim of the mug and sprinkle a little cocoa or powdered sugar on top. It looks fancy even though it took you less than five minutes.