1) Cut the chicken into even bite-size pieces
Aim for 1 to 1.5-inch pieces. The more even they are, the more evenly they cook.
If some pieces are tiny and some are big, the tiny ones dry out while the big ones lag behind. That’s the most common reason people end up disappointed.
2) Toss with oil and seasonings
Add oil first, then seasonings. The oil helps the spices cling and helps the outside brown.
Toss until every piece looks lightly coated—not dripping, just evenly glossed.
3) Preheat the air fryer
Set it to 400°F. A short preheat helps the chicken start browning right away instead of steaming.
If your air fryer doesn’t have a preheat setting, run it empty for about 3 minutes.
4) Arrange chicken in a single layer
This part matters more than people think. Leave space between pieces so hot air can circulate.
If your basket is small, cook in batches. It feels slower, but it usually turns out faster than trying to “fix” a pale, soggy batch later.
5) Air fry until cooked through
Typical range: 8–12 minutes at 400°F, depending on piece size and your air fryer model.
Shake the basket once halfway through so the bites brown evenly.
6) Check doneness with a thermometer
Chicken is safe when it reaches 165°F at the thickest part.
This is the most reliable way to avoid dry chicken (overcooked) or unsafe chicken (undercooked). If you cook often, a thermometer is one of those small tools that quietly makes everything better.
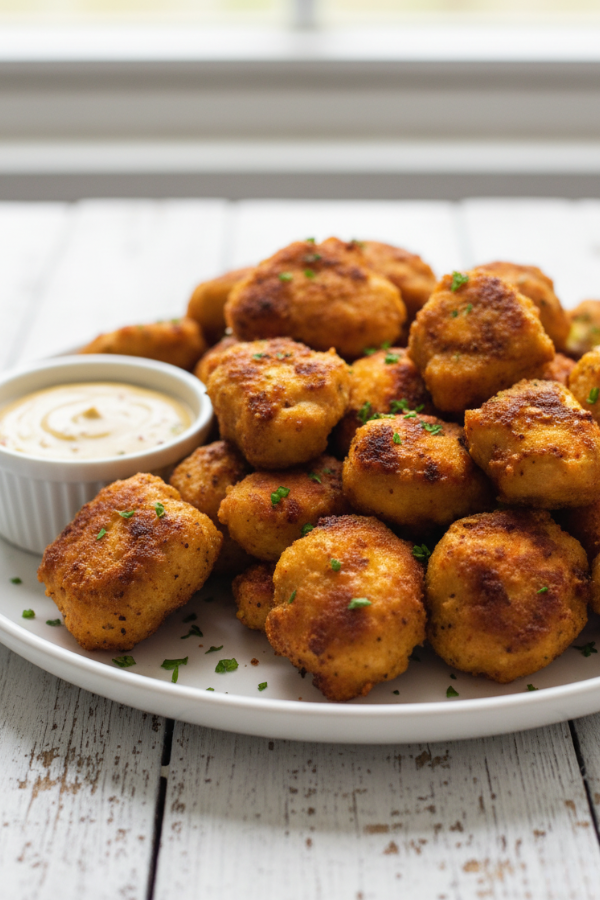
7) Rest briefly, then serve
Let the bites sit for a minute or two before serving. It helps the juices settle, and the texture is better—especially if you’re dipping.