
If you’re looking for a dessert that feels festive, tastes like cheesecake, and comes together in minutes, this Red White and Blue Cheesecake Salad is hard to beat. Loaded with juicy strawberries, sweet blueberries, fluffy cheesecake filling, and mini marshmallows, it’s the kind of dish that disappears fast at cookouts, potlucks, and holiday gatherings.
Even better, there’s no baking involved. With just a handful of simple ingredients, one mixing bowl, and about 15 minutes of prep time, you can make a colorful dessert that feels special without much effort. Whether you’re planning a Fourth of July celebration, a backyard barbecue, or a casual family dinner, this creamy berry salad brings a cheerful touch to the table.
Why You’ll Love This Recipe
Some recipes are impressive because they’re complicated. Thankfully, this isn’t one of them.
Instead, this Red White and Blue Cheesecake Salad stands out because it’s incredibly easy while still looking festive and fun. In just a few simple steps, you get a creamy, colorful dessert that tastes like cheesecake without needing to bake anything.
Best of all, home cooks keep making it year after year for a few simple reasons:
- Ready in about 15 minutes
- No oven required
- Perfect for summer parties
- Easy to double for large gatherings
- Kid-friendly and adult-approved
- Rich cheesecake flavor without making an actual cheesecake
- Great make-ahead dessert
Because it is so simple, this recipe almost feels too easy. Yet somehow, everyone still asks for the recipe.
Ingredients
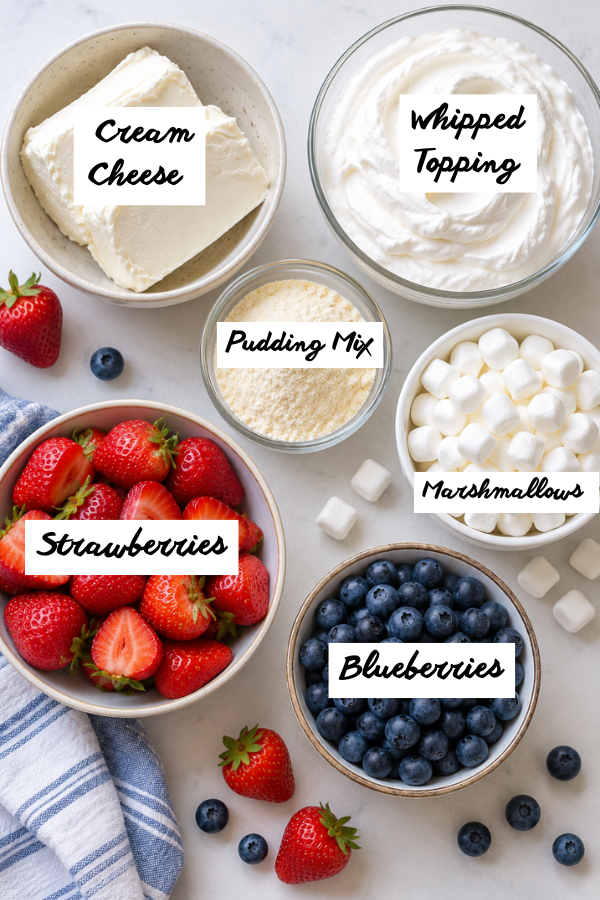
Cheesecake Filling
- 8 ounces cream cheese, softened
- 1 package, 3.4 ounces, instant cheesecake pudding mix
- 1 teaspoon vanilla extract
- 8 ounces whipped topping, thawed
Fresh Berries
- 1 pound fresh strawberries, hulled and quartered
- 1 pint fresh blueberries
Sweet Add-In
- 2 cups mini marshmallows
Optional Finishes
- Graham cracker crumbs
- White chocolate chips
- Fresh mint leaves
- Extra berries
Ingredient Notes
For best results, use fresh berries. Frozen berries might seem convenient, but they release too much liquid once thawed. As a result, the cheesecake mixture can become watery and less appealing.
For the richest flavor, use full-fat cream cheese. Although reduced-fat versions can work, the texture will not be quite as creamy.
Also, make sure the whipped topping is fully thawed before mixing. Otherwise, it may not fold smoothly into the cream cheese base.
Step-by-Step Instructions
Step 1: Prepare the Fruit
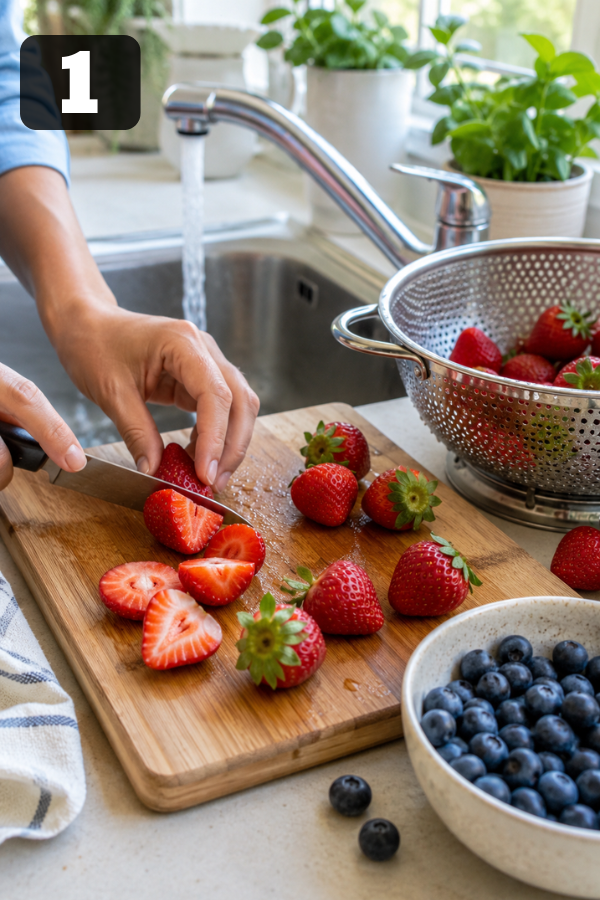
First, wash the strawberries and blueberries thoroughly. Then, dry them completely using paper towels.
After that, hull and quarter the strawberries into bite-sized pieces. Once the fruit is ready, set it aside while you prepare the cheesecake mixture.
Pro Tip
Dry fruit is important. In fact, even a small amount of extra water can thin the cheesecake filling.
Step 2: Make the Cheesecake Base
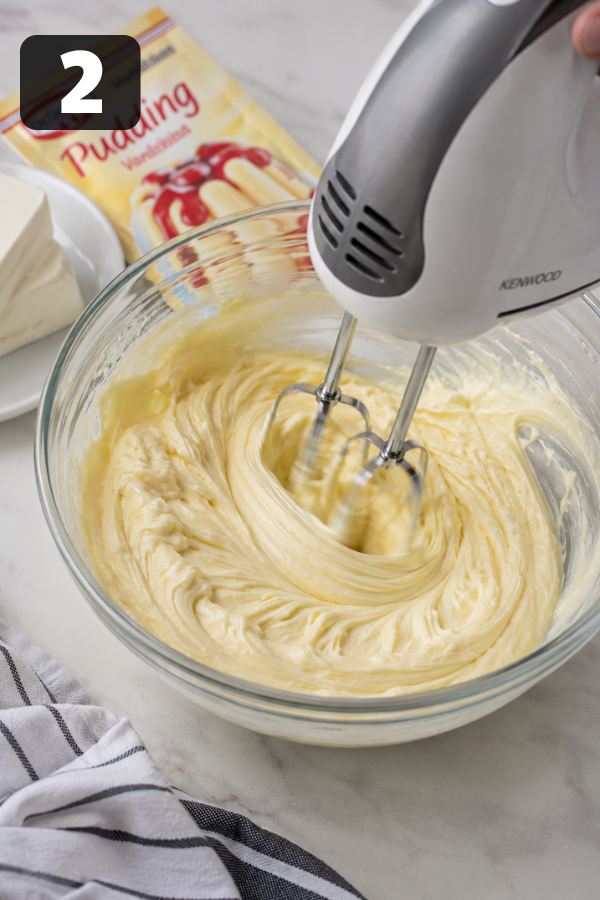
In a large mixing bowl, beat the softened cream cheese until completely smooth. Next, add the cheesecake pudding mix and vanilla extract.
Continue mixing until everything is fully incorporated. At this stage, the mixture should be thick, creamy, and free of lumps.
Step 3: Fold in the Whipped Topping
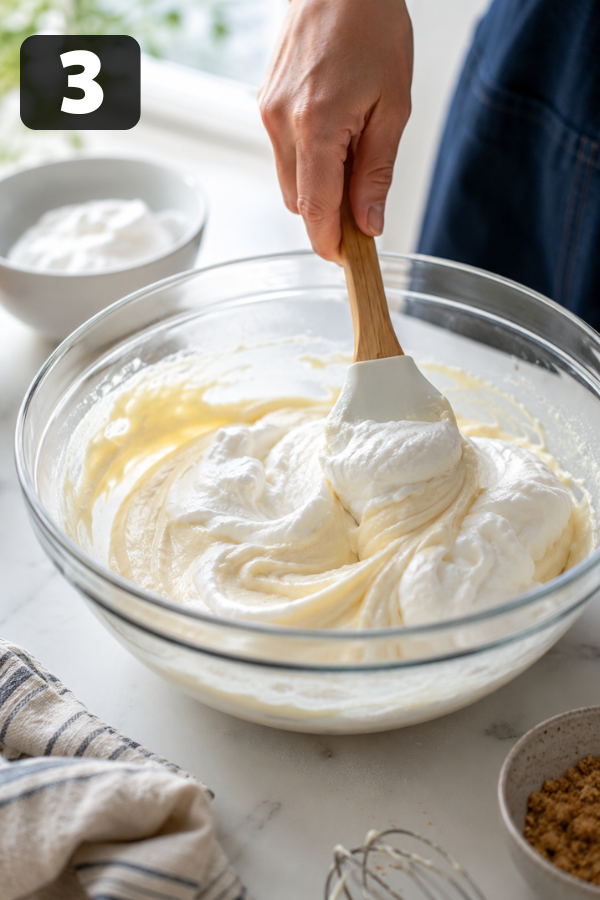
Using a spatula, gently fold the whipped topping into the cream cheese mixture. Instead of stirring aggressively, use slow folding motions.
The goal is to keep as much air in the mixture as possible. As a result, the salad becomes light, fluffy, and almost mousse-like.
Step 4: Add the Marshmallows
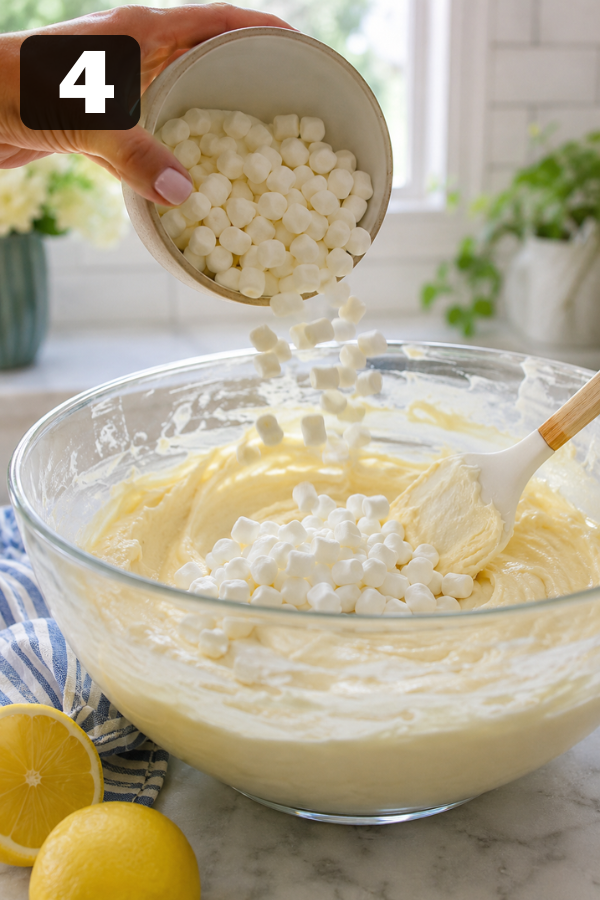
Next, fold the mini marshmallows into the cheesecake mixture. Mix just enough to distribute them evenly.
As the salad chills, the marshmallows soften slightly and create little pockets of sweetness throughout the dessert.
Step 5: Add the Berries
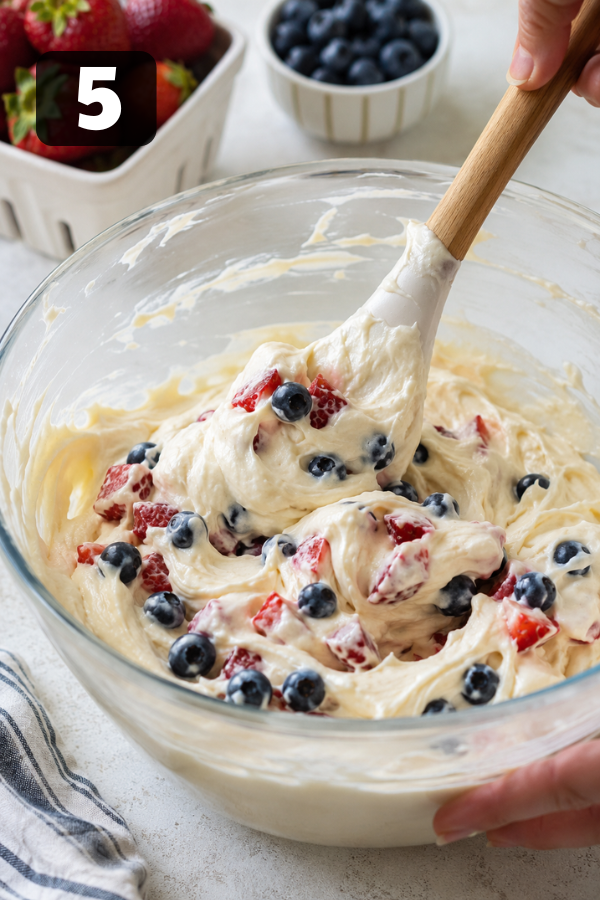
Now, gently fold in the strawberries and blueberries. Work slowly so the fruit stays whole and does not release too much juice.
At this point, the bright red, white, and blue colors really come to life. Ideally, the berries should remain vibrant and distinct throughout the creamy filling.
Step 6: Chill Before Serving
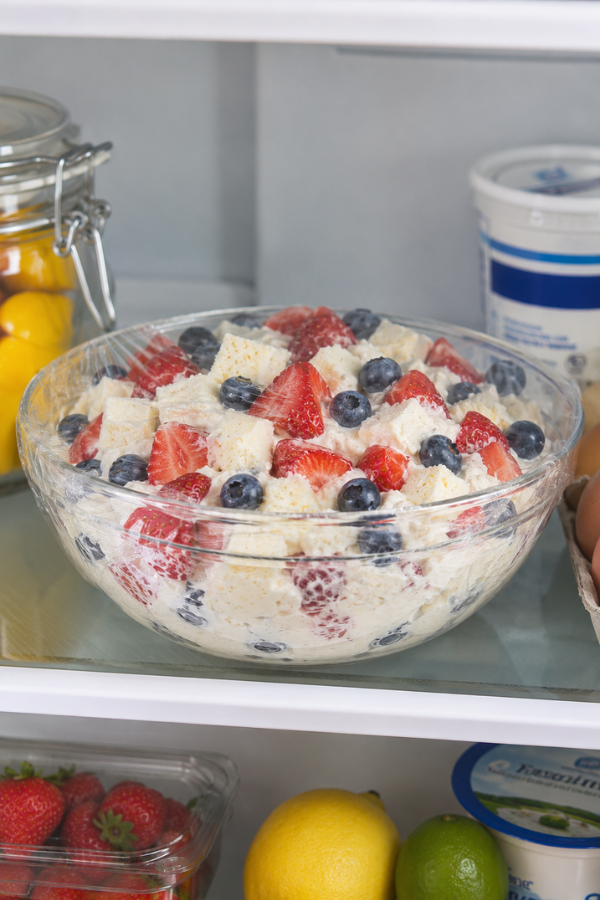
Finally, cover the bowl and refrigerate for at least 1 hour. However, if you have extra time, chilling it for 2 hours gives the salad an even better texture.
During this time, the flavors blend together and the cheesecake mixture firms up slightly. As a result, every spoonful tastes creamier, colder, and more balanced.
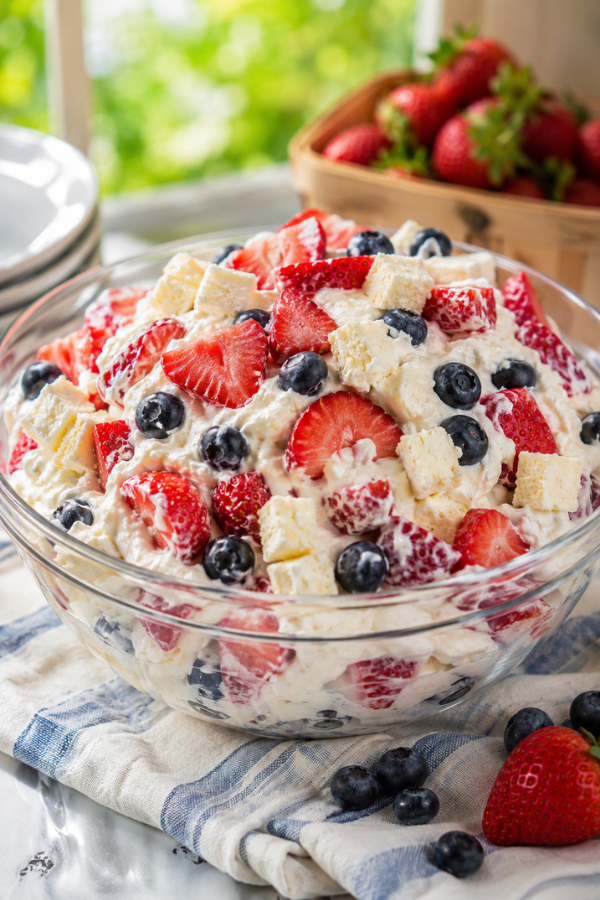
Before serving, give the salad a gentle stir. Then, finish it with extra berries, graham cracker crumbs, or a few mint leaves if you want a prettier presentation.
Tips for Success
Soften the Cream Cheese First
Cold cream cheese creates lumps. Softened cream cheese, on the other hand, blends smoothly and creates a silky texture.
Fold the Fruit Gently
Berries are delicate. Because of this, overmixing can cause them to break down and release juice into the filling.
Give It Time to Chill
Although this salad tastes good immediately, it tastes even better after chilling. The extra time allows the flavors to develop and the texture to improve.
Use a Clear Bowl for Parties
Serving guests? Try layering the salad in a clear glass trifle bowl.
That way, the red, white, and blue layers create a beautiful presentation before anyone even takes a bite. Plus, it makes the dessert look more polished with almost no extra work.
Fun Variations to Try
Graham Cracker Cheesecake Salad
Sprinkle graham cracker crumbs on top before serving. This adds a classic cheesecake crust flavor without any baking.
White Chocolate Version
For an extra-sweet version, fold in white chocolate chips. They pair beautifully with the berries and make the salad feel even more dessert-like.
Mixed Berry Cheesecake Salad
Add raspberries and blackberries for more color and flavor. In addition, the extra berries make the salad look even more abundant.
Lighter Cheesecake Salad
For a lighter twist, replace part of the whipped topping with Greek yogurt. You’ll get a slight tang and a little extra protein.
Storage and Leftover Notes
Store leftovers in an airtight container in the refrigerator.
For the best texture, enjoy the salad within the first couple of days:
- Day 1: Excellent
- Day 2: Very good
- Day 3: Still enjoyable
After several days, the berries begin releasing more moisture and the texture becomes softer. Therefore, this dessert is best served fresh or within the first couple of days.
Freezing Notes
Freezing is not recommended. Since the dairy ingredients and fresh berries do not thaw particularly well, the texture can become watery and grainy.
What to Serve With Red White and Blue Cheesecake Salad
This dessert fits naturally into almost any summer menu. Because it is creamy, fruity, and refreshing, it pairs especially well with grilled mains, classic cookout sides, and simple summer drinks.
Main Dishes
- Grilled burgers
- BBQ chicken
- Pulled pork sandwiches
- Hot dogs
- Smoked brisket
Side Dishes
- Pasta salad
- Potato salad
- Coleslaw
- Corn on the cob
Drinks
- Fresh lemonade
- Sweet tea
- Berry punch
- Sparkling water
Other Desserts
- Fruit pizza
- Berry trifle
- Ice cream sandwiches
- Lemon bars
Common Problems and Their Solutions
My Salad Is Too Runny
Possible causes include wet fruit, warm ingredients, or overmixed filling. To fix it, chill the salad longer, dry the berries thoroughly before mixing, and use full-fat cream cheese for a thicker texture.
My Cream Cheese Is Lumpy
This usually happens when the cream cheese is too cold. For smoother results, let it sit at room temperature for 30 to 60 minutes before mixing.
The Fruit Became Mushy
Mushy fruit is often caused by overmixing or overripe berries. To prevent this, fold gently and choose firm, fresh berries.
The Salad Is Too Sweet
If the salad tastes too sweet, add extra berries, reduce the marshmallows slightly, or add a little lemon zest for balance.
Frequently Asked Questions
1. Can I Make Red White and Blue Cheesecake Salad the Night Before?
Yes, you can make it up to 24 hours ahead and keep it refrigerated.
2. Can I Use Frozen Berries?
Fresh berries are best because frozen berries can make the salad watery.
3. Can I Use Homemade Whipped Cream?
Yes, homemade stabilized whipped cream works wonderfully.
4. Is This a Dessert or a Salad?
It’s a dessert salad that combines fresh fruit with a creamy cheesecake filling.
5. Can I Double the Recipe?
Yes, it’s easy to double for parties, potlucks, and family gatherings.
6. How Long Can It Sit Out?
For food safety, don’t leave it out for more than 2 hours.
Nutrition Info
Approximate per serving:
- Calories: 220 to 280
- Protein: 3 to 5g
- Fat: 10 to 14g
- Carbohydrates: 25 to 35g
- Fiber: 2 to 3g
Of course, values vary depending on the ingredients and serving size.
Final Thoughts
There is a reason Red White and Blue Cheesecake Salad keeps showing up at summer celebrations year after year.
After all, it is colorful, creamy, and easy. More importantly, it delivers that rich cheesecake flavor without turning on the oven or spending hours in the kitchen.
When a dessert can do all that while making people smile the moment they see it, it is definitely a recipe worth keeping.
Don’t Miss: No Baked Raspberry Cheesecake
Don’t Miss: Frozen Yogurt Bark With Berries
Also Try: Fresh Strawberry Rhubarb Pie
Ingredients
Method
- Prepare the fruit: Wash and dry the strawberries and blueberries well. Hull and quarter the strawberries.

- Make the cheesecake base: Beat the softened cream cheese until smooth. Then mix in the cheesecake pudding mix and vanilla.
- Fold in whipped topping: Gently fold in the whipped topping until the mixture becomes light and fluffy.
- Add marshmallows: Stir in the mini marshmallows just until evenly combined.
- Add berries: Gently fold in the strawberries and blueberries, being careful not to crush the fruit.
- Chill and serve: Cover and refrigerate for 1 to 2 hours. Before serving, stir gently and add extra toppings if desired.
