
There are cakes you make because you need dessert.
Then there’s Flourless Chocolate Cake—the one you make when you want people to pause after the first bite.
Rich but not fussy, elegant but not precious, this cake has the kind of bakery-style drama that feels impressive without asking much from you. Better yet, it doesn’t need layers, frosting, or flour. Instead, chocolate, butter, eggs, sugar, cocoa, and vanilla do all the heavy lifting.
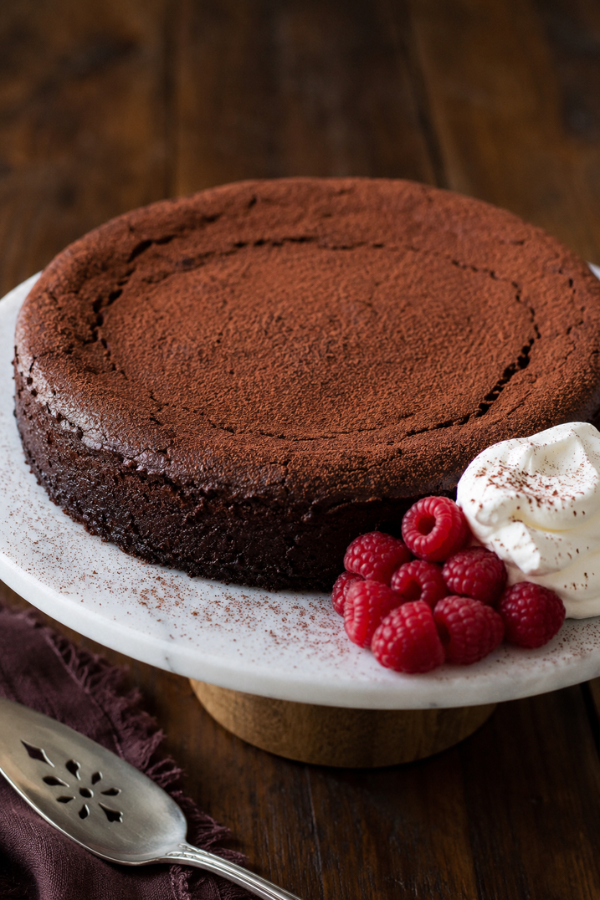
The texture is where the magic happens. Unlike a fluffy birthday cake, this one sits somewhere between chocolate truffle, fudge, and cake. As it bakes, the top forms a delicate crackly crust, while the center stays soft, moist, and almost creamy.
Because it’s naturally gluten-free, it’s also a lifesaver when you’re baking for guests and don’t want to make “the gluten-free dessert” that tastes like a compromise. This one doesn’t apologize. It owns the table.
Why You’ll Love This Flourless Chocolate Cake
You know what? This cake works because it keeps things simple.
There’s no flour to measure, no frosting to whip, and no tall cake layers sliding around while you try to act calm. Instead, you get a one-pan dessert with big dinner-party energy.
You’ll love it because:
- It’s naturally gluten-free without special flour blends.
- Plus, it uses simple baking ingredients.
- Even better, you can make it ahead, which is perfect for holidays or busy weekends.
- After chilling, the flavor becomes even richer.
- With almost no decoration, it still feels fancy.
- Finally, it pairs beautifully with berries, whipped cream, coffee, or vanilla ice cream.
Best of all, it’s forgiving in a way that many cakes aren’t. A slight dip in the center? Totally fine. A crackly top? That’s part of its charm. In other words, this cake doesn’t need to look perfect to taste incredible.
Ingredients for Flourless Chocolate Cake
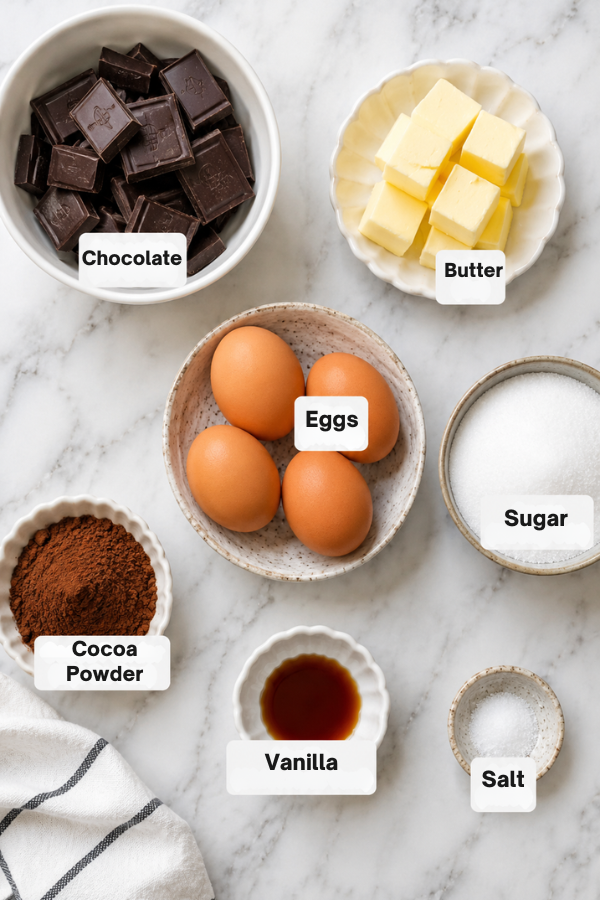
The ingredient list is short, so each item matters. For that reason, this is not the place for chalky cocoa or waxy chocolate if you can help it.
Chocolate
Use good-quality bittersweet or semisweet chocolate, ideally around 60–70% cacao. Dark chocolate gives the cake that deep, grown-up flavor without making it harsh.
Chocolate chips can work. However, chopped baking chocolate usually melts smoother. If chips are what you have, use a brand you already like eating.
Butter
Butter gives the cake richness and a smooth mouthfeel. Unsalted butter is best because it lets you control the salt level.
Eggs
Eggs hold the cake together since there’s no flour. They help the cake set, give it structure, and create that soft, fudgy center.
For the smoothest batter, use room-temperature eggs. Pull them out of the fridge while you prep the pan.
Sugar
Sugar sweetens the cake, of course. However, it also helps create that shiny, lightly crisp top. Granulated sugar works well here.
Cocoa Powder
Cocoa powder boosts the chocolate flavor and gives the batter body. Dutch-process cocoa gives a darker, smoother flavor, but natural cocoa works too.
Vanilla and Salt
Vanilla rounds out the chocolate. Meanwhile, salt makes the cake taste more deeply chocolatey, not salty. Don’t skip it.
Optional Flavor Boosters
If you want to add more depth, try one of these simple upgrades:
- Espresso powder: Deepens the chocolate flavor without making the cake taste like coffee.
- Orange zest: Adds a bright holiday-style twist.
- Almond extract: Works beautifully if you’re serving the cake with berries.
- Cinnamon: Adds warmth, especially in winter.
Step-by-Step Instructions
This recipe is simple, but the small details matter. Most importantly, don’t rush the cooling stage. That’s where the cake becomes fudgy and sliceable.
Step 1: Prep the Pan
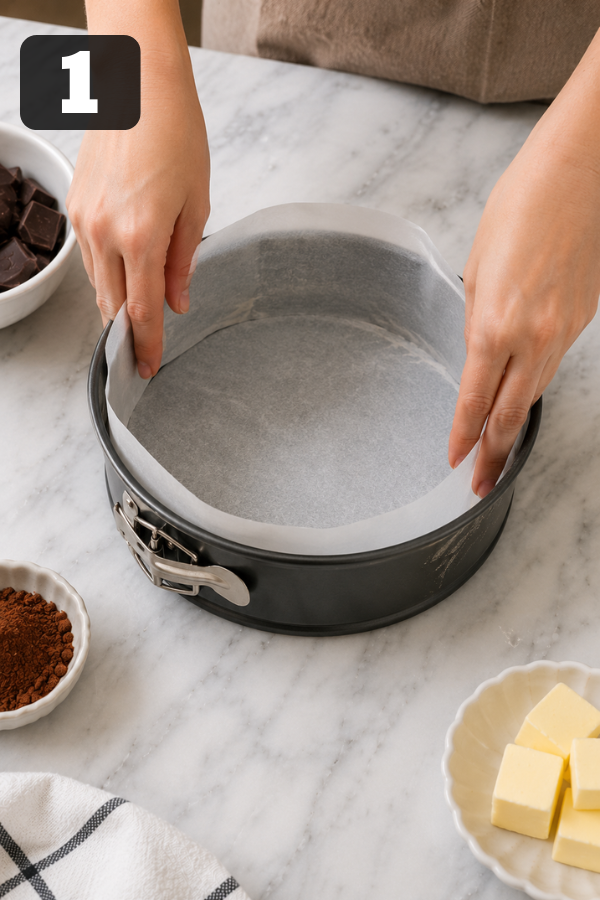
Preheat the oven to 350°F.
Grease an 8-inch or 9-inch springform pan, then line the bottom with parchment paper. If you don’t have a springform pan, use a regular round cake pan with parchment on the bottom and a little extra parchment overhang if possible.
A well-prepped pan saves heartbreak later. After all, nobody wants to fight a chocolate cake at the finish line.
Step 2: Melt the Chocolate and Butter
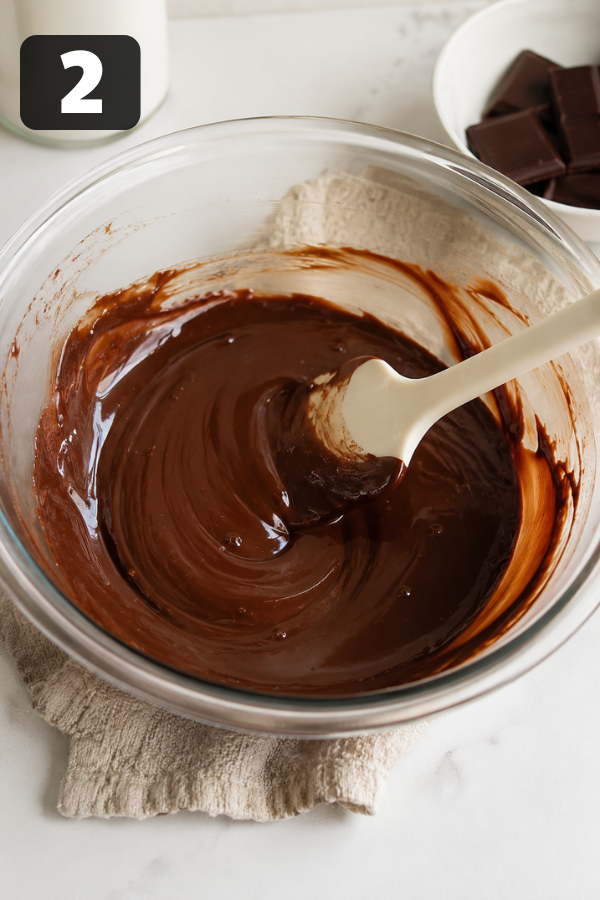
Add chopped chocolate and butter to a heat-safe bowl.
Melt them together using a double boiler or microwave in short bursts. If using the microwave, heat for 20–30 seconds at a time and stir between each round.
Stop when the mixture is smooth and glossy.
Be careful not to overheat the chocolate. If chocolate gets too hot, it can turn grainy or thick. Gentle heat is your friend here.
Step 3: Whisk the Eggs and Sugar
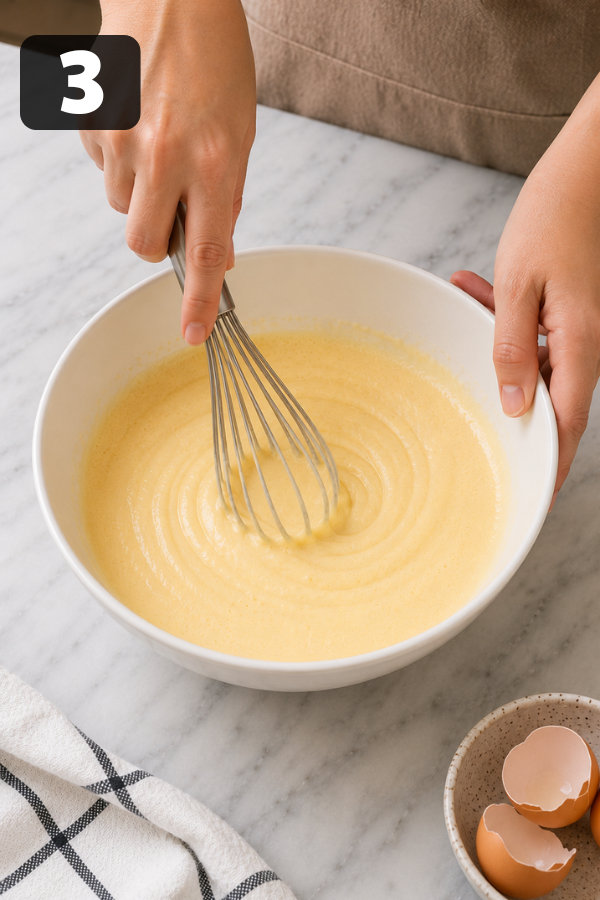
In a separate bowl, whisk the eggs and sugar until smooth and slightly lighter in color.
You don’t need to beat them into a huge foam. Still, a good whisking helps the cake feel lighter. Think glossy and blended, not stiff and fluffy.
Step 4: Add the Chocolate Mixture
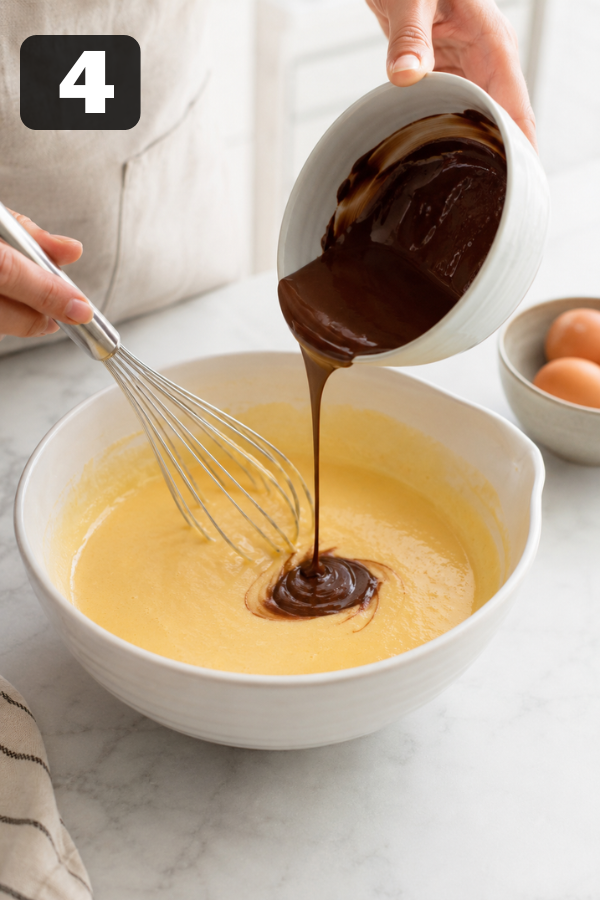
Slowly pour the warm chocolate mixture into the egg mixture while whisking.
Go slowly here. If the chocolate is too hot or added too quickly, the eggs can scramble a bit. Nobody invited chocolate omelet to dessert.
Step 5: Add Cocoa, Vanilla, and Salt
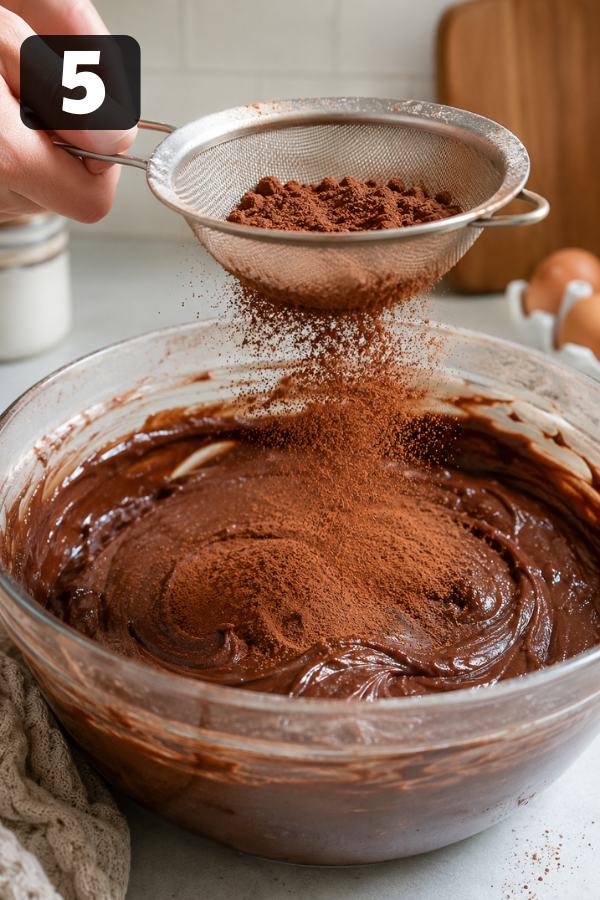
Sift in the cocoa powder to avoid lumps.
Next, add vanilla and salt. Fold everything together until the batter looks smooth and thick. It should look like a cross between brownie batter and melted ganache.
Step 6: Bake Until Just Set
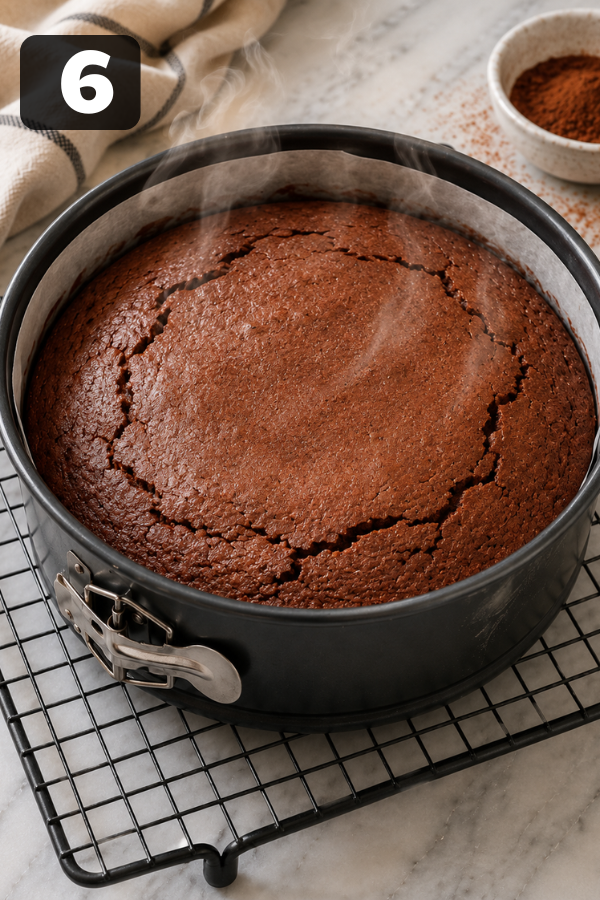
Pour the batter into the prepared pan and smooth the top.
Bake for about 25–35 minutes, depending on your pan and oven. The edges should look set, the top may crack slightly, and the center should still have a soft, gentle wobble.
Here’s the thing: overbaking is the main way to ruin this cake. So, pull it before it looks completely dry. It will keep setting as it cools.
Step 7: Cool Completely
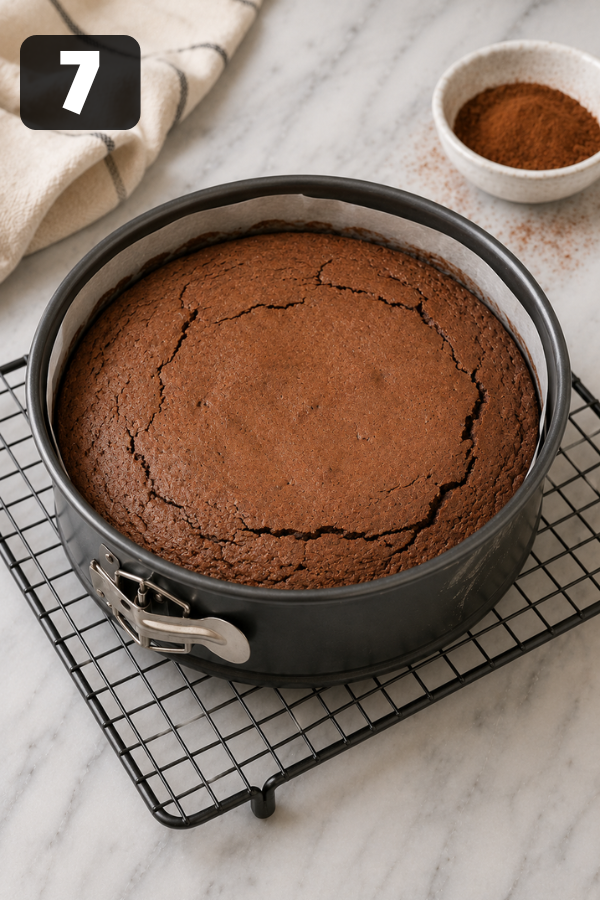
Let the cake cool in the pan for at least 15–20 minutes, then loosen the edges with a thin knife.
After that, cool it fully before slicing. For the cleanest slices, chill it for a few hours, then cut with a warm knife.
Yes, waiting is annoying. However, the reward is a silky, truffle-like texture.
Tips for the Best Flourless Chocolate Cake
The biggest tip is simple: don’t overbake.
Flourless Chocolate Cake should not behave like a sponge cake. If you wait for the center to become firm and dry, you’ve gone too far.
A few more helpful tips:
- Start with chocolate you enjoy eating.
- Next, sift the cocoa powder so the batter stays smooth.
- Also, let the melted chocolate cool slightly before adding it to the eggs.
- For easier removal, line the pan with parchment.
- If you want clean edges, chill the cake before slicing.
- Finally, serve it at room temperature for the best flavor.
If you’re a beginner, keep the cake plain and dust it with cocoa or powdered sugar. However, if you’re more confident, add ganache, raspberry sauce, or whipped cream.
Common Flourless Chocolate Cake Problems and Easy Fixes
Even though this cake is simple, a few small things can affect the final texture. Fortunately, most problems are easy to fix or hide beautifully.
Why Did My Cake Sink?
A little sinking is normal. Since there’s no flour, the cake doesn’t have the same structure as a classic layer cake.
To fix it, serve it confidently. Dust the top with cocoa, add berries, or spoon whipped cream into the center. Suddenly, it looks intentional.
Why Is My Cake Dry?
It was likely overbaked.
Next time, pull it when the center still has a slight wobble. The cake should finish setting as it cools.
Why Is My Batter Grainy?
The chocolate may have overheated or seized.
To avoid this, melt it slowly next time. If it starts to look thick or clumpy, remove it from the heat right away and stir gently.
Why Did It Stick to the Pan?
The pan may not have been greased or lined well enough.
For best results, always use parchment on the bottom. For extra safety, grease the parchment too.
How to Store Flourless Chocolate Cake
This cake is a make-ahead dream.
Store leftovers in an airtight container at room temperature for 1–2 days if your kitchen is cool. For longer storage, refrigerate for 4–5 days.
Before serving from the fridge, let slices sit at room temperature for 20–30 minutes. As the cake warms up, the flavor softens and blooms.
You can also freeze it. Wrap slices tightly in plastic wrap, then place them in a freezer-safe bag or container. Freeze for up to 3 months. Thaw overnight in the fridge.
For a warm, melty bite, microwave a slice for 10–15 seconds. Add a spoonful of whipped cream and call it a good day.
What to Serve With Flourless Chocolate Cake
Because this cake is rich, it loves contrast.
Fresh fruit works beautifully:
- Raspberries
- Strawberries
- Cherries
- Orange slices
- Pomegranate seeds
Creamy toppings also help balance the intense chocolate:
- Lightly sweetened whipped cream
- Vanilla ice cream
- Mascarpone cream
- Greek yogurt with honey
For drinks, keep it simple:
- Hot coffee
- Espresso
- Cold milk
- Red wine
- Sparkling water with lemon
For a holiday table, serve thin slices with berries and whipped cream. For a cozy Sunday dessert, warm a slice and add vanilla ice cream. Both are right. That’s the beauty of it.
Flourless Chocolate Cake Variations
Once you’ve made the classic version, you can easily change the flavor with a few small additions.
Espresso Flourless Chocolate Cake
Add 1 teaspoon espresso powder to the melted chocolate mixture. It makes the chocolate taste deeper without turning the cake into coffee cake.
Orange Chocolate Flourless Cake
Add 1 tablespoon orange zest and a small splash of orange extract. This version feels perfect for Christmas or winter dinner parties.
Almond Flour Version
Add a small amount of almond flour for a slightly more cake-like crumb. As a bonus, it gives the cake a gentle nutty flavor and makes it feel a little less dense.
Raspberry Ganache Version
Top the cooled cake with chocolate ganache and fresh raspberries. The result is dramatic, glossy, and still easy.
Nutrition Info
Nutrition will vary based on chocolate, butter, and serving size. However, one slice usually falls in this range:
- Calories: 300–450
- Protein: 5–8g
- Carbs: 25–35g
- Fat: 22–35g
- Fiber: 2–4g
Diet notes:
- Naturally gluten-free if all ingredients are certified gluten-free.
- Vegetarian.
- Can be made dairy-free with dairy-free chocolate and plant-based butter.
This is still dessert. Rich dessert. But because it’s so satisfying, a small slice goes a long way.
Flourless Chocolate Cake FAQs
1. Is Flourless Chocolate Cake gluten-free?
Yes, it can be naturally gluten-free because it does not use wheat flour. However, if you’re serving someone with celiac disease, check the labels on chocolate, cocoa powder, and flavorings to make sure there’s no cross-contact.
2. Can I make Flourless Chocolate Cake ahead of time?
Yes. In fact, it’s one of the best make-ahead desserts. Bake it the day before, chill it, then bring it to room temperature before serving.
3. Can I freeze it?
Yes. Wrap the whole cake or individual slices tightly and freeze for up to 3 months. Then thaw it in the fridge overnight.
4. Is Flourless Chocolate Cake supposed to be fudgy?
Yes. It should be dense, moist, and fudgy. If you want a light and airy cake, this probably isn’t the dessert you’re looking for.
5. Can I use chocolate chips?
Yes, but chopped baking chocolate usually melts better. If using chips, choose high-quality semisweet or bittersweet chips.
6. How do I get clean slices?
Chill the cake first. Then use a sharp knife dipped in hot water and wiped dry between cuts.
Final Thoughts
Flourless Chocolate Cake is proof that simple recipes can still feel special.
It’s rich, yes. It’s dramatic, yes. But it’s also practical: short ingredient list, easy prep, no frosting, and make-ahead friendly. For busy home cooks, that’s the sweet spot.
Make it once for a holiday. Then don’t be surprised when it becomes the cake you make “just because.”
Don’t Miss: Chocolate Raspberry Cake
Don’t Miss:Easy Basque Burnt Cheesecake Recipe
Also Try: No Baked Raspberry Cheesecake
Ingredients
Method
- Prep the pan: Preheat oven to 350°F. Grease an 8- or 9-inch springform pan and line the bottom with parchment paper.

- Melt chocolate and butter: Add chopped chocolate and butter to a heat-safe bowl. Melt gently until smooth and glossy.
- Whisk eggs and sugar: In a separate bowl, whisk eggs and sugar until smooth and slightly lighter in color.
- Combine mixtures: Slowly whisk the melted chocolate mixture into the eggs until fully blended.
- Add cocoa and flavorings: Sift in cocoa powder, then add vanilla and salt. Fold until the batter is thick and smooth.
- Bake: Pour batter into the pan and smooth the top. Bake for 25–35 minutes, until edges are set and the center still has a slight wobble.
- Cool and slice: Cool in the pan for 15–20 minutes, loosen the edges, then cool completely before slicing.
