Some nights, you don’t want complicated. You want something warm, filling, and honestly… a little nostalgic. That’s exactly where Tater Tot Casserole shines. It’s a one-pan dinner built for real life—busy schedules, hungry families, and minimal cleanup. Think crispy golden potatoes on top, a creamy, savory filling underneath, and just enough cheese to make everyone at the table pause for a second bite. It’s simple, yes—but it’s also deeply satisfying in a way only comfort food can be.
Why This Recipe Just Works
You know those evenings when everything feels rushed—emails still open, kids asking what’s for dinner, and your fridge looking… uninspired? This is the kind of meal that quietly saves the day.
It’s quick. It’s forgiving. And maybe most importantly, it doesn’t demand much from you.
- Ready in about 45–50 minutes total
- Uses mostly pantry + freezer staples
- One baking dish = fewer dishes (always a win)
- Flexible enough to adapt to what you already have
And here’s the thing—people tend to think casseroles are heavy or outdated. But this one? It can actually be adjusted to feel lighter, fresher, even a bit healthier if you want it to.
Let’s Talk Ingredients

At its core, this dish is simple. Almost deceptively simple.
The Essentials
- Ground beef (1 lb)
Rich, savory base. You can swap it for ground turkey if you want something lighter. - Frozen tater tots (1 bag, ~28 oz)
No thawing needed. In fact, keeping them frozen helps them crisp better. - Cream of mushroom soup (1 can)
This is the glue. Creamy, salty, comforting. You can use low-sodium if needed. - Shredded cheese (1–2 cups)
Cheddar is classic. But mixing in mozzarella? That’s where things get interesting. - Onion + garlic
Adds depth—don’t skip unless you really have to.
Optional (But Worth It)
- Corn or green beans
- Bell peppers
- Worcestershire sauce (just a splash—trust me)
Honestly, this is one of those recipes where substitutions feel natural, not risky.
Step-by-Step Instructions
Step 1 – Brown the Beef
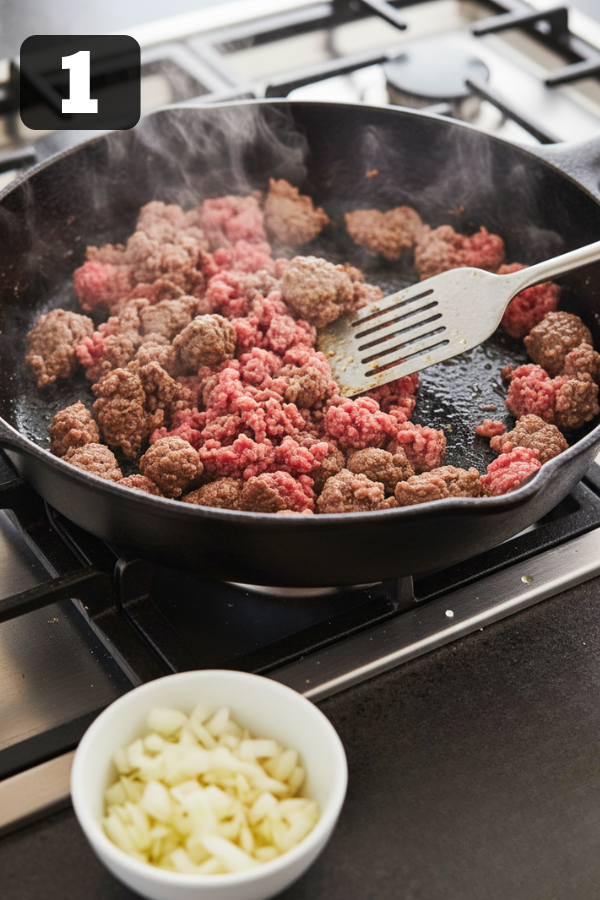
Start with a skillet over medium heat. Add your ground beef and break it apart as it cooks.
It should take about 5–7 minutes. You’re looking for browned, not gray.
Drain the excess fat—this matters more than people think. Too much grease can ruin the texture later.
Step 2 – Build the Flavor Base
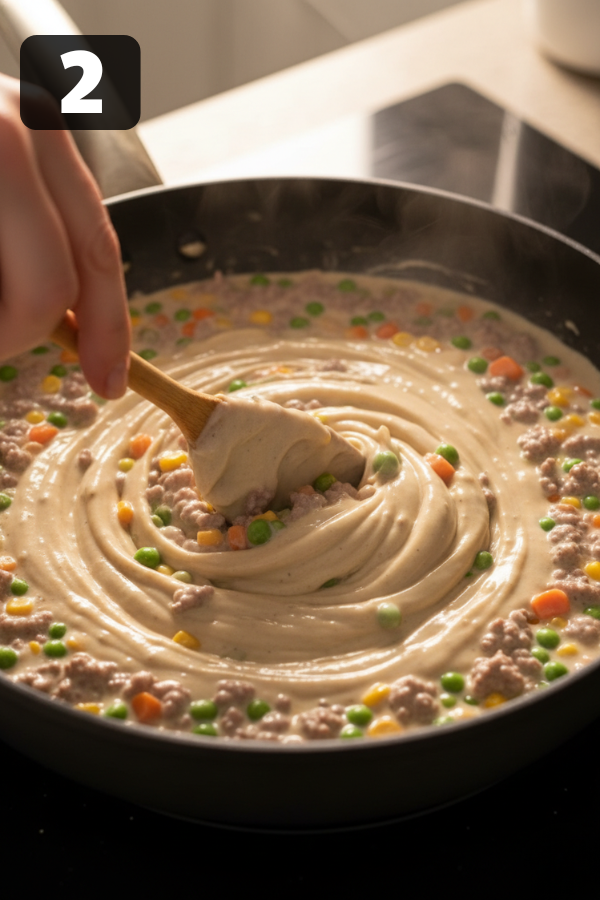
Add diced onion and garlic to the pan. Let them soften for a few minutes.
Then stir in:
- Cream of mushroom soup
- Vegetables (if using)
- A splash of Worcestershire sauce
At this point, it’ll look thick and creamy. That’s exactly what you want.
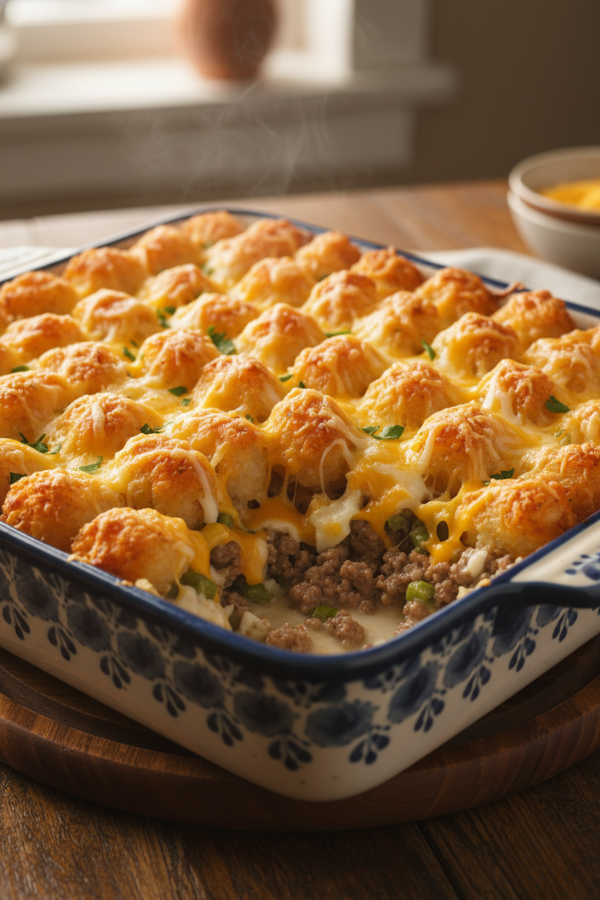
Step 3 – Assemble the Casserole
Transfer everything into a baking dish (9×13 works best).
Spread it out evenly. Add a layer of cheese if you like things extra melty.
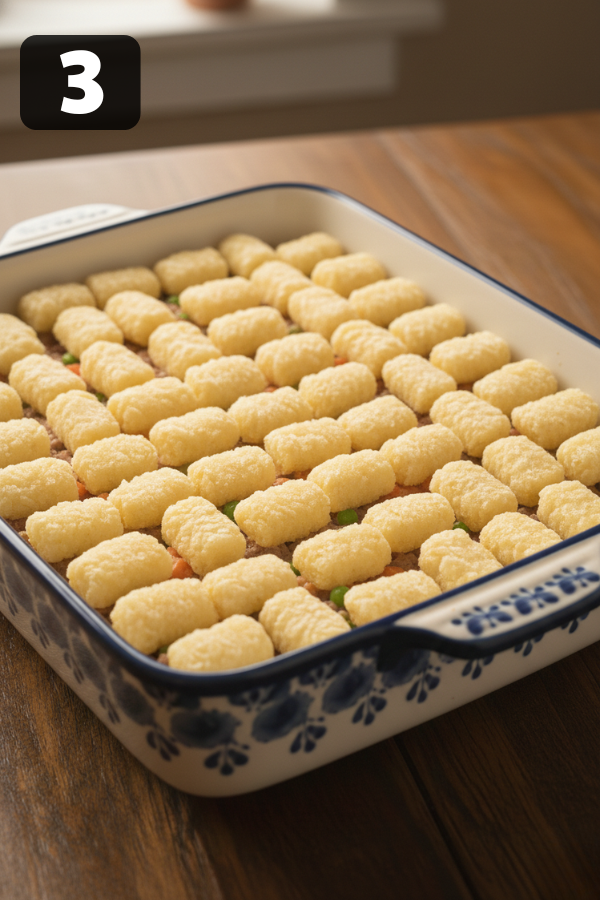
Step 4 – The Tater Tot Layer (Don’t Rush This Part)
Arrange the tots on top in a single layer.
Yes, you could dump them on randomly—but placing them neatly actually helps them crisp evenly.
Small detail. Big difference.
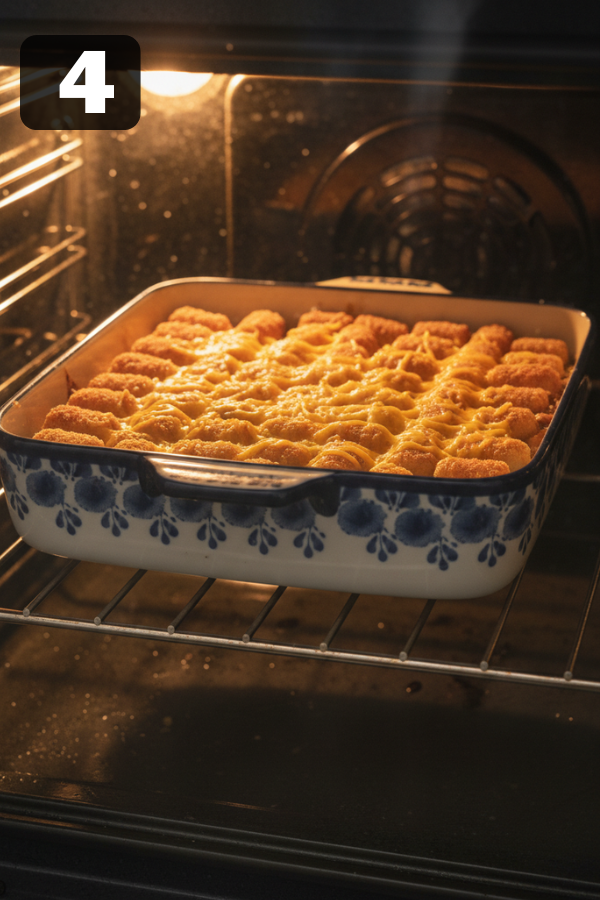
Step 5 – Bake Until Golden
Place in a preheated oven at 375°F (190°C).
Bake for 30–40 minutes until:
- The tots are golden brown
- The edges are bubbling
If you want extra crisp? Broil for 2–3 minutes at the end.
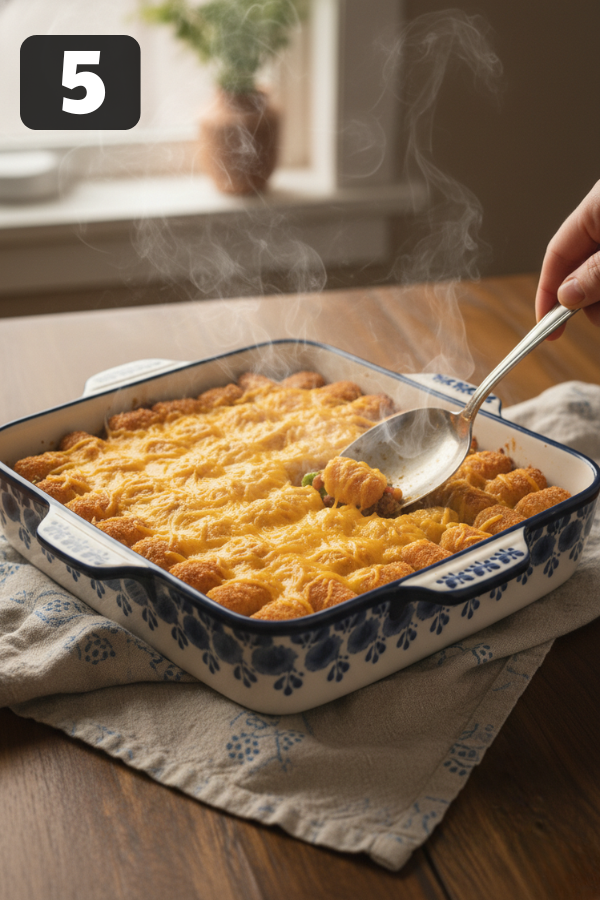
Step 6 – Let It Rest (Just a Little)
This part is hard—but give it 5–10 minutes before serving.
It helps everything settle so you don’t end up with a loose, messy scoop.
Tips That Make a Real Difference
You don’t need many rules here, but a few small ones matter:
- Don’t overcrowd the tots → soggy top
- Drain the beef → cleaner flavor
- Use a shallow dish → better crisping
- Preheat the oven fully → even cooking
And if you’ve ever had a casserole turn out “meh,” it’s usually one of those things.
Storing, Reheating… and Actually Enjoying Leftovers
This dish holds up surprisingly well.
- Fridge: 3–4 days
- Freezer: Up to 3 months
Reheating tip? Skip the microwave if you can. The oven keeps the top crisp.
And honestly—some people say it tastes even better the next day. I’m not saying they’re wrong.
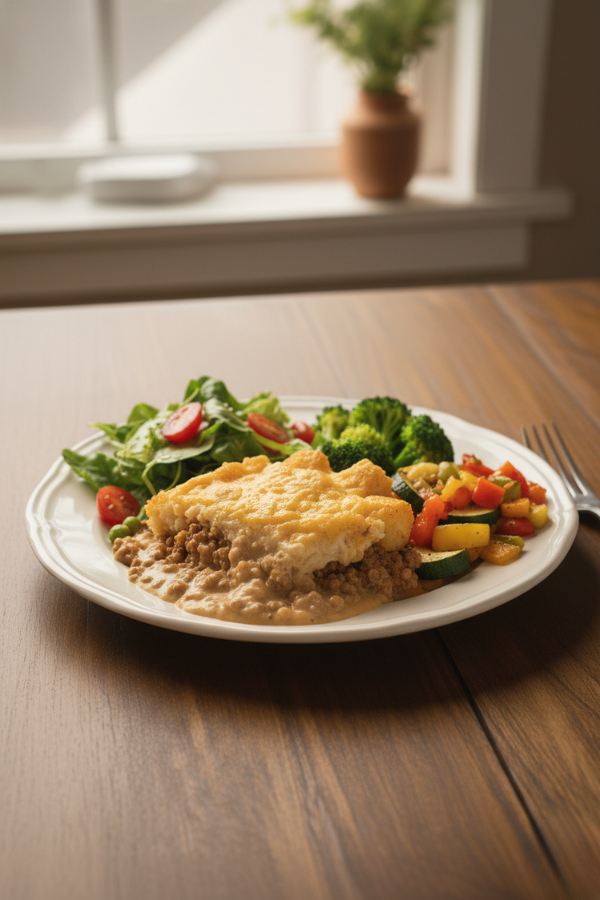
What Goes Well With It?
Because this dish leans rich and hearty, pairing matters.
- Light green salad
- Steamed broccoli
- Something acidic (like a vinaigrette)
It balances things out.
For drinks? Iced tea or even a simple sparkling water with lemon works perfectly.
Variations You Might Actually Want to Try
Once you’ve made it once, you’ll probably start tweaking it.
Tex-Mex Style
Add taco seasoning, black beans, and a bit of salsa. Top with sour cream.
Breakfast Version
Swap beef for sausage. Add eggs. Suddenly it’s brunch.
Lighter Version
Use ground turkey, low-fat cheese, and extra vegetables.
Same structure. Totally different feel.
Common Problems (And How to Fix Them)
- Soggy topping
→ Too much liquid or overcrowded tots - Greasy texture
→ Didn’t drain the meat - Too bland
→ Needs salt, Worcestershire, or spice - Too dry
→ Add a bit of milk or extra soup next time
Small fixes. Big improvements.
Nutrition Snapshot
- Calories: 350–450 per serving
- Protein: 20g
- Carbs: 30g
- Fat: 20–25g
It’s comfort food—no surprise there. But with a few swaps, it can lean healthier.
Final Thoughts
Here’s the thing—Tater Tot Casserole isn’t trying to impress anyone. It’s not fancy. It’s not trendy.
But it shows up. It feeds people. It makes a regular Tuesday feel just a little better.
And sometimes, that’s exactly what you need.
Don’t Miss: Crockpot Taco Hashbrown Casserole
Don’t Miss: Sloppy Joe Casserole With Biscuits (Easy & Delicious)
Also Try: High Protein Pizza Bowl with Cottage Cheese (Easy & Delicious)
Ingredients
Method
- Step 1 – Brown the BeefStart with a skillet over medium heat. Add your ground beef and break it apart as it cooks.It should take about 5–7 minutes. You’re looking for browned, not gray.Drain the excess fat—this matters more than people think. Too much grease can ruin the texture later.

- Step 2 – Build the Flavor BaseAdd diced onion and garlic to the pan. Let them soften for a few minutes.Then stir in:Cream of mushroom soupVegetables (if using)A splash of Worcestershire sauceAt this point, it’ll look thick and creamy. That’s exactly what you want.
- Step 3 – Assemble the CasseroleTransfer everything into a baking dish (9x13 works best).Spread it out evenly. Add a layer of cheese if you like things extra melty.
- Step 4 – The Tater Tot Layer (Don’t Rush This Part)Arrange the tots on top in a single layer.Yes, you could dump them on randomly—but placing them neatly actually helps them crisp evenly.Small detail. Big difference.
- Step 5 – Bake Until GoldenPlace in a preheated oven at 375°F (190°C).Bake for 30–40 minutes until:The tots are golden brownThe edges are bubblingIf you want extra crisp? Broil for 2–3 minutes at the end.
- Step 6 – Let It Rest (Just a Little)This part is hard—but give it 5–10 minutes before serving.It helps everything settle so you don’t end up with a loose, messy scoop.


