If you need a dinner that’s fast, satisfying, and a little bit fun, this Simple Doritos Taco Salad checks every box. Plus, it’s the kind of meal that feels indulgent—crispy chips, seasoned beef, creamy dressing—yet comes together with everyday ingredients in under 30 minutes.
Whether it’s a busy weeknight, a casual family dinner, or even a last-minute potluck, this salad hits that perfect balance between comfort food and no-fuss cooking.
Why This Recipe Just Works (And Keeps Working)
There’s a reason versions of this salad keep popping up on sites like Allrecipes and Spend With Pennies. Not only is it reliable, but it’s also incredibly adaptable.
- Ready in about 25–30 minutes, start to finish
- Uses simple grocery staples (nothing fancy, nothing hard to find)
- One skillet + one bowl = minimal cleanup
- Works for meal prep if you keep components separate
- Easily feeds 4–6 people for under $15
Most importantly, it delivers on texture every single time:
- Crunchy chips
- Juicy meat
- Crisp lettuce
- Creamy dressing
It’s not trying to be fancy—and honestly, that’s exactly why it works.
Ingredients
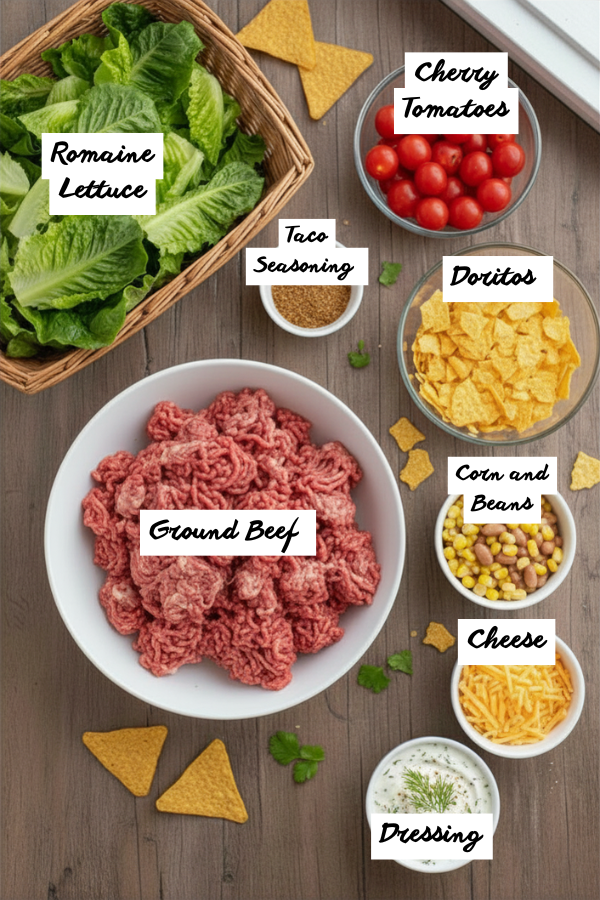
Here’s the base version—the one that works every time.
For the Taco Meat
- 1 lb ground beef (80/20 for best flavor)
- 1 packet taco seasoning
- ½ cup water
Quick note: If you want a lighter option, ground turkey works well too. However, you may want to add a splash of olive oil to keep it juicy.
For the Salad Base
- 1 large head romaine lettuce, chopped
- 1 cup cherry tomatoes, halved
- 1 cup corn (fresh, frozen, or canned)
- 1 can black beans, drained (optional but filling)
- ½ red onion, thinly sliced
For the Crunch & Toppings
- 1–2 cups crushed Doritos (Nacho Cheese is classic)
- 1 cup shredded cheddar cheese
Optional:
- Avocado slices
- Jalapeños
- Black olives
For the Dressing
You’ve got options here—and this is where personality really shows up:
- Catalina dressing (classic, slightly sweet)
- Ranch + salsa mix (balanced and creamy)
- Sour cream + taco seasoning (rich and tangy)
In fact, if you’ve ever wondered “Why is this so good?”—the dressing is usually doing the heavy lifting.
Step-by-Step Instructions
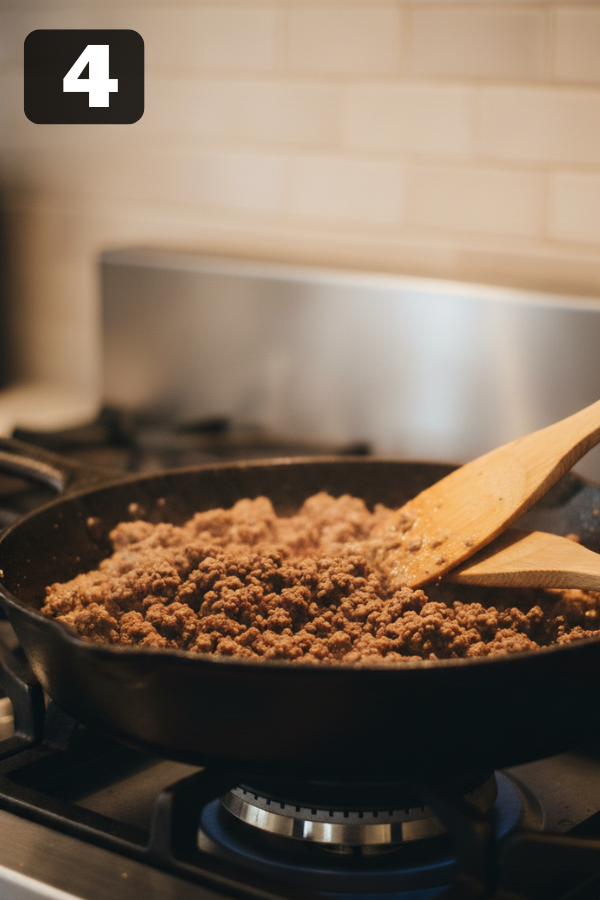
Step 1: Cook the Beef
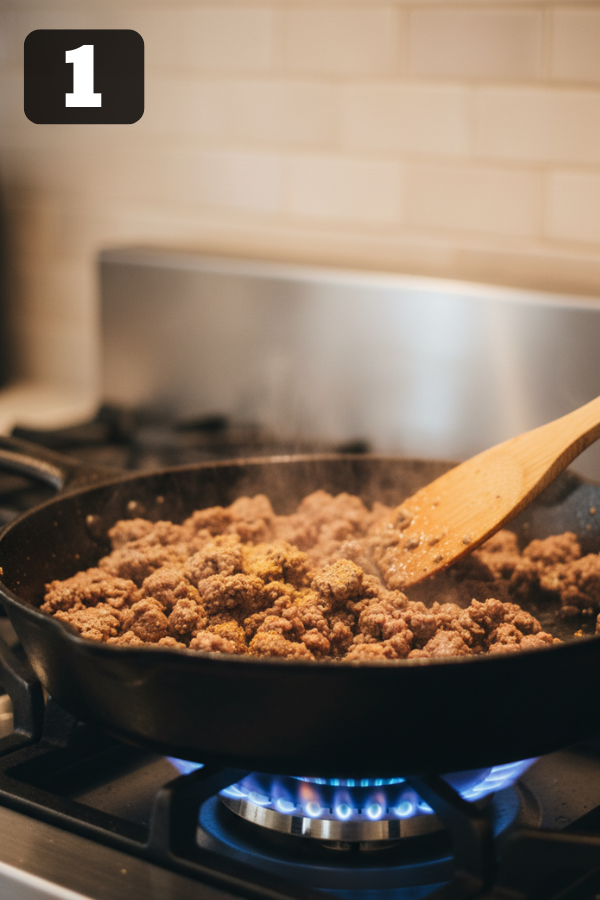
Heat a skillet over medium heat. Add the ground beef and cook for about 6–8 minutes, breaking it into small crumbles as it browns.
Once done, drain the excess grease. This step keeps the salad from feeling too heavy.
Step 2: Season It Right
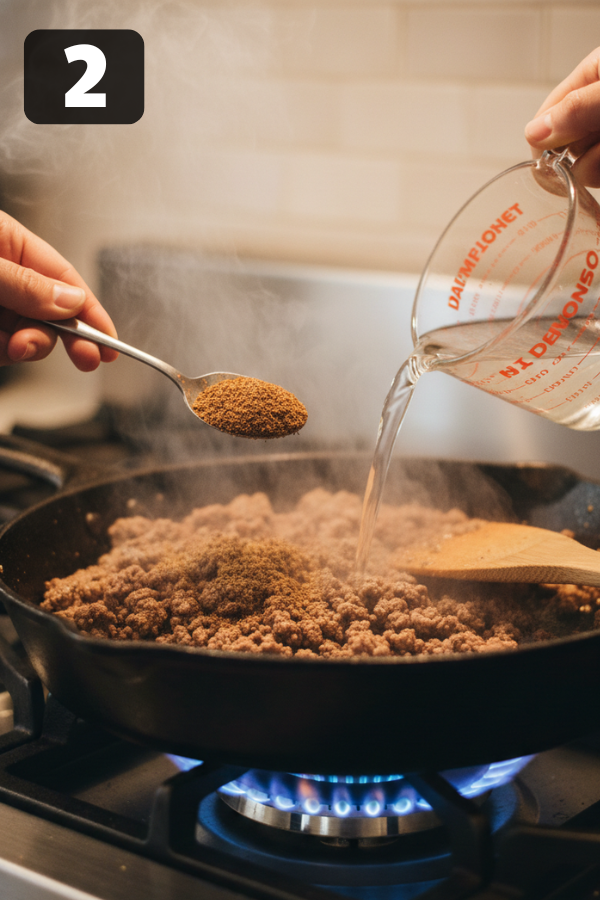
Next, add taco seasoning and water. Stir well, then let it simmer for 3–5 minutes until slightly thickened.
At this point, you’ll smell it before you see it—that warm, spiced aroma is your cue it’s ready.
Step 3: Prep the Fresh Ingredients
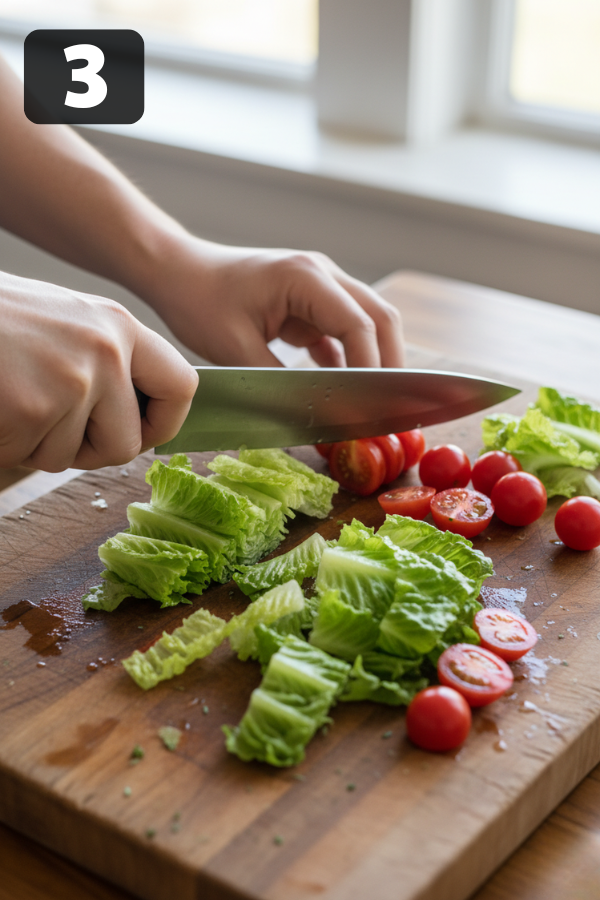
Meanwhile, chop your lettuce, slice the tomatoes, and prep any extras.
This is where multitasking saves time—and quietly makes everything easier.
Step 4: Let the Meat Cool
After that, let the meat cool for about 5 minutes.
Hot meat added too quickly will wilt the lettuce, and that’s definitely not what you want.
Step 5: Build the Base
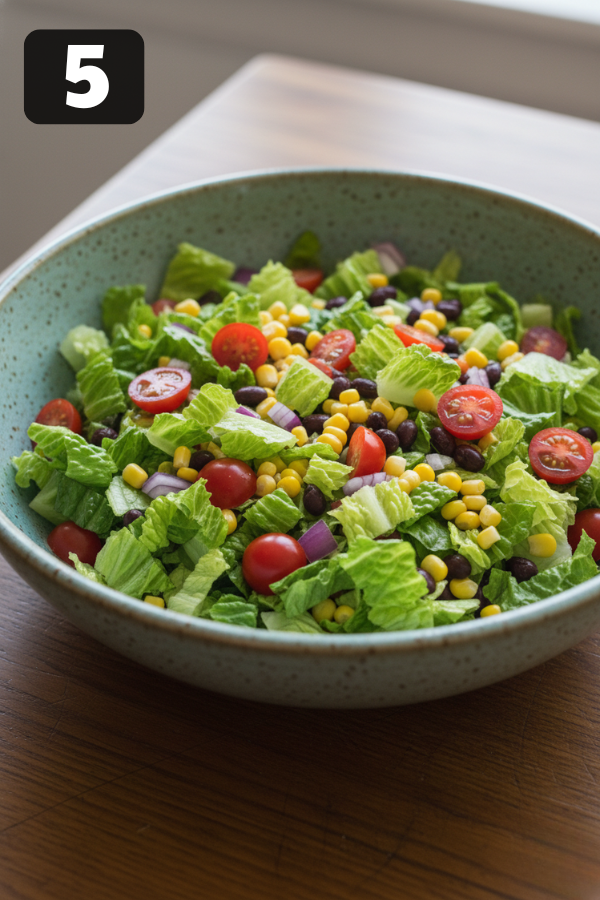
In a large bowl, combine lettuce, tomatoes, beans, corn, and onion.
Then, toss everything lightly to mix.
Step 6: Add the Good Stuff
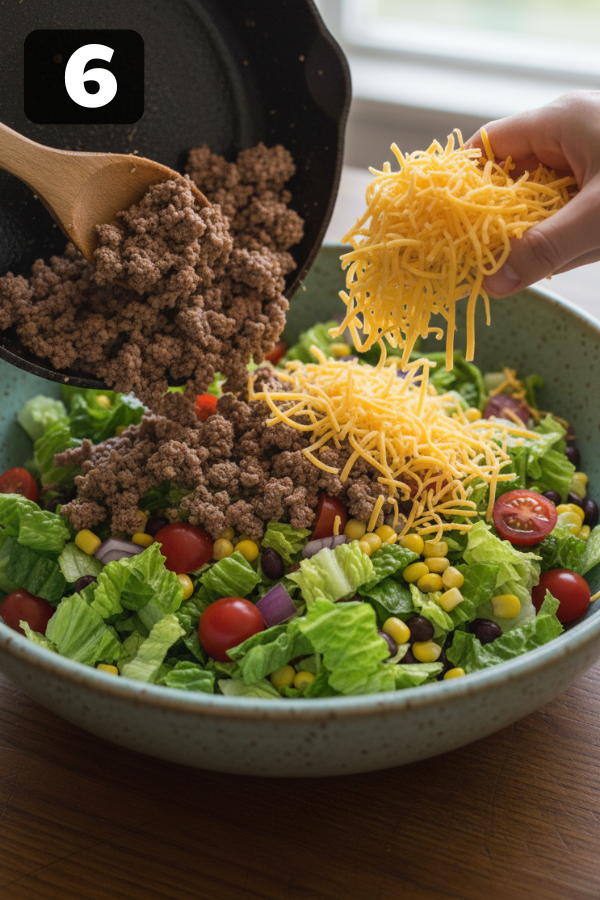
Add the warm (not hot) taco meat along with the shredded cheese.
Gently mix everything together—and at this point, it already smells like dinner.
Step 7: Dressing Time
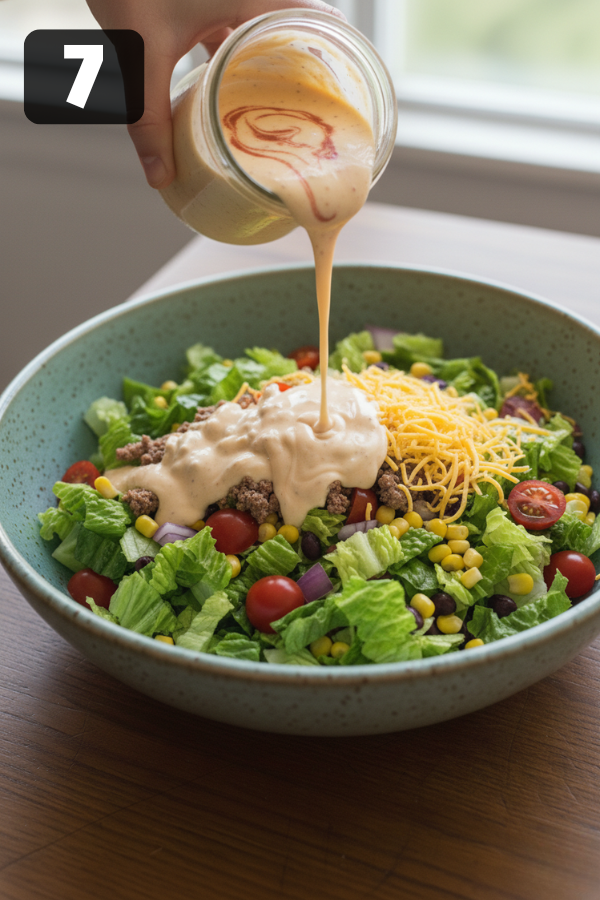
Pour in your dressing and toss until everything is evenly coated.
However, avoid overdressing. Start light, then add more if needed.
Step 8: Add Doritos Last (Always Last)
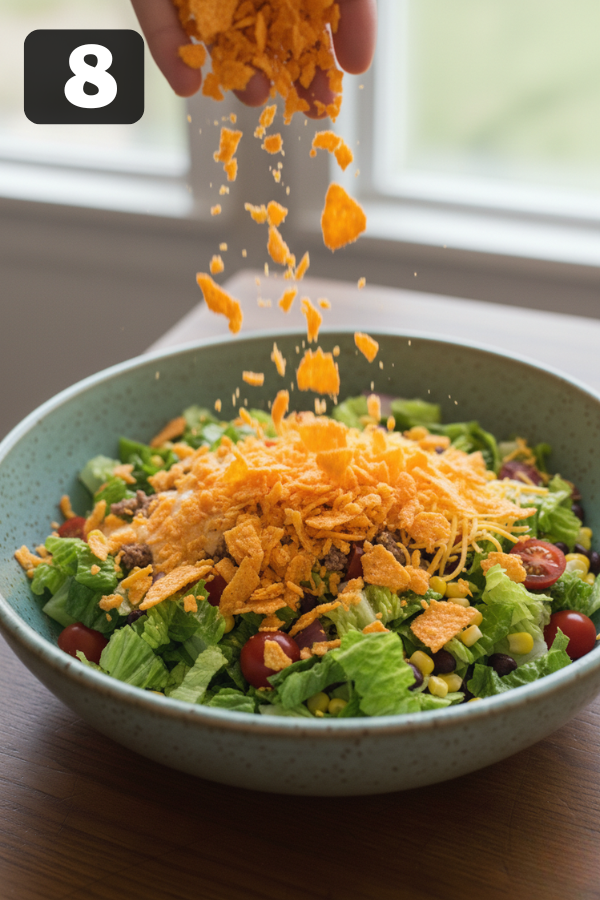
Finally, crush the Doritos slightly and toss them in right before serving.
This step matters more than it seems—it’s the difference between perfect crunch and soggy disappointment.
A Few Tips That Make a Big Difference
You don’t need many tricks—but a few small ones go a long way:
- Use romaine instead of iceberg for better texture
- Add a squeeze of lime to balance richness
- Don’t overdress—start light and adjust
- Keep chips separate if serving later
Most importantly, season your salad lightly with salt. Even with dressing, it helps every flavor stand out.
Storage & Leftovers
This salad is great—but only if you store it the right way.
For best results, keep the components separate:
- Meat: up to 4 days in the fridge
- Veggies: 2–3 days
- Chips: room temperature, sealed
Avoid storing the fully mixed salad, as the chips will lose their crunch within hours.
When ready to eat, simply reheat the meat and assemble fresh.
What Goes Well With It?
This salad works perfectly on its own. However, if you want to round out the meal:
- Mexican rice or cilantro lime rice
- Grilled corn on the cob
- Tortilla soup (great for larger gatherings)
As for drinks:
- Iced tea
- Lime soda
- Or even a margarita, if the mood calls for it
Common Problems (And How to Fix Them Fast)
Soggy Salad
Cause: chips added too early
Fix: always add them last
Greasy Texture
Cause: not draining the beef
Fix: drain thoroughly or use leaner meat
Bland Flavor
Cause: under-seasoning
Fix: add more seasoning or a squeeze of lime
Wilted Lettuce
Cause: meat too hot
Fix: let it cool before mixing
FAQs
- Can I make this ahead of time?
Yes—but keep everything separate and assemble right before serving. - Can I use chicken instead of beef?
Absolutely. Rotisserie chicken works especially well and saves time. - Is it spicy?
Not by default. However, you can add jalapeños or hot sauce if you want heat. - What’s the best Doritos flavor?
Nacho Cheese is classic, but Cool Ranch adds a fun twist. - Can I make it healthier?
Yes—use lean protein, baked chips, and a lighter dressing like Greek yogurt.
Nutrition Snapshot
- Calories: 450–600
- Protein: ~25g
- Fat: 25–35g
- Carbs: 30–45g
While it’s not strictly a “diet” meal, it’s very easy to adjust based on your goals.
Final Thoughts
You know how some recipes come and go, while others quietly become staples?
This is one of those.
It’s not fancy, and it doesn’t try to impress anyone—but it works. Every time.
And honestly, sometimes that’s exactly what you need.
Don’t Miss: Mexican Chicken Salad
Don’t Miss: Easy Chicken Taco Pinwheels
Also Try: Slow Cooker Mexican Street Corn Dip (Easy & Delicious)
Ingredients
Method
- Step 1: Cook the BeefHeat a skillet over medium heat. Add the ground beef and cook for about 6–8 minutes, breaking it into small crumbles as it browns.Once done, drain the excess grease. This step keeps the salad from feeling too heavy.

- Step 2: Season It RightNext, add taco seasoning and water. Stir well, then let it simmer for 3–5 minutes until slightly thickened.At this point, you’ll smell it before you see it—that warm, spiced aroma is your cue it’s ready.
- Step 3: Prep the Fresh IngredientsMeanwhile, chop your lettuce, slice the tomatoes, and prep any extras.This is where multitasking saves time—and quietly makes everything easier.
- Step 4: Let the Meat CoolAfter that, let the meat cool for about 5 minutes.Hot meat added too quickly will wilt the lettuce, and that’s definitely not what you want.
- Step 5: Build the BaseIn a large bowl, combine lettuce, tomatoes, beans, corn, and onion.Then, toss everything lightly to mix.
- Step 6: Add the Good StuffAdd the warm (not hot) taco meat along with the shredded cheese.Gently mix everything together—and at this point, it already smells like dinner.
- Step 7: Dressing TimePour in your dressing and toss until everything is evenly coated.However, avoid overdressing. Start light, then add more if needed.
- Step 8: Add Doritos Last (Always Last)Finally, crush the Doritos slightly and toss them in right before serving.This step matters more than it seems—it’s the difference between perfect crunch and soggy disappointment.


