Teriyaki Chicken Casserole
You know those nights when everyone’s hungry and you’re trying to keep dinner simple—without serving something bland? This Teriyaki Chicken Casserole is built for that exact moment.
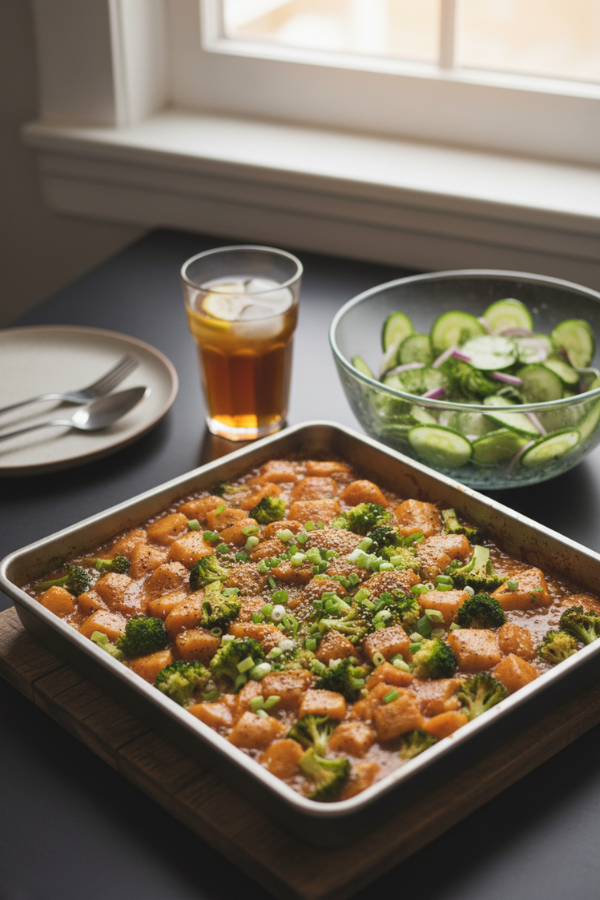
It’s a full meal in one dish: chicken, rice, veggies, and a sauce that tastes like it took way more effort than it did. Some versions bake right in the pan with instant rice and broth for a true one-pan vibe (minimal steps, big payoff). Others bake chicken first and then mix everything together for a slightly “stickier glaze” feel.
Either way, you end up with a casserole that feels cozy and familiar, but still fresh. And if you’re the kind of person who likes having lunch already handled? This one holds up beautifully.
Why You’ll Love This Recipe
This is the part where I say it’s “easy,” but let me be specific—because easy can mean a lot of things.
- It’s truly one-pan (if you choose the one-pan method). You mix everything right in the baking dish and let the oven do the work.
- Hands-on time can be around 10 minutes. That’s not marketing fluff—that’s how the one-pan version is written.
- It’s dinner + meal prep in one move. Leftovers reheat well, and several recipe sources call out make-ahead options.
- It’s flexible. Fresh broccoli or frozen broccoli. Stir-fry veg mix or what you have. Chicken breast or thighs. You can make it “your house style” fast.
- Dairy-free is easy here. The Easy Family Recipes version is explicitly dairy-free.
One small note that matters: teriyaki sauces can vary a lot in salt and sugar, especially bottled ones. That’s not a dealbreaker—it just means you’ll want a couple of simple balancing tricks (I’ll show you).
Ingredients
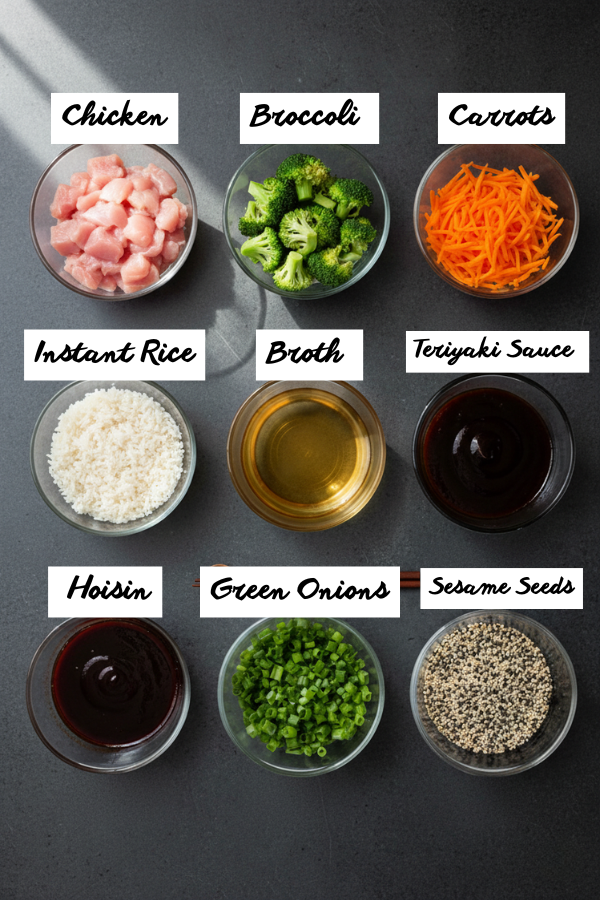
What You’ll Need For The Casserole
Here’s the simple, practical list—plus the “why” behind it so you can swap confidently.
- Chicken (about 1½ pounds)
- Most one-pan versions use boneless, skinless chicken breasts, and note thighs work too (and stay juicier).
- Quick-cooking rice (instant/minute rice)
- This matters more than people think. The one-pan method is written for instant rice; longer-cooking rice may not finish at the same time as the chicken.
- Chicken broth
- Adds flavor and helps the rice cook evenly, especially in the one-pan version.
- Vegetables
- Common picks: broccoli florets + shredded carrots, or a stir-fry veggie mix.
- Teriyaki sauce + hoisin sauce
- The one-pan recipe specifically mentions teriyaki plus a little hoisin for rich sweetness.
- Optional finishing touches
- Green onions for freshness
- Sesame seeds for crunch
- A squeeze of lime (not traditional, but surprisingly good when the sauce runs sweet)
A Quick Word About Chicken Safety (Worth 10 Seconds)
Chicken should reach 165°F at the thickest point. If you don’t already use a thermometer, this is the recipe that’ll convert you.
Substitutions That Actually Work
If you’ve ever swapped something and regretted it, here are the safe swaps.
- Chicken thighs instead of breasts
- More forgiving, less likely to dry out. (Great if your oven runs hot.)
- Frozen broccoli instead of fresh
- Many recipes recommend this shortcut—just thaw or plan for a slightly wetter bake.
- Add heat
- One source suggests adding 2–3 tablespoons chili garlic sauce for a spicy version.
- Veggie boost
- Sugar snap peas, onion, red bell peppers—easy adds that keep the “stir-fry” feel.
Step-by-Step Instructions
You’ve got two good paths. Choose based on your mood:
- Method A: True one-pan (instant rice + broth). Fastest, least cleanup.
- Method B: Bake chicken first, then mix (more “glazey”). A little more hands-on, very cozy.
Method A: One-Pan, Instant Rice
This is the version I’d pick when the day has already been a lot.
1) Preheat The Oven To 350°F
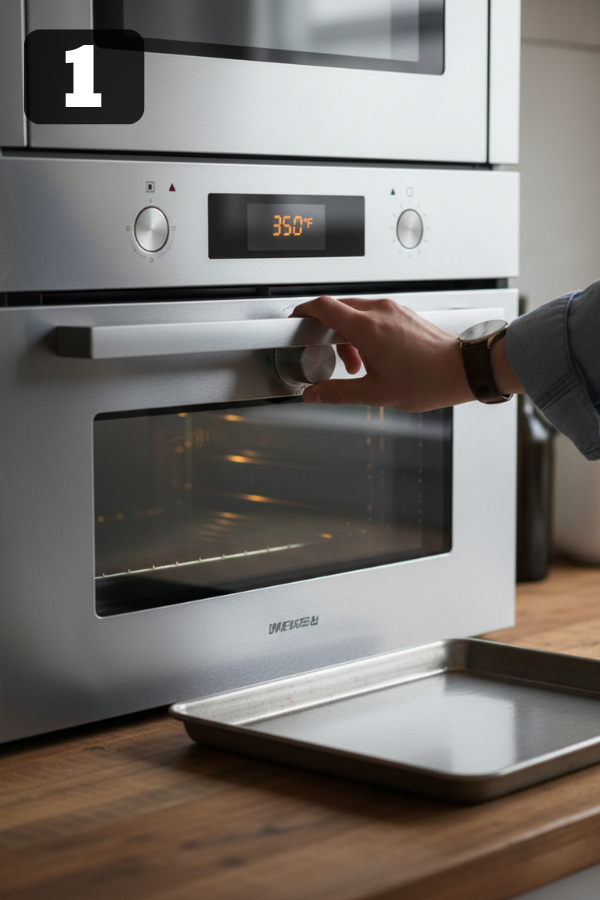
- Why 350°F matters: It’s hot enough to cook chicken and help liquid absorb into rice without scorching the sauce.
- Pan choice: Use a 9×13-inch baking dish with enough depth to hold liquid and allow stirring without spilling.
- Quick setup: Lightly grease the dish (spray or a thin swipe of oil) so rice and sauce don’t stick at the corners.
2) Cut The Chicken Into Even Bites (½ To 1 Inch)
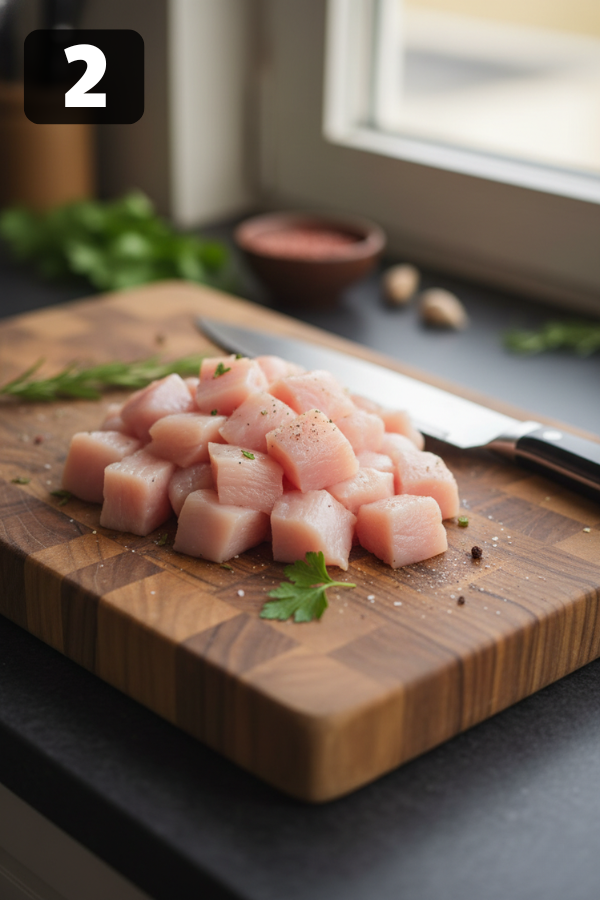
- Target size: Aim for uniform cubes—this is what keeps the chicken from drying out while the rice finishes.
- Practical rule:
- Too small → chicken cooks early and can turn dry.
- Too big → chicken may lag behind the rice.
- Speed tip (still “clean”): If the chicken is slightly firm (not frozen), it’s easier to cut evenly.
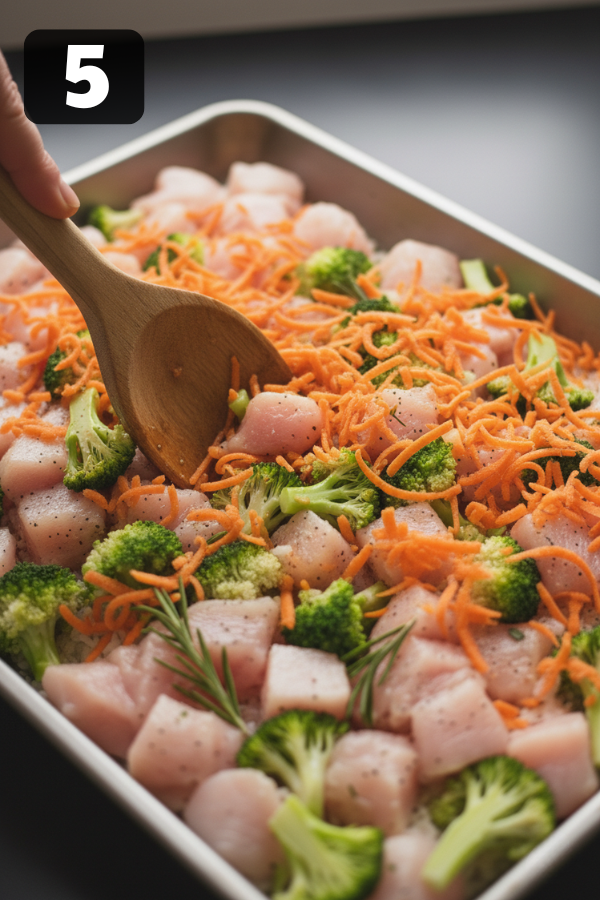
3) Add To A 9×13 Dish: Chicken + Broccoli + Instant Rice, Then Shredded Carrots
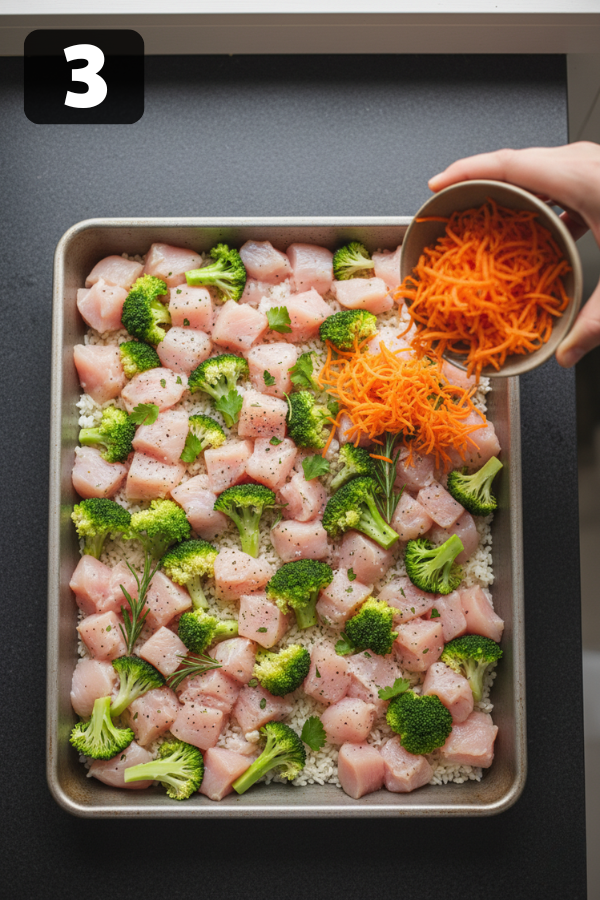
- Order helps mixing: Put rice in early so it gets coated evenly once sauces go in.
- Broccoli note:
- Fresh broccoli holds texture better.
- Frozen broccoli works, but can add extra moisture—expect slightly softer veggies.
- Carrots: Shredded carrots soften quickly and spread sweetness through the dish without extra chopping.
4) Pour In The Sauces (Teriyaki + A Little Hoisin) And Stir Well
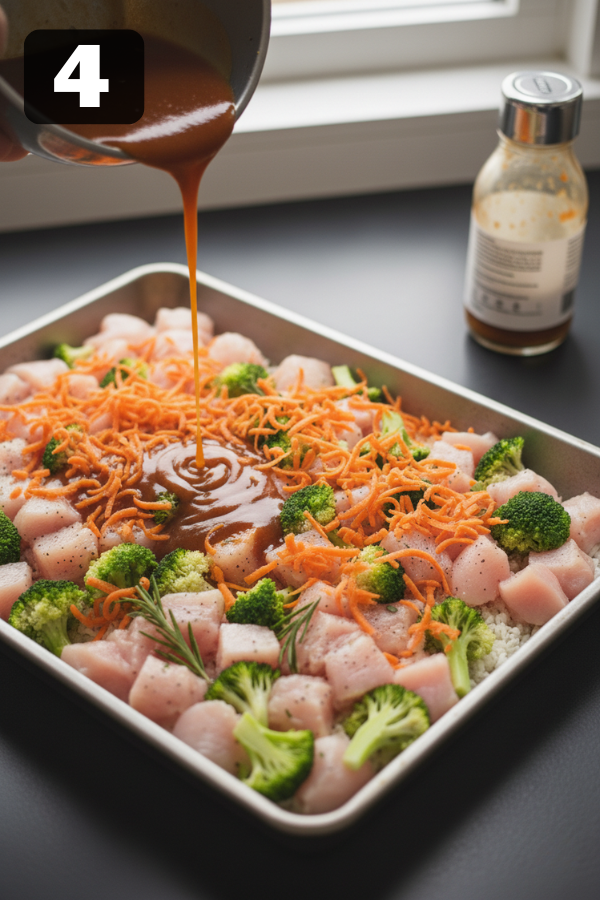
- Goal: Coat every grain of rice with sauce so the rice “cooks in flavor,” not just broth.
- Why add hoisin: It adds deeper sweetness and a richer “glossy” feel to the sauce—small amount, big impact.
- Mixing checkpoint: After stirring, you should see sauce on most rice grains and chicken pieces—not just pooling in one corner.
5) Add Chicken Broth And Mix Again
- What broth does: It’s the cooking liquid for instant rice and keeps the casserole from drying out.
- Mixing checkpoint: Broth should be distributed evenly—if it’s sitting mostly at the edges, stir again so the center cooks evenly too.
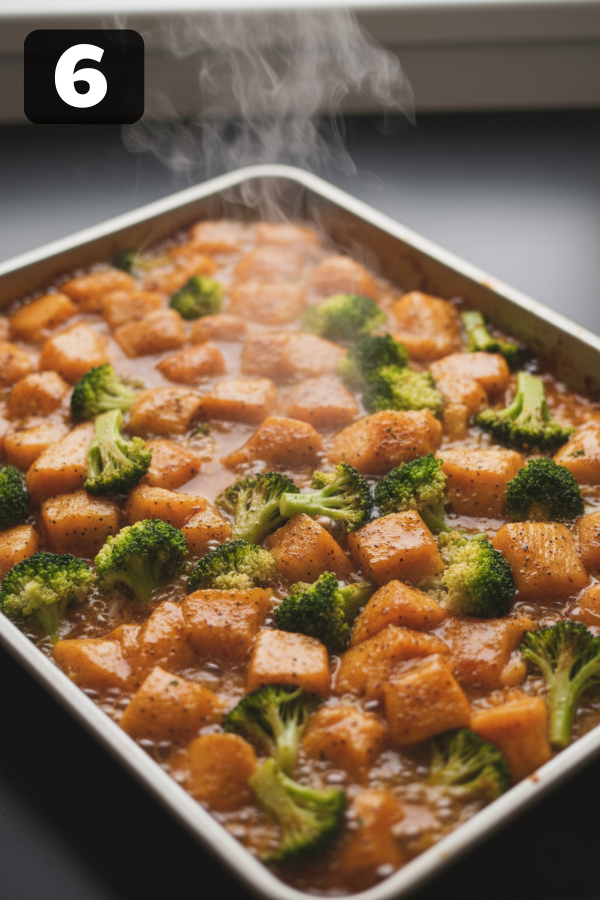
6) Bake Until The Rice Is Cooked And Chicken Is Done
- Timing expectation: The method is built around ~45 minutes cook time / ~55 minutes total, but your oven can shift this.
- What to look for (visual doneness):
- Rice looks plump and tender, not chalky.
- Liquid is mostly absorbed (a little saucy is fine, “soupy” is not).
- Edges may bubble slightly—good sign it’s hot through.
- Food safety checkpoint: Chicken should reach 165°F at the thickest piece.
- If it’s not ready yet (quick fixes):
- Rice not tender → bake a bit longer; if it looks dry, add a small splash of broth and stir.
- Too wet → continue baking uncovered a little longer so excess moisture cooks off.
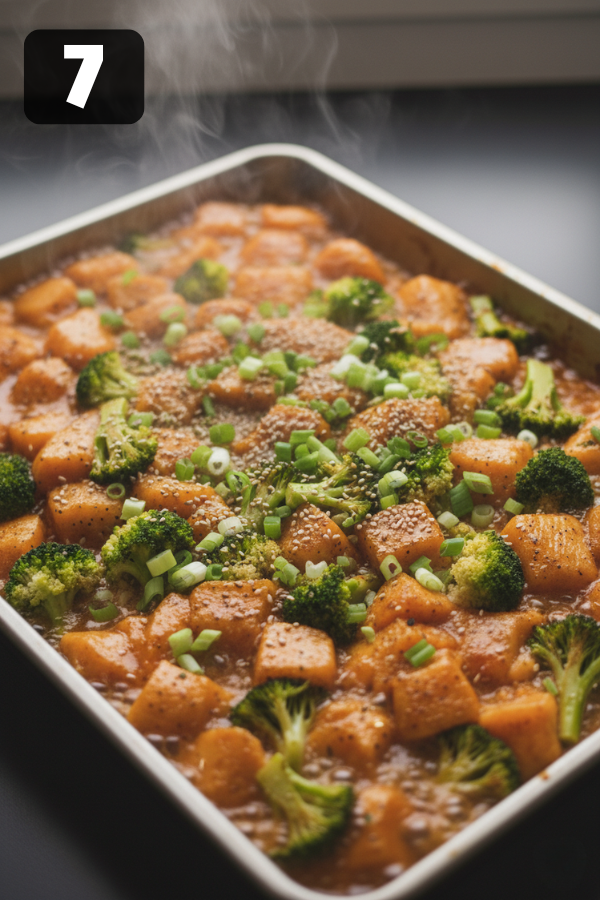
7) Rest For 10 Minutes, Then Serve
- Why resting matters: It lets the casserole set so the sauce thickens slightly and leftover liquid finishes absorbing.
- Serving moment: After resting, fluff gently with a spoon so rice doesn’t compact at the bottom.
- Optional finish (still simple): Add sliced green onions or sesame seeds if you want a fresher bite without extra work.
Method B: Chicken-First, Then Mix
This one is great when you want that baked chicken + sauce moment.
- Preheat to 350°F and place chicken in the baking dish.
- Pour about 1 cup of teriyaki sauce over the chicken.
- Bake about 30–35 minutes, then shred the chicken.
- Steam veggies (stir-fry mix works great).
- Mix chicken + cooked rice + veggies + a bit of extra sauce.
- One version uses just a few tablespoons extra—so you don’t drown the rice.
- Bake 10–15 minutes to heat through.
- Then top with green onions and sesame seeds if you’re feeling fancy.
This method can feel slightly “lighter” in texture because the rice is already cooked. It’s also a good rescue plan if you only have leftover rice.
Tips for Success
The “Don’t Be Sad Later” Tips
Let’s keep this from turning into dry chicken or crunchy rice. Because we’ve all been there.
- Cut chicken evenly.
- The one-pan recipe calls out that ½ to 1 inch size matters.
- Don’t swap the rice casually (for Method A).
- Instant rice is part of the timing math. If you use long-cook rice, you may end up with undercooked rice and overcooked chicken.
- If you’re using bottled teriyaki, taste it first.
- Some brands are very sweet; others lean salty. If it’s super sweet, a little extra vinegar (or even a squeeze of lime at the end) can help.
Beginner → Confident Cook Adjustments
- Beginner-friendly move: use pre-shredded carrots and frozen broccoli.
- Want richer flavor? add the hoisin (called out in the one-pan version).
- Want heat? add 2–3 tablespoons chili garlic sauce.
- Want it extra fresh? finish with green onions and a quick sprinkle of sesame seeds right before serving.
And here’s a small digression that helps: if you’ve ever loved teriyaki chicken stir-fry but hated the constant stirring, casserole-style is your friend. Same comfort, less babysitting.
Storage & Leftover Notes
How Long It Lasts
- In the fridge: about 3–4 days in an airtight container (that’s the guidance from the one-pan source).
Reheating (so it doesn’t dry out)
- Microwave: warm in short bursts and stir halfway through.
- Oven: reheat around 325°F for about 20 minutes (a specific leftover tip from another recipe source).
- If it looks a little dry, add a small splash of broth or water before reheating.
Freezing (meal-prep friendly)
Different sources give different windows, but the direction is consistent: freeze well-wrapped, thaw overnight, then bake or reheat.
- One-pan source says you can freeze up to 6 months (before or after cooking) with proper wrapping and thawing overnight.
- Another source suggests freezing before baking up to 1 month, then thaw overnight and bake.
My real-life take: if you freeze it, label it, and you actually remember it’s there… you’re already winning.
What to Serve With It
This casserole can stand alone, but a simple side makes it feel restaurant-level without extra work.
Quick Side Ideas (5–10 minutes)
- Asian cucumber salad (cool, crunchy, balances sweetness)
- Spicy slaw (if your people like tang)
- A simple bagged salad with ginger dressing—no shame in that game
Drinks That Fit The Vibe
- Sparkling water with lemon or lime
- Iced green tea
- If it’s a Friday night: something crisp and light (keep it easy, no overthinking)
FAQs
1. Can I make Teriyaki Chicken Casserole ahead of time?
Yes. Several casserole recipes support assembling ahead and baking later. One source notes it can be fully assembled (not baked) up to 24 hours in advance and stored in the fridge.
2. Can I use chicken thighs?
Absolutely. The one-pan recipe says thighs work too, and they’re often more forgiving.
3. Can I use leftover rice?
Yes—use the chicken-first method (Method B). That approach is literally designed around cooked rice and a quick bake to bring everything together.
4. Do I have to use hoisin sauce?
No, but it adds a deeper, slightly sweet richness. The one-pan recipe includes it as part of the flavor.
5. How do I know the chicken is cooked safely?
Use a thermometer. Chicken should hit 165°F.
Nutrition Info
Nutrition can vary wildly depending on your teriyaki sauce brand and how much you use. Still, it helps readers to see real numbers.
- One recipe source lists 288 calories per serving (serving about 2 cups).
- Another version lists 387 calories and 35g protein, but also shows sodium can be extremely high depending on sauce choices (4329 mg sodium in that calculation).
If you’re aiming for a lighter feel, the easiest win is lower-sodium sauce plus extra veggies.
Conclusion
If your weeknights are busy (and whose aren’t?), this Teriyaki Chicken Casserole is the kind of recipe that quietly saves the day. Everything cooks together in one pan, the flavors feel like takeout in the best way, and the leftovers reheat like a dream. Make it once, and you’ll probably find yourself keeping instant rice and teriyaki sauce on standby—just in case.

| Prep Time | 10 minutes |
| Cook Time | 45 minutes |
| Servings |
servings
|
- lb Chicken: 1½boneless skinless chicken breast (or thighs), cut into ½–1 inch pieces
- cups Rice: 2instant rice Minute/quick-cooking
- cups Veggies: 3–4broccoli florets fresh or frozen
- cup Carrots: 1shredded carrots
- cup Sauces: 1teriyaki sauce + 2–3 Tbsp hoisin sauce
- cups Liquid: 2chicken broth
- Optional toppings: sliced green onions sesame seeds
Ingredients
|
|
- Preheat The Oven To 350°F Why 350°F matters: It’s hot enough to cook chicken and help liquid absorb into rice without scorching the sauce. Pan choice: Use a 9×13-inch baking dish with enough depth to hold liquid and allow stirring without spilling. Quick setup: Lightly grease the dish (spray or a thin swipe of oil) so rice and sauce don’t stick at the corners.

- Cut The Chicken Into Even Bites (½ To 1 Inch) Target size: Aim for uniform cubes—this is what keeps the chicken from drying out while the rice finishes. Practical rule: Too small → chicken cooks early and can turn dry. Too big → chicken may lag behind the rice. Speed tip (still “clean”): If the chicken is slightly firm (not frozen), it’s easier to cut evenly.
- Add To A 9×13 Dish: Chicken + Broccoli + Instant Rice, Then Shredded Carrots Order helps mixing: Put rice in early so it gets coated evenly once sauces go in. Broccoli note: Fresh broccoli holds texture better. Frozen broccoli works, but can add extra moisture—expect slightly softer veggies. Carrots: Shredded carrots soften quickly and spread sweetness through the dish without extra chopping.
- Pour In The Sauces (Teriyaki + A Little Hoisin) And Stir Well Goal: Coat every grain of rice with sauce so the rice “cooks in flavor,” not just broth. Why add hoisin: It adds deeper sweetness and a richer “glossy” feel to the sauce—small amount, big impact. Mixing checkpoint: After stirring, you should see sauce on most rice grains and chicken pieces—not just pooling in one corner.
- Add Chicken Broth And Mix Again What broth does: It’s the cooking liquid for instant rice and keeps the casserole from drying out. Mixing checkpoint: Broth should be distributed evenly—if it’s sitting mostly at the edges, stir again so the center cooks evenly too.
- Bake Until The Rice Is Cooked And Chicken Is Done Timing expectation: The method is built around ~45 minutes cook time / ~55 minutes total, but your oven can shift this. What to look for (visual doneness): Rice looks plump and tender, not chalky. Liquid is mostly absorbed (a little saucy is fine, “soupy” is not). Edges may bubble slightly—good sign it’s hot through. Food safety checkpoint: Chicken should reach 165°F at the thickest piece. If it’s not ready yet (quick fixes): Rice not tender → bake a bit longer; if it looks dry, add a small splash of broth and stir. Too wet → continue baking uncovered a little longer so excess moisture cooks off.
- Rest For 10 Minutes, Then Serve Why resting matters: It lets the casserole set so the sauce thickens slightly and leftover liquid finishes absorbing. Serving moment: After resting, fluff gently with a spoon so rice doesn’t compact at the bottom. Optional finish (still simple): Add sliced green onions or sesame seeds if you want a fresher bite without extra work.


