
Mini Pumpkin Pies are everything we love about classic pumpkin pie — the warm cinnamon, the golden crust, and that cozy fall feeling — tucked into small, easy-to-serve portions. They’re the kind of dessert that makes the kitchen smell like Thanksgiving before anyone even sits down at the table.
However, a full-size pumpkin pie can be a little fussy. It needs enough time to bake, enough time to cool, and a steady hand to slice neatly. And let’s be honest, the first slice doesn’t always come out looking as perfect as we hoped.
That’s where these Mini Pumpkin Pies make life easier. They give you the same creamy pumpkin filling and flaky crust in tidy little portions that are perfect for Thanksgiving, fall parties, potlucks, or make-ahead desserts. Even better, store-bought crust works beautifully, the filling comes together in one bowl, and serving them is as simple as placing them on a platter.
Why You’ll Love This Recipe
Mini Pumpkin Pies feel special without being stressful. In fact, they’re easy to make, easy to serve, and cute enough for any holiday table.
You’ll love them because:
- Each pie is individually portioned, so there’s no slicing or messy first piece.
- They’re make-ahead friendly — bake, chill, and top before serving.
- Simple ingredients like pumpkin puree, pie crust, eggs, sugar, and warm spices keep the recipe easy.
- These little pies are great for parties, potlucks, Thanksgiving, and kid-friendly treats.
- Every bite gives you a creamy pumpkin filling with a buttery crust.
Plus, mini pies often taste extra satisfying because every bite has a good mix of crust and filling. You get that flaky edge, that smooth pumpkin center, and just enough spice to make it feel like fall.
Ingredients You’ll Need
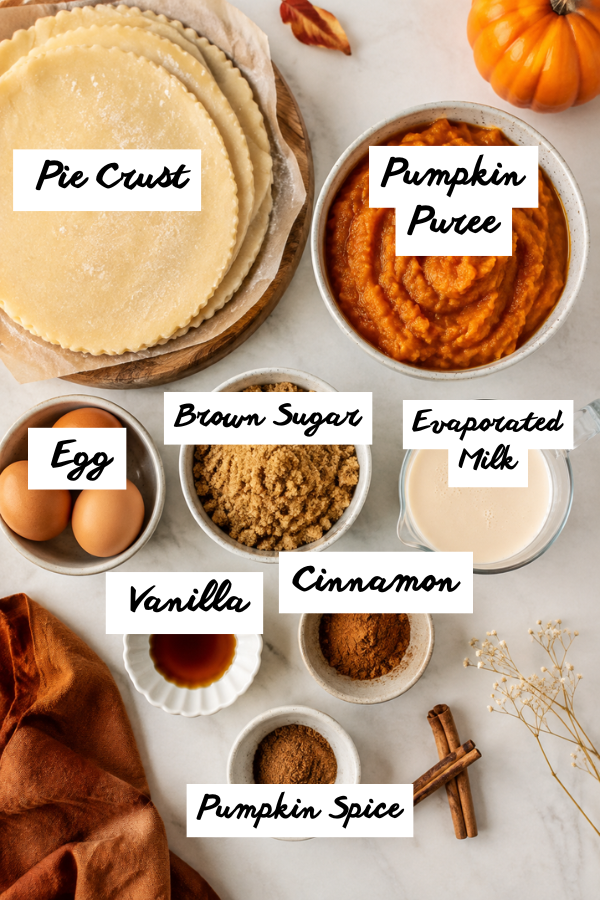
The ingredient list is simple, but each part matters. The crust gives the pies structure, while the pumpkin filling brings the creamy texture. Meanwhile, the spices add that cozy flavor everyone expects from pumpkin pie.
For the Crust
Use two refrigerated pie crusts or one homemade double pie crust.
Store-bought crust is the fastest choice, and for busy home cooks, it’s a smart shortcut. If you love homemade crust, that works too. Just keep the dough cold because cold dough is easier to cut, easier to press into the pan, and less likely to shrink while baking.
You’ll also need nonstick spray or softened butter for greasing the muffin tin. Don’t skip this step. After all, mini pies are cute until one gets stuck in the pan and breaks apart.
For the Pumpkin Filling
You’ll need:
- 1 cup pumpkin puree
- 1 large egg
- 1 egg yolk, for extra richness
- ⅓ cup packed brown sugar
- 2 tablespoons granulated sugar
- ½ cup evaporated milk or heavy cream
- 1 teaspoon vanilla extract
- 1 teaspoon pumpkin pie spice
- ½ teaspoon cinnamon
- ¼ teaspoon salt
- Tiny pinch of black pepper, optional
For the best texture, use 100% pure pumpkin puree, not pumpkin pie filling. Pumpkin pie filling already has sugar and spices mixed in, so it can make the final pies too sweet or throw off the texture.
Canned pumpkin puree is the easiest and most reliable option. Fresh pumpkin puree can also work, but it often holds more water. Because of that, blot homemade puree with paper towels first so the filling doesn’t turn loose or watery.
The tiny pinch of black pepper is optional, but it can make the warm spices taste a little deeper. It won’t make the pies taste peppery. Instead, it adds a quiet little background note.
Optional Toppings
Whipped cream is the classic choice. A small swirl on each pie makes them look bakery-style with almost no effort.
You can also add:
- A dusting of cinnamon
- Caramel drizzle
- Toasted pecans
- Crushed gingersnaps
- Sugared cranberries
- Maple whipped cream
For the prettiest finish, add toppings right before serving, especially whipped cream. This keeps the pies fresh, neat, and pretty.
Step-by-Step Instructions
These Mini Pumpkin Pies come together in a simple flow: prep the pan, cut the crust, mix the filling, fill, bake, and cool. Nothing complicated. Nothing too precious.
Step 1: Prep the Pan and Oven
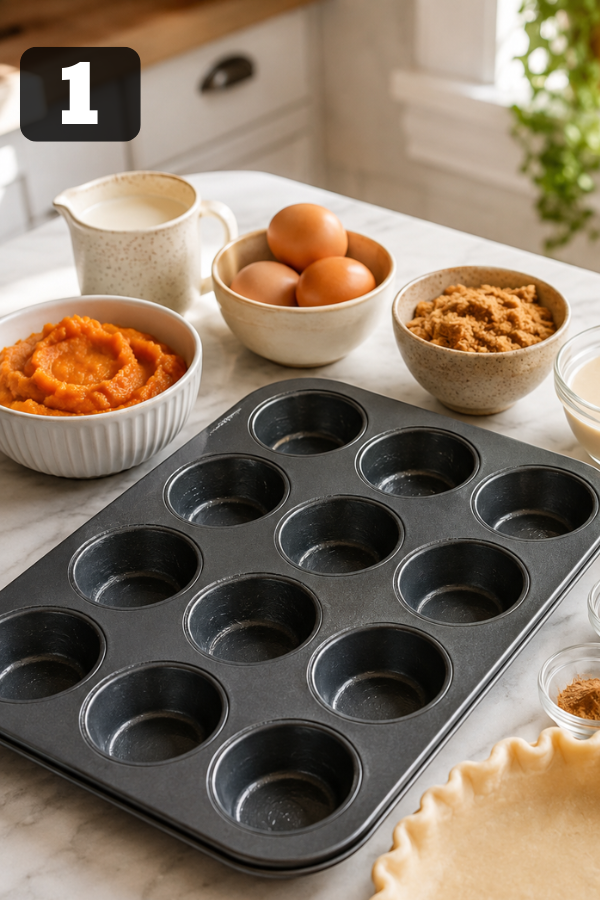
First, preheat the oven to 350°F. Then grease a 12-cup muffin tin well with nonstick spray or softened butter.
For this recipe, a regular muffin tin gives you slightly larger mini pies. They’re still small and easy to serve, but they feel more like a real dessert portion.
If you want true bite-sized pies, use a mini muffin pan instead. Just remember to cut smaller crust circles and reduce the baking time.
Step 2: Cut the Pie Crust
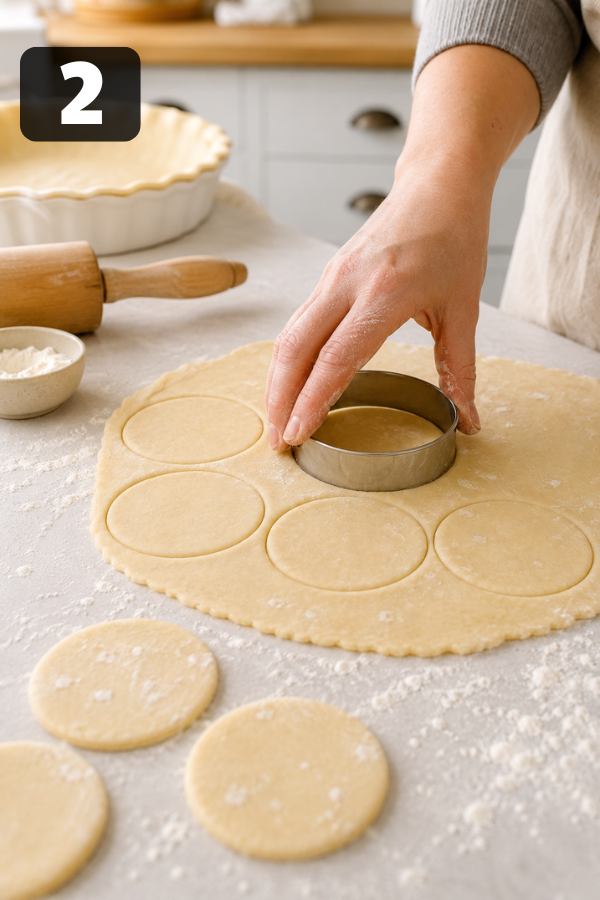
Next, roll out the pie crust on a lightly floured surface. If the crust is already rolled, give it a gentle pass with a rolling pin so the thickness is even.
Cut circles about 3.5 inches wide. A round cookie cutter works best, but a wide drinking glass can also do the job.
After that, press each circle into the muffin tin, shaping it gently against the bottom and sides. Don’t stretch the dough. Press it in softly, since stretched dough tends to shrink as it bakes.
Finally, place the pan in the fridge while you make the filling. Even 10 minutes of chilling helps the crust hold its shape.
Step 3: Make the Pumpkin Filling
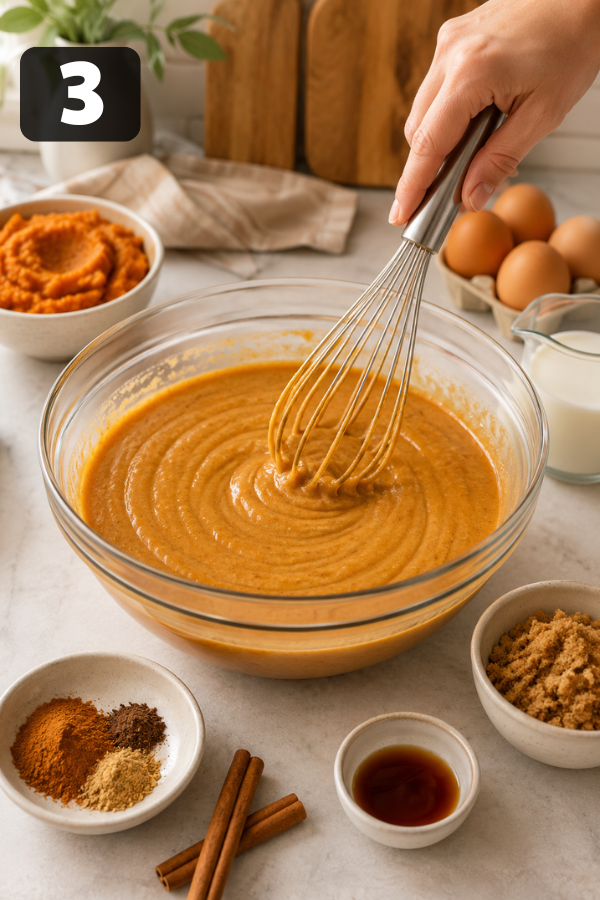
In a medium bowl, whisk together the pumpkin puree, egg, egg yolk, brown sugar, granulated sugar, evaporated milk or cream, vanilla, pumpkin pie spice, cinnamon, salt, and black pepper if using.
Keep whisking until the filling looks smooth and even. You don’t need to beat it forever, though. The goal is a creamy mixture with no streaks of egg or spice.
At this point, the texture should be pourable but not thin like milk. Think soft custard before baking.
Step 4: Fill the Crusts
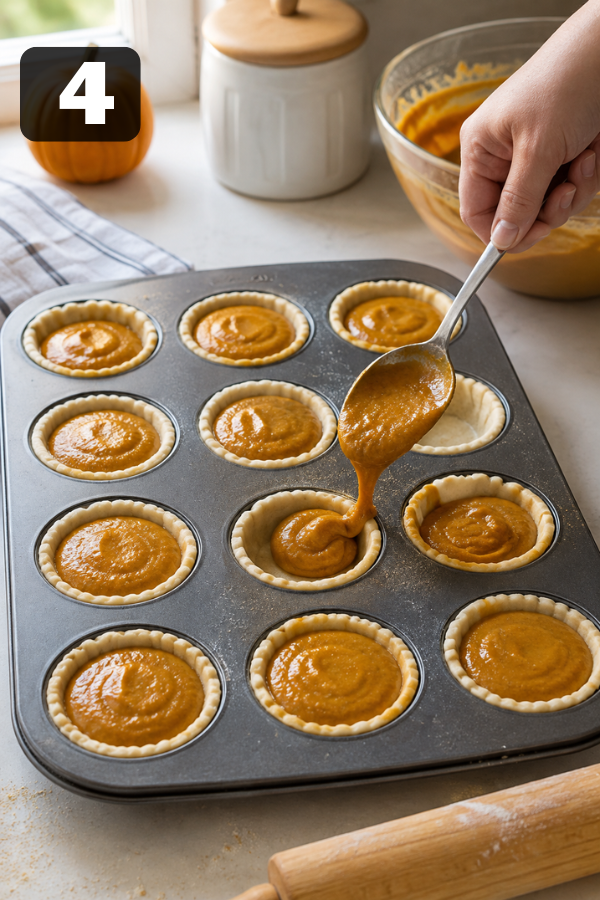
Now spoon the pumpkin filling into each crust. Fill each one about ¾ full, leaving a little crust showing at the top.
A small cookie scoop makes this step neat, although a regular spoon works fine too. If any filling drips onto the pan, wipe it off before baking. Burned pumpkin spots aren’t a disaster, but they can smell unpleasant and make cleanup harder.
Step 5: Bake Until Just Set

Bake for 20 to 25 minutes, or until the crust edges are lightly golden and the centers are just set.
The centers can have a slight wobble. That’s okay. Pumpkin filling is a custard, and custard keeps setting as it cools.
So, avoid baking the pies until the centers look completely firm in the oven. If you bake them too long, the filling may crack.
The best rule is simple: watch the pies, not just the clock.
Step 6: Cool, Chill, and Top
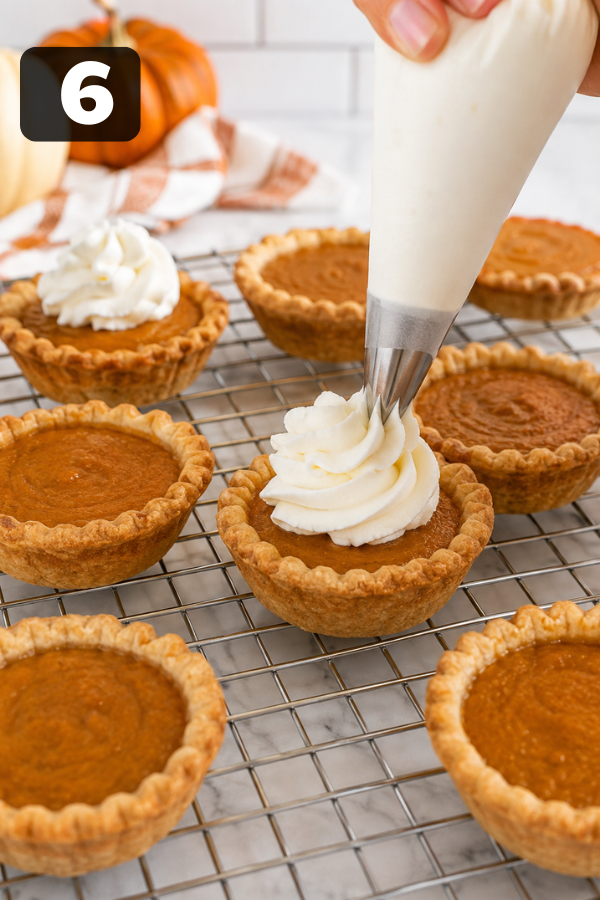
Once baked, let the pies cool in the pan for 10 to 15 minutes. Then run a thin knife around the edge of each pie and lift them out carefully.
Transfer them to a wire rack and let them cool completely.
You can serve them at room temperature, but they taste even better after chilling for a few hours. As they chill, the filling firms up, the spice settles in, and each bite feels cleaner and creamier.
Right before serving, add whipped cream and a tiny dusting of cinnamon. Suddenly, they look like something from a cozy fall bakery case.
Tips for Success
Keep the crust cold. That’s the big one.
Warm dough gets soft, sticky, and harder to handle. By contrast, cold dough gives you cleaner circles and prettier edges. If the dough starts to feel floppy while you’re working, pause and chill it for a few minutes.
Also, use thick pumpkin puree. Watery filling can lead to soft crust and longer bake time.
Be careful not to overfill the crusts. Pumpkin filling may puff slightly as it bakes, so filling all the way to the top can lead to spills.
Most importantly, don’t overbake. Pumpkin filling is a custard, and custard likes gentle treatment. Pull the pies when the centers are just set, not dry or stiff.
And if one cracks? Add whipped cream. Truly. Whipped cream fixes many dessert problems and most holiday nerves.
Storage and Leftovers
Mini Pumpkin Pies are excellent make-ahead desserts.
Once cooled, store them in an airtight container in the refrigerator. For the freshest crust and creamiest filling, enjoy them within 3 days.
Because the filling contains eggs and dairy, don’t leave the pies at room temperature for too long. After serving, refrigerate leftovers.
To freeze them, cool the pies completely first. Then place them in a freezer-safe container with parchment between layers. For the best texture, freeze them without whipped cream.
Use frozen pies within 1 month for the best flavor and crust texture. When you’re ready to serve, thaw them overnight in the refrigerator.
If you want the crust a bit crisper after thawing, warm the pies in a 350°F oven for 5 to 8 minutes. Let them cool again before adding whipped cream.
What to Serve With Mini Pumpkin Pies
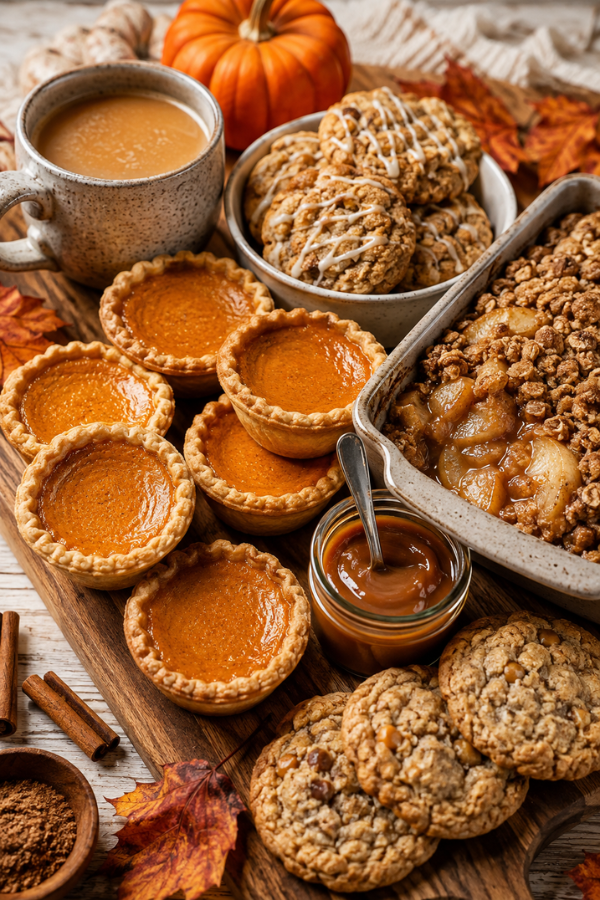
These little pies fit almost anywhere on a fall table.
For Thanksgiving, serve them with apple crisp, pecan bars, cranberry orange cookies, chocolate brownies, or a bowl of whipped cream on the side.
If you’re building a dessert board, tuck them between gingersnaps, cinnamon cookies, fresh grapes, sugared cranberries, and small bowls of caramel or maple cream.
For drinks, they pair well with coffee, chai, hot apple cider, or cold milk. A pumpkin spice latte works too, of course. It’s a little obvious, but sometimes obvious is exactly right.
For brunch, serve them with fruit salad, yogurt parfaits, egg casserole, or cinnamon rolls. Mini Pumpkin Pies for brunch may sound a little indulgent, but hey, it’s fall. We can let it slide.
Common Issues and Easy Fixes
Why is my crust soggy?
The filling may be too wet, or the pies may be underbaked. To fix this, use thick pumpkin puree, avoid overfilling, and bake until the crust edges are golden. Also, let the pies cool completely before storing so steam doesn’t soften the crust.
Why did the filling crack?
The pies were probably overbaked. Next time, pull them from the oven when the centers are just set with a small wobble. If this happens often, check your oven temperature because some ovens run hotter than the dial says.
Why did my crust shrink?
The dough may have been too warm or stretched into the pan. For better results, chill the dough, press it gently, and avoid pulling it up the sides.
Why are my pies hard to remove?
The pan may not have been greased well, or filling may have spilled and baked onto the edges. To prevent this, grease the muffin cups, wipe spills before baking, and loosen the pies with a thin knife after they cool for 10 to 15 minutes.
Why does the filling taste flat?
Pumpkin needs help. Add enough salt and spice so the flavor feels full. Brown sugar, cinnamon, pumpkin pie spice, vanilla, and a tiny pinch of black pepper can all make the filling taste warmer and richer.
Nutrition Info
Nutrition will vary based on the crust, dairy, toppings, and serving size. As a general estimate, one Mini Pumpkin Pie has about 180–250 calories, with most of the richness coming from the buttery crust and creamy pumpkin filling.
Pumpkin puree adds natural fiber, vitamin A, and cozy fall flavor. However, whipped cream or caramel toppings will increase calories and sugar. For a lighter version, use a thinner crust, skip the caramel, and add just a small dollop of whipped cream before serving.
FAQs
1. Can I make Mini Pumpkin Pies ahead of time?
Yes. Bake them the day before, cool completely, and store them covered in the fridge. Then add whipped cream right before serving.
2. Can I use store-bought crust?
Absolutely. Store-bought refrigerated pie crust is one of the easiest shortcuts for this recipe. It saves time and keeps cleanup simple.
3. Can I use fresh pumpkin puree?
Yes, but canned pumpkin is more reliable. Since fresh pumpkin puree can be watery, blot it well before using.
4. Do Mini Pumpkin Pies need to be refrigerated?
Yes. Since the filling contains eggs and dairy, refrigerate the pies after they cool.
5. Can I freeze Mini Pumpkin Pies?
Yes. Freeze them without whipped cream. Then thaw overnight in the fridge and top before serving.
6. Can I make them in a mini muffin pan?
Yes. Use smaller crust circles and reduce the bake time. As a result, you’ll get true bite-sized treats that are great for parties.
7. Can I make them gluten-free?
Yes. Use a tested gluten-free pie crust. Also, handle it gently and keep it cold because gluten-free dough can be more delicate.
8. Are Mini Pumpkin Pies served warm or cold?
They’re good both ways. Cold pies have the cleanest texture, while slightly warm pies taste cozy and soft. If topping with whipped cream, let them cool first.
Final Thoughts
Mini Pumpkin Pies are the kind of dessert that makes hosting feel easier. They’re cute, cozy, and practical, which is a rare little trio. You get all the flavor of classic pumpkin pie without the slicing, the waiting, or the “please let this first piece come out nicely” moment.
Make them for Thanksgiving. Make them for a fall potluck. Or make them because there’s leftover pumpkin in the fridge and the house could use something warm and cinnamon-scented.
Tiny pies, big comfort. That’s the whole story.
Don’t Miss: Maple Glazed Apple Blondies Recipe
Don’t Miss: Cherry Pie Bars
Also Try: Easy Homemade Blueberry Pie
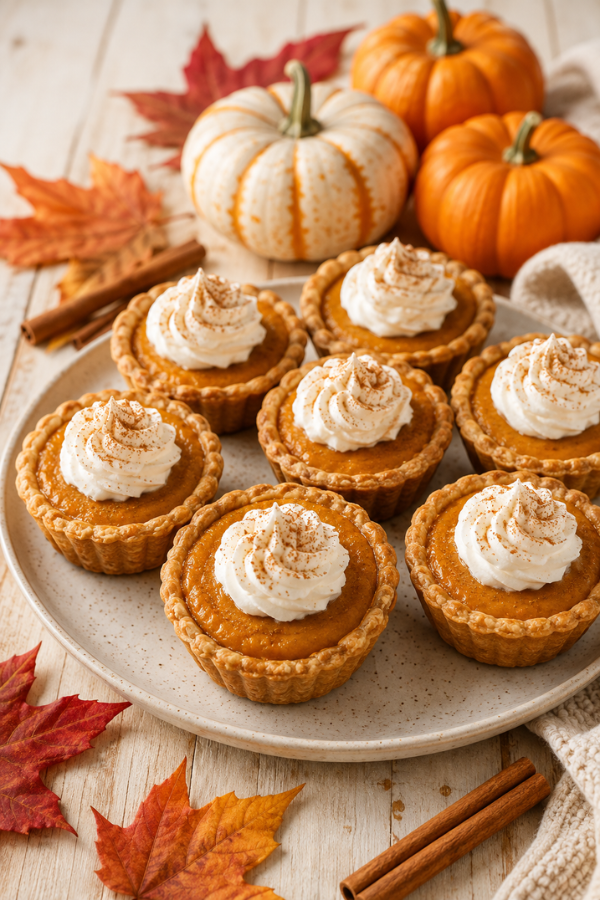
Ingredients
Method
- Preheat the oven to 350°F and grease a 12-cup muffin tin with nonstick spray or softened butter.

- Roll out the pie crust, cut into 3.5-inch circles, then gently press each circle into the muffin cups.
- Chill the crusts while you whisk together the pumpkin puree, egg, egg yolk, sugars, milk or cream, vanilla, spices, and salt.
- Spoon the pumpkin filling into each crust, filling about ¾ full. Wipe away any spills before baking.
- Bake for 20–25 minutes, until the crust is lightly golden and the filling is just set with a slight wobble.
- Cool in the pan for 10–15 minutes, then transfer to a wire rack. Chill if desired and top with whipped cream before serving.

