
Some desserts know exactly what they are. A chocolate chip cookie feels cozy. A brownie, on the other hand, is rich, dense, and deeply chocolatey. But Fudgy Chocolate Brownie Cookies sit right in the happy middle.
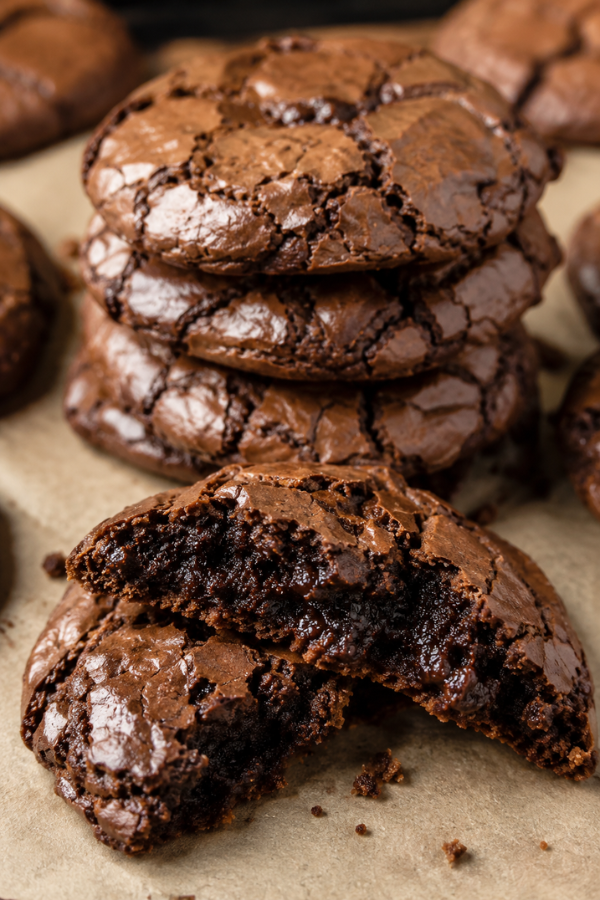
With each bite, you get the shiny, crinkly top of a brownie, the chewy edge of a cookie, and that soft chocolate center that makes everyone pause for one tiny second after the first bite. Honestly, that’s the whole point. These cookies are not trying to be neat little tea cookies. Instead, they’re bold, fudgy, and a little dramatic in the best way.
Even better, they’re practical. You don’t need a special pan. You don’t need frosting. You also don’t need to wait for a whole tray of brownies to cool before slicing. Just scoop, bake, cool, and eat. For a busy Tuesday night, that’s a pretty good deal.
Why You’ll Love This Recipe
This is the kind of cookie recipe that feels a little fancy but still fits into a normal day. You don’t need a mixer marathon, a long chill time, or a sink full of dishes afterward.
Here’s why these cookies are worth making:
They’re fast enough for a weeknight dessert, with about 15 minutes of prep.
Plus, they use simple baking staples like butter, eggs, cocoa powder, flour, sugar, and chocolate.
They’re easy to portion for lunchboxes, cookie trays, bake sales, or freezer treats.
Even better, they taste bakery-style without needing frosting, filling, or decorating.
They’re also flexible, so you can add sea salt, espresso powder, nuts, peppermint chips, or extra chocolate.
Best of all, they can be made ahead and frozen, which is helpful when you want dessert ready before guests arrive.
Here’s the thing: these aren’t pretending to be a “healthy cookie.” They’re a real chocolate treat. However, because they’re homemade and portioned, they feel more balanced than grabbing a huge store-bought brownie. Serve one with berries, coffee, or cold milk, and it hits the sweet spot without making dessert feel like a whole project.
Ingredients You’ll Need
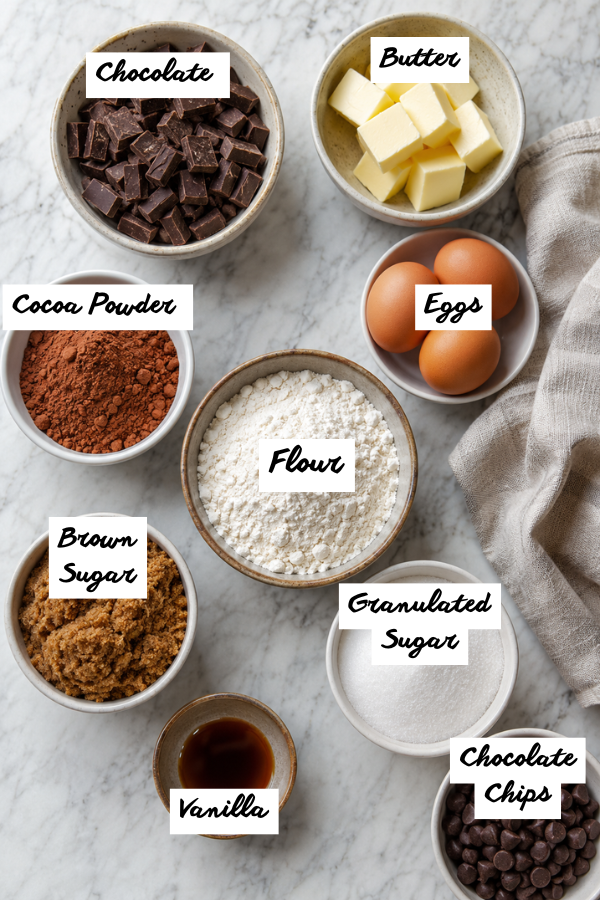
The ingredient list is short, but each item matters. Brownie cookies are a little picky in one way: texture depends on balance. Too much flour and they turn cakey. Too long in the oven and they lose that fudgy center. But don’t worry. I’ll walk you through it.
Main Ingredients
1/2 cup unsalted butter
8 ounces semi-sweet or bittersweet chocolate, chopped
3/4 cup granulated sugar
1/4 cup packed brown sugar
2 large eggs, room temperature
1 teaspoon vanilla extract
2/3 cup all-purpose flour
1/4 cup unsweetened cocoa powder
1/2 teaspoon baking powder
1/2 teaspoon salt
1/2 cup chocolate chips or chopped chocolate
Optional Add-Ins
1 teaspoon espresso powder, for deeper chocolate flavor
Flaky sea salt, for topping
1/2 cup chopped walnuts or pecans
1/3 cup peppermint chips for a holiday version
1/2 cup peanut butter chips for a peanut butter brownie cookie twist
Use good chocolate if you can. You don’t need anything fancy from a boutique shop, but a solid baking bar from Ghirardelli, Baker’s, or Guittard makes a difference. Chocolate chips work, but chopped chocolate melts smoother and gives the dough that glossy brownie feel.
Room-temperature eggs help too. Cold eggs can tighten the melted chocolate mixture too fast. If you forgot to take them out, just place the eggs in a bowl of warm water for 5 to 10 minutes.
Step-by-Step Instructions
This recipe moves fast once the chocolate is melted, so measure everything first. It’s a small step, but it keeps the dough from sitting too long. Brownie cookie dough thickens as it rests, and fresh dough usually gives the best shiny tops.
Step 1: Prep the Oven and Baking Sheets
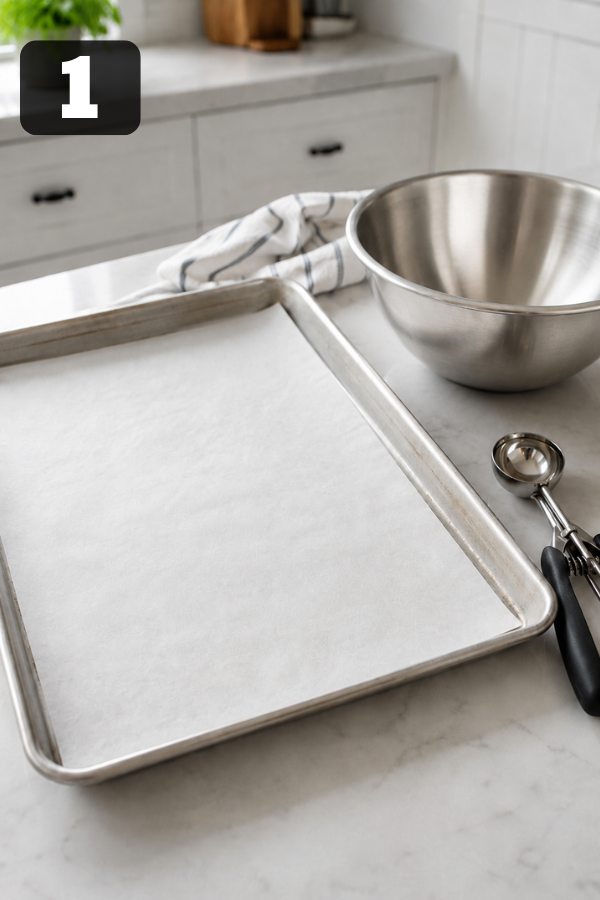
Preheat the oven to 350°F. Line two baking sheets with parchment paper.
Use cool baking sheets if you’re baking in batches. A warm pan can make the dough spread before the cookies have a chance to set. As a result, you may end up with chocolate puddles instead of cookies. Delicious puddles, sure, but still.
Step 2: Melt the Butter and Chocolate
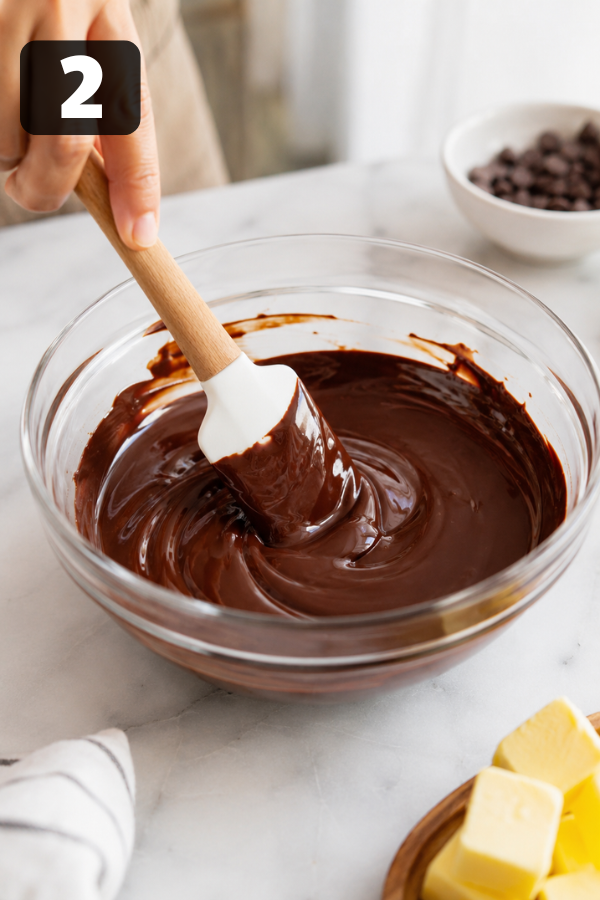
Place the butter and chopped chocolate in a microwave-safe bowl. Heat in 20-second bursts, stirring well each time, until smooth.
Don’t rush this part. Chocolate can go from silky to scorched fast. Once most of it is melted, keep stirring and let the leftover heat finish the job. After that, let the mixture cool for a few minutes before adding it to the eggs.
Step 3: Beat the Eggs and Sugars
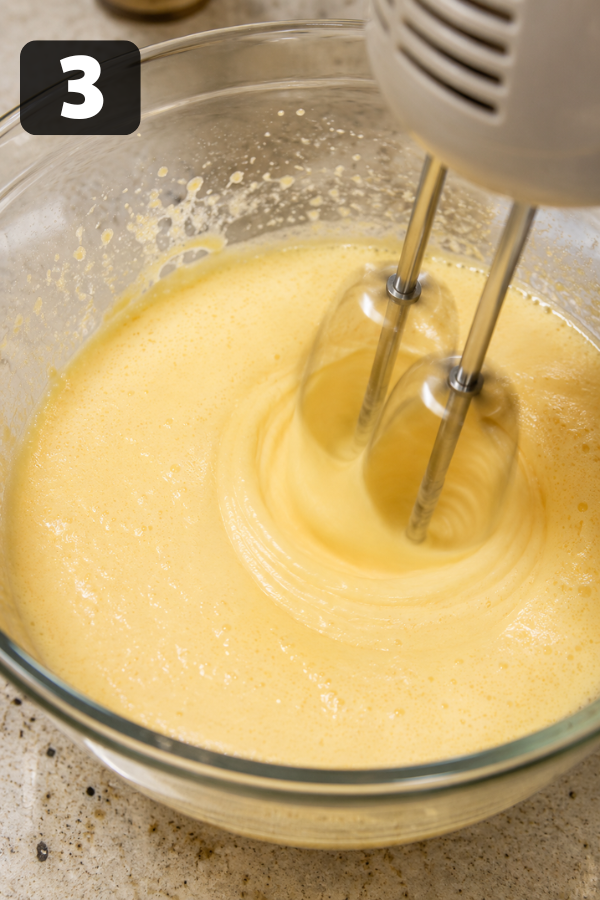
In a large bowl, beat the eggs, granulated sugar, and brown sugar for 3 to 5 minutes. The mixture should look lighter, thicker, and a little glossy.
This is one of the key steps. That shiny, crackly top doesn’t happen by accident. Beating the eggs and sugar helps dissolve the sugar and builds the thin top layer that cracks as the cookies bake.
Then, add the vanilla and mix again.
Step 4: Add the Melted Chocolate
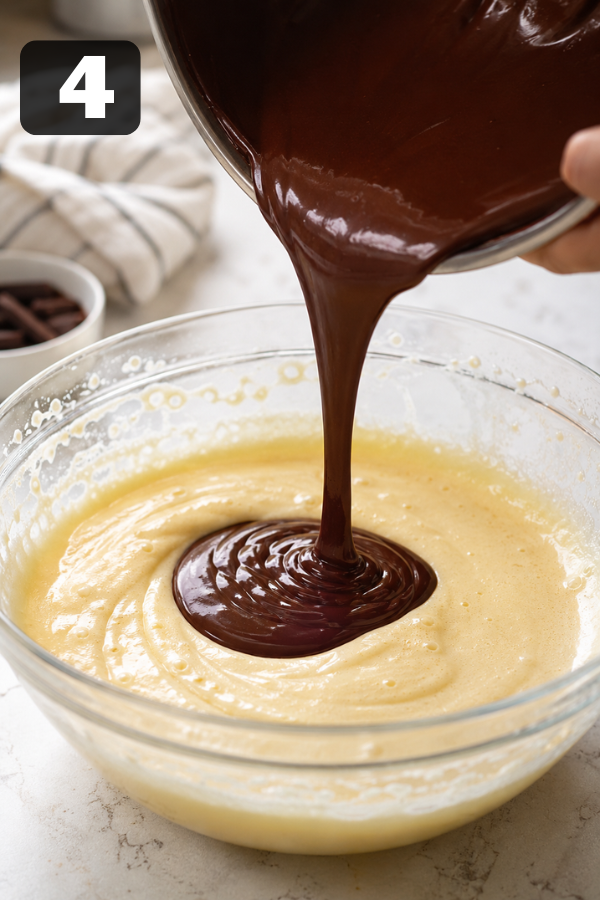
Slowly pour the cooled chocolate mixture into the egg mixture. Mix on low speed until smooth.
At this point, the batter should look glossy and smell like brownie batter. This is the moment when someone usually wanders into the kitchen and asks, “What are you making?” It happens.
Step 5: Fold in the Dry Ingredients
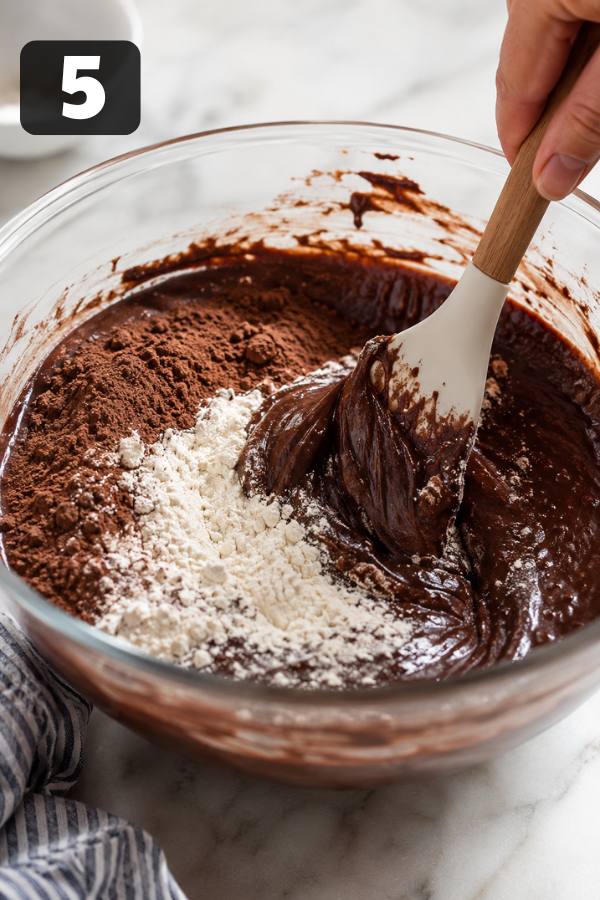
In a separate bowl, whisk together the flour, cocoa powder, baking powder, salt, and espresso powder if using.
Next, fold the dry ingredients into the wet mixture until just combined. Don’t overmix. Once you don’t see dry streaks, stop.
The dough will be soft and sticky. That’s normal. Don’t keep adding flour to make it look like regular cookie dough. Brownie cookie dough is closer to thick brownie batter than classic chocolate chip cookie dough.
Step 6: Add Chocolate Chips
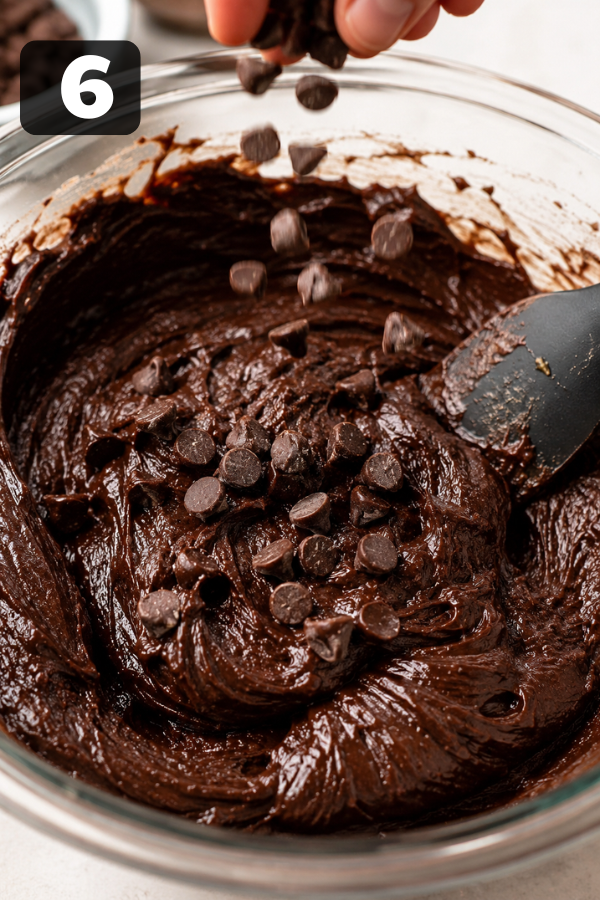
Fold in the chocolate chips or extra chopped chocolate.
For a bakery-style look, save a few pieces and press them on top of each dough scoop before baking. It’s a small thing, but it makes the cookies look generous and homemade in the prettiest way.
Step 7: Scoop and Bake
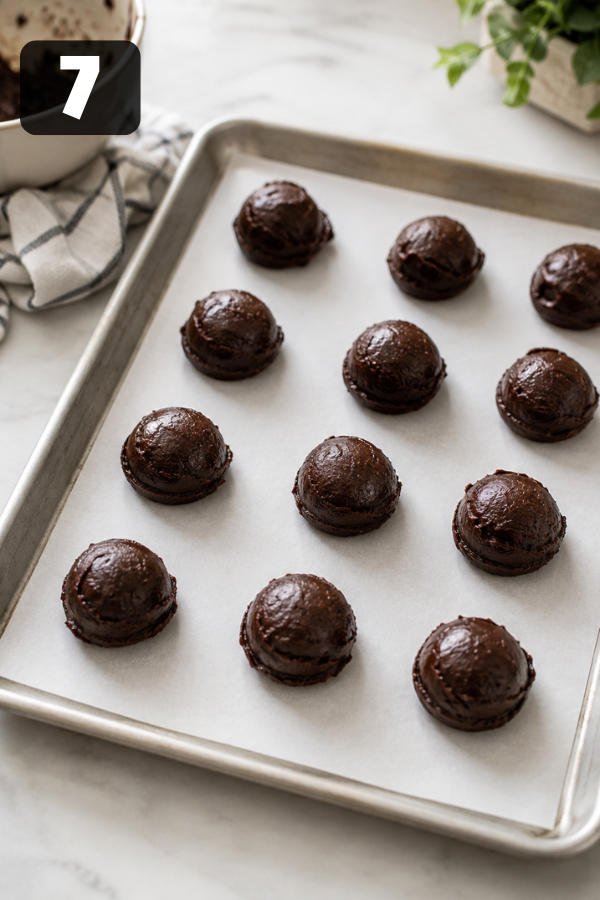
Scoop the dough into 1 1/2 to 2 tablespoon portions. Place them 2 to 3 inches apart on the baking sheets.
Bake for 10 to 12 minutes, or until the tops look crackly and the edges are set. The centers should still look soft. Not raw, but soft.
This is where people often go wrong. If you wait until the whole cookie looks firm, it’s probably overbaked. Brownie cookies keep setting as they cool.
Step 8: Let Them Cool
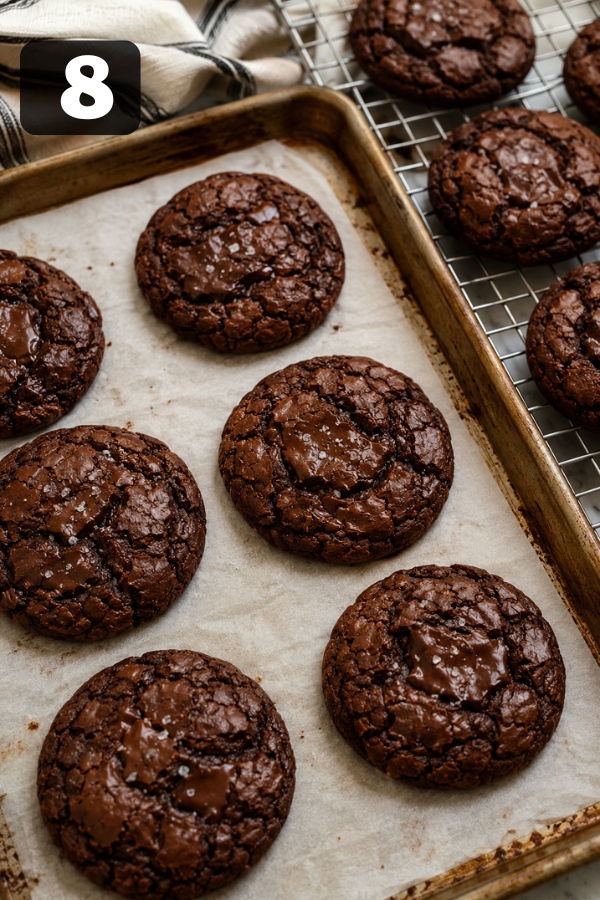
Let the cookies rest on the baking sheet for 5 to 10 minutes. Then move them to a wire rack.
When warm, they’re soft and gooey. Once fully cooled, they get chewier and more brownie-like. Both are good. Different moods, same cookie.
No-Chill or Chill? Here’s the Real Answer
You can bake these right away, and they’ll be wonderful. No-chill brownie cookies tend to spread a bit more and often get those glossy, dramatic tops.
However, if your kitchen is warm or your dough feels loose, chill it for 20 minutes while the oven heats. A short chill helps control spread without turning the dough stiff.
Don’t chill it for hours unless you want a thicker cookie. Long chilling can make brownie cookie dough too firm, and the cookies may not spread much.
So the easy rule is this:
Bake right away for faster, shinier, slightly thinner cookies.
Chill for 20 minutes for thicker cookies with more control.
Avoid over-chilling unless you let the dough soften before baking.
Tips for Soft, Fudgy Centers
The secret is not one big trick. Instead, it comes down to a handful of small choices that protect the soft, fudgy center.
First, measure the flour lightly. Spoon it into the cup and level it off, or use a kitchen scale if you have one. Too much flour is the fastest way to lose that fudgy texture.
Next, use enough chocolate. Cocoa powder adds strong chocolate flavor, while melted chocolate adds body and richness. Together, they create that brownie-like bite.
Finally, pull the cookies from the oven early. The edges should look set, but the centers should still look soft. If you bake them until the whole cookie looks firm, they may turn dry after cooling.
And please, let them cool on the pan. I know waiting is hard. However, those few minutes help the centers settle without drying out.
Common Issues and Easy Fixes
Why didn’t my cookies get crackly tops?
The eggs and sugar may not have been beaten long enough. Beat them until the mixture looks pale and thick. Also, scoop the dough soon after mixing. If the dough sits too long, the tops may look dull.
Why did my cookies spread too much?
The dough may have been too warm, or the baking sheet may have been hot. To fix this, let the melted chocolate cool slightly, use cool pans, and chill the dough for 20 minutes if needed.
Why are my cookies dry?
They were likely overbaked or had too much flour. Take them out when the centers still look soft. For the next batch, reduce bake time by 1 minute.
Why is my dough sticky?
That’s normal. Brownie cookie dough is supposed to be sticky. Use a cookie scoop instead of your hands. If it’s too loose, chill it briefly.
Why didn’t the cookies spread?
The dough may have been chilled too long, or there may be too much flour. Let chilled dough sit at room temperature for 10 minutes before baking.
Storage and Leftover Notes
Store cooled cookies in an airtight container at room temperature for up to 3 days for the best texture. They may last longer, but they’re at their fudgiest early on.
To freeze baked cookies, place them in a freezer-safe bag or container for up to 2 months. Then, thaw at room temperature and warm for about 8 to 10 seconds in the microwave if you want that soft-center feeling back.
You can also freeze the dough. Scoop it into balls, freeze on a tray, then move the frozen dough balls to a freezer bag. Bake from frozen and add about 1 extra minute. The tops may be less shiny than fresh dough, but the flavor will still be lovely.
What to Serve With Brownie Cookies
These cookies don’t need much, but the right pairing makes them feel even better.
Serve them with cold milk for the classic route. Coffee is great too, especially if you use dark chocolate or espresso powder in the dough. For a simple dessert plate, add strawberries, raspberries, or sliced bananas.
For parties, turn them into brownie cookie ice cream sandwiches. Vanilla, strawberry, coffee, or mint chip ice cream all work. Wrap them and freeze until firm. As a result, you get a low-effort dessert that looks like you planned ahead.
And for the holidays? Add peppermint chips or a white chocolate drizzle. Suddenly, they’re cookie tray material.
Easy Variations
Salted Fudgy Brownie Cookies
Sprinkle flaky sea salt on top right after baking. It balances the sweetness and makes the chocolate taste deeper.
Peppermint Brownie Cookies
Fold in peppermint chips or crushed peppermint candy. Keep it light so the peppermint doesn’t take over.
Espresso Brownie Cookies
Add 1 teaspoon espresso powder to the dry ingredients. It makes the chocolate taste richer without turning the cookie into a coffee dessert.
Nutty Brownie Cookies
Add chopped walnuts or pecans for crunch. Toast the nuts first if you have time. It adds a warm, bakery-style flavor.
Peanut Butter Brownie Cookies
Fold in peanut butter chips, or drizzle melted peanut butter over cooled cookies. Chocolate and peanut butter rarely miss.
Nutrition Info
Nutrition will vary based on cookie size and chocolate brand, but one medium cookie is usually around:
Calories: 160–210
Carbs: 22–28g
Fat: 8–12g
Protein: 2–4g
Sugar: 14–18g
For a lighter serving, make smaller cookies with a 1-tablespoon scoop. You still get the fudgy bite, just in a smaller package.
FAQs
1. Can I make Fudgy Chocolate Brownie Cookies ahead of time?
Yes. Bake them a day ahead and store them airtight, or freeze the baked cookies for longer storage. For the shiniest tops, fresh dough works best.
2. Do I have to chill the dough?
No. You can bake it right away. Chill for 20 minutes only if the dough feels warm or you want thicker cookies.
3. Can I use cocoa powder only?
You can, but the texture won’t be as fudgy. Melted chocolate gives these cookies their rich brownie-like center.
4. Can I make these gluten-free?
Yes, use a tested 1:1 gluten-free flour blend. The cookies may be a little more delicate, but they can still be delicious.
5. Can I double the recipe?
Yes. Bake in batches and use cool baking sheets each time. Warm pans can make the dough spread too much.
Final Thoughts
Fudgy Chocolate Brownie Cookies are the kind of dessert that feels bigger than the effort it takes. They’re fast, rich, easy to share, and just messy enough to feel homemade.
Bake them when you want brownies but don’t want to cut squares. Bake them when the house needs to smell like chocolate. Bake them because sometimes one warm cookie with a crackly top is exactly the right answer.
Don’t Miss: Flourless Chocolate Cake
Don’t Miss: Maple Glazed Apple Blondies Recipe
Also Try: Chocolate Raspberry Cake
Ingredients
Method
- Prep the oven: Preheat oven to 350°F. Line two baking sheets with parchment paper and use cool pans for each batch.

- Melt chocolate and butter: Melt butter and chopped chocolate in 20-second bursts, stirring until smooth. Let cool slightly.
- Beat eggs and sugars: Beat eggs, granulated sugar, and brown sugar for 3–5 minutes until pale, thick, and glossy. Mix in vanilla.
- Add melted chocolate: Slowly pour the cooled chocolate mixture into the egg mixture. Mix on low until smooth and glossy.
- Fold in dry ingredients: Whisk flour, cocoa powder, baking powder, salt, and espresso powder if using. Fold into the wet mixture until just combined.
- Add chocolate chips: Fold in chocolate chips or chopped chocolate. Save a few pieces to press on top if desired.
- Scoop and bake: Scoop 1 1/2 to 2 tablespoon portions onto baking sheets, spacing them 2–3 inches apart. Bake for 10–12 minutes, until tops crack and edges set.
- Cool before serving: Let cookies cool on the baking sheet for 5–10 minutes, then transfer to a wire rack. Cookies will firm up as they cool.
