Looking for an easy spring dessert that feels festive, soft, and impossible to resist? These Easter M&M Cookies are everything you want in a holiday treat—soft in the center, chewy in every bite, and packed with colorful candy-coated chocolate that makes them perfect for Easter baking, brunch tables, or sweet family moments. With simple pantry ingredients, quick prep, and a bakery-style finish, this recipe is ideal for anyone who wants a fun homemade cookie without overcomplicating things.
Why You’ll Love These Cookies
Let me be honest—this isn’t just another cookie recipe. It’s the kind you make once… and suddenly it becomes “your thing.”
- They’re fast. From mixing to baking, you’re looking at about 25–30 minutes total
- The texture hits that sweet spot: soft, chewy, just a little crisp on the edges
- You don’t need anything fancy—just pantry staples and a bag of Easter M&Ms
- Kids love helping with these (and honestly, so do adults)
- They look good. And yes, that matters—especially if you’re sharing on Pinterest or bringing them to a gathering
And if you’re thinking ahead? The dough freezes beautifully. Future-you will be grateful.
Ingredients

Here’s the thing—you probably already have most of these in your kitchen.
Dry Ingredients
- 2 ¼ cups all-purpose flour
- 1 teaspoon baking soda
- ½ teaspoon salt
Wet Ingredients
- ¾ cup unsalted butter, softened
- ½ cup granulated sugar
- ¾ cup brown sugar (this is what keeps them soft)
- 1 large egg + 1 egg yolk
- 2 teaspoons vanilla extract
The Fun Part
- 1 to 1½ cups Easter M&Ms (pastel colors make the difference)
Optional, but worth considering:
- ½ cup white chocolate chips for extra creaminess
- A pinch of flaky sea salt on top for contrast
Quick tip: If your butter is too soft—like almost melted—your cookies will spread too much. Soft, not glossy.
Step-by-Step Instructions
Step 1 – Preheat and Set Up
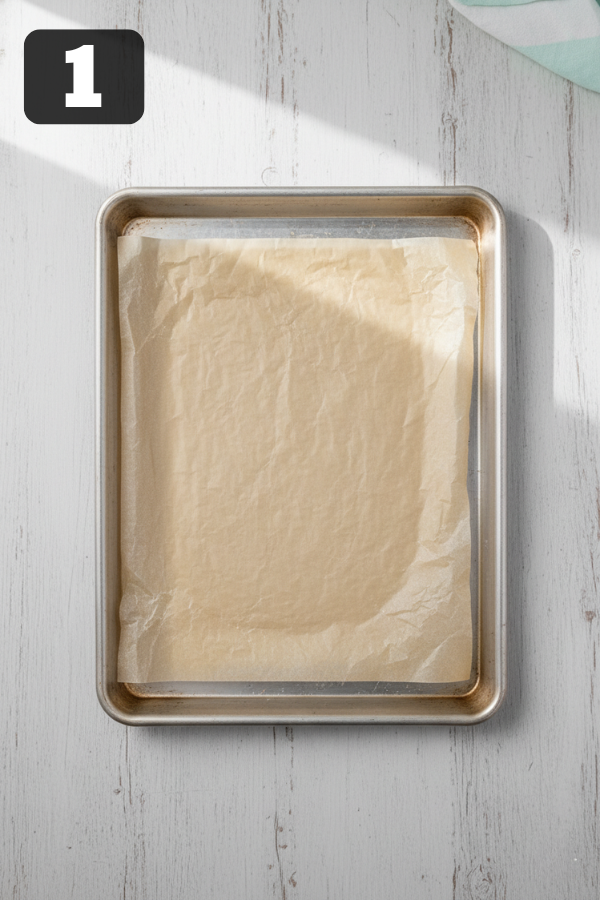
Preheat your oven to 350°F. Line a baking sheet with parchment paper.
You could skip the parchment, but honestly, it makes cleanup so much easier.
Step 2 – Cream Butter and Sugar
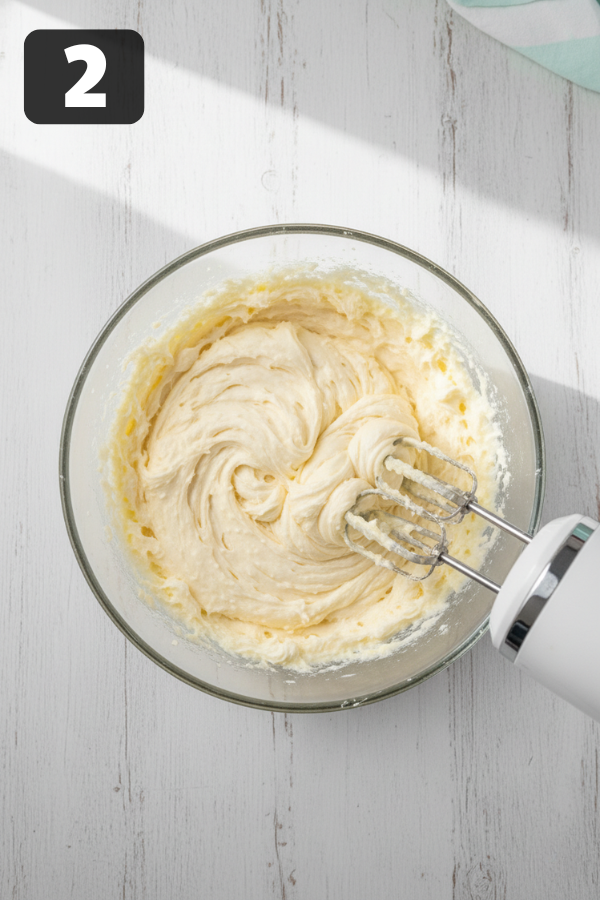
In a large bowl, beat the butter, granulated sugar, and brown sugar together for about 2–3 minutes.
You’re looking for a light, fluffy texture—not dense, not grainy.
Step 3 – Add Eggs and Vanilla
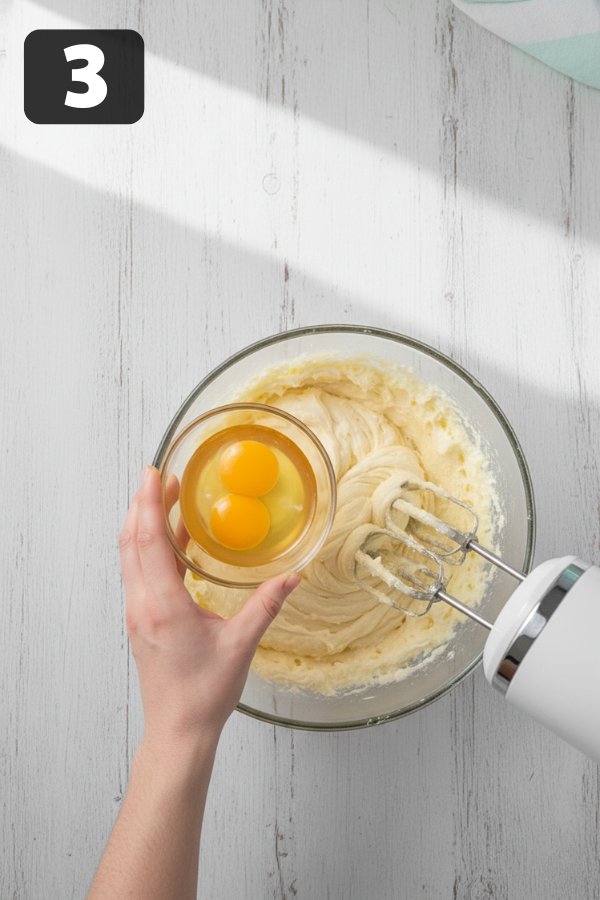
Mix in the egg, then the extra yolk, followed by the vanilla.
Why the extra yolk? It adds richness and keeps the cookies soft. Small detail, big difference.
Step 4 – Mix the Dry Ingredients
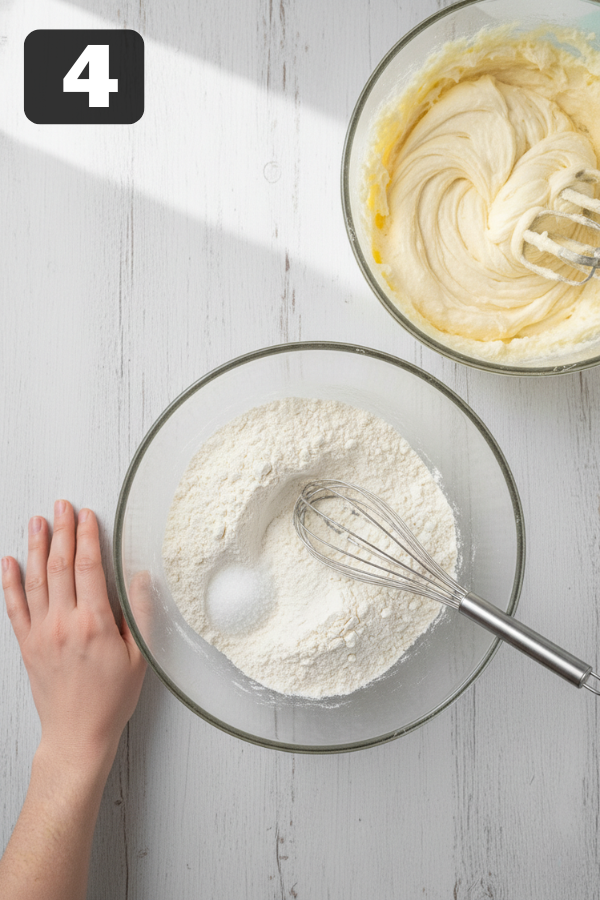
In a separate bowl, whisk together flour, baking soda, and salt.
Slowly add this into your wet mixture. Don’t rush it.
And don’t overmix—once the flour disappears, you’re done.
Step 5 – Fold in the M&Ms
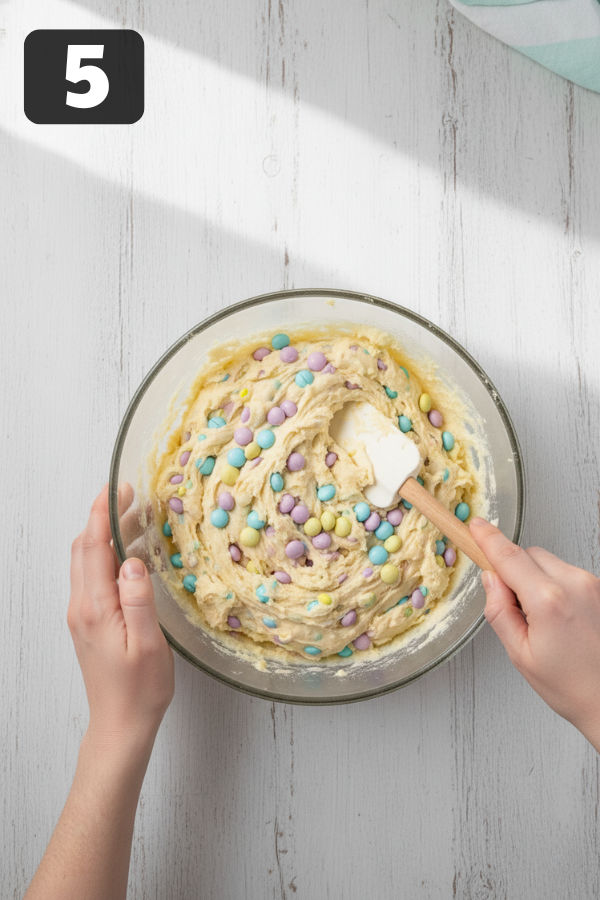
Gently stir in the M&Ms.
Save a handful to press on top later—it gives that bakery-style look.
Step 6 – Scoop the Dough
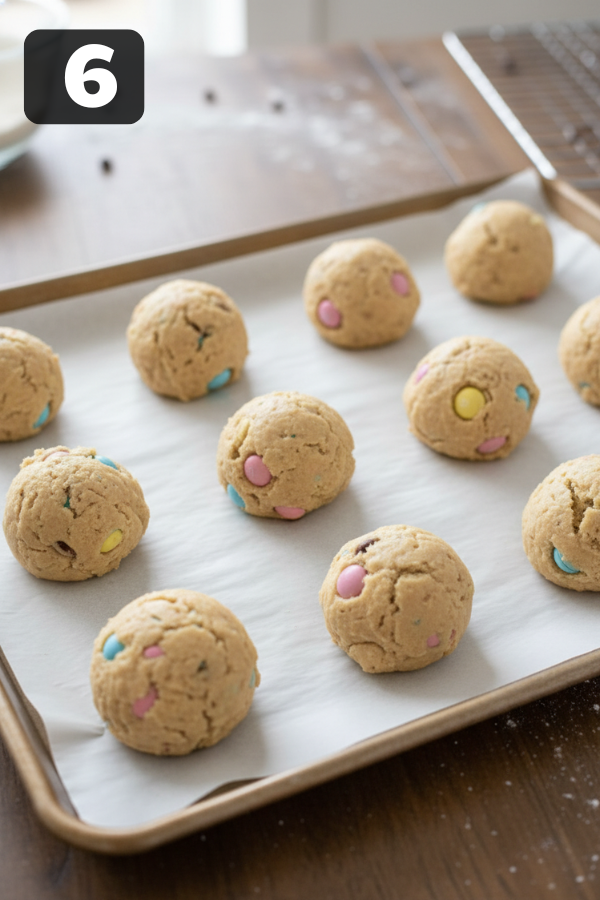
Use a cookie scoop or spoon to portion out dough balls (about 2 tablespoons each).
Place them about 2 inches apart. They will spread. They always do.
Step 7 – Bake
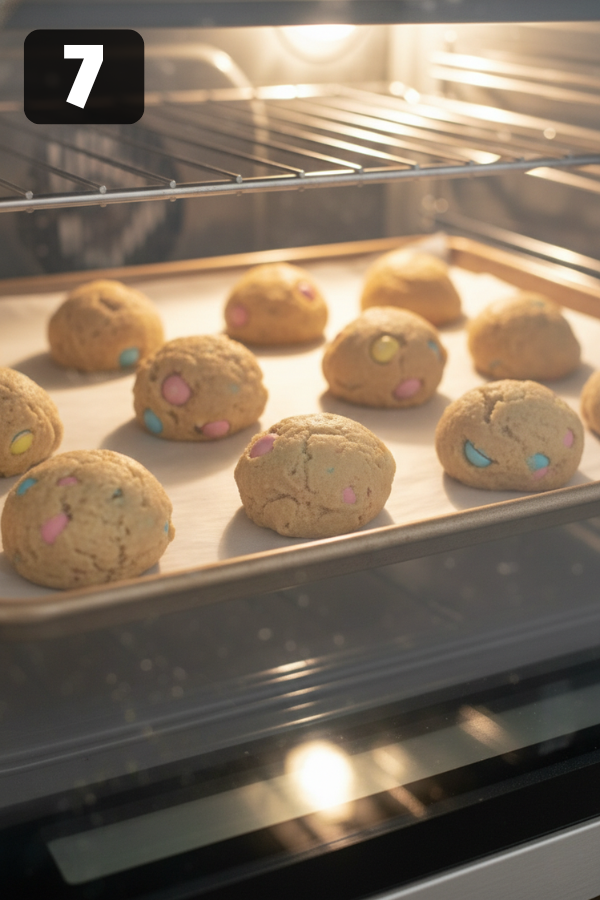
Bake for 9–11 minutes.
The edges should look set, but the centers might seem slightly underdone. That’s exactly what you want.
Step 8 – Cool (The Hardest Part)
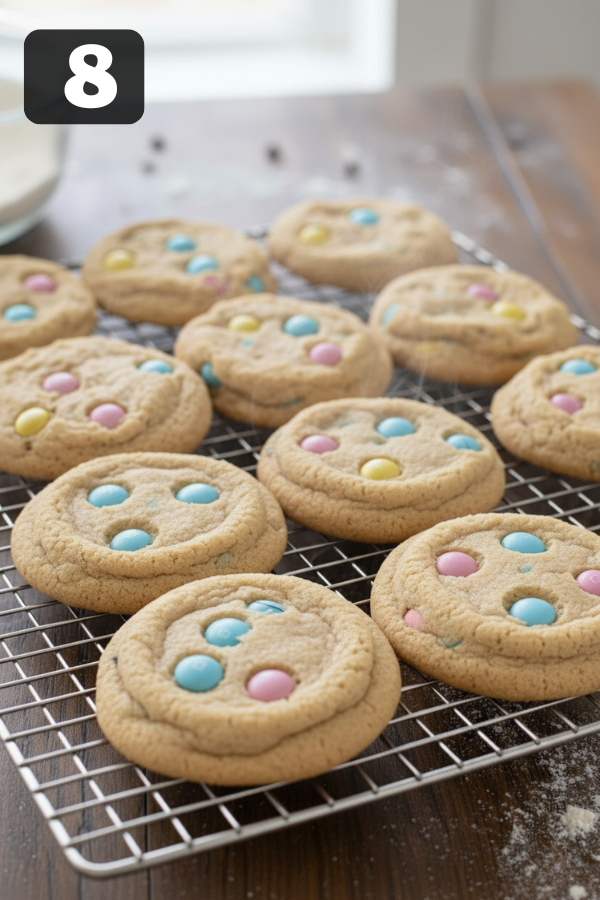
Let them cool on the tray for 5 minutes before moving.
They’ll firm up as they sit. Try not to eat one immediately—though honestly, no judgment if you do.
A Few Small Tricks That Make a Big Difference
You know how some cookies turn out “just okay,” and others feel like bakery-quality? These little details are why.
- Slightly underbake them—this keeps the center soft
- Add extra M&Ms on top right after baking for a more vibrant look
- Chill the dough for 20–30 minutes if you want thicker cookies
- Use more brown sugar than white sugar for chewiness
And here’s a small contradiction:
You don’t have to chill the dough—but if you do, the texture gets noticeably better.
Storing Them (If They Last That Long)
- Room temperature: up to 4–5 days in an airtight container
- Fridge: up to a week
- Freezer:
- Dough balls: up to 2 months
- Baked cookies: about 1–2 months
Reheating tip:
Microwave for 10 seconds. It brings back that just-baked softness.
What Goes Well With These Cookies?
Honestly, they don’t need anything. But if you want to make it a moment:
- A glass of cold milk (classic, always works)
- Coffee or a vanilla latte
- Vanilla ice cream—turn them into ice cream sandwiches
Or just serve them on a pastel plate at Easter brunch. They fit right in.
Variations You Can Try
Once you’ve made these once, you’ll start tweaking. That’s part of the fun.
- Swap M&Ms for chocolate chunks for a more classic feel
- Add shredded coconut for a spring vibe
- Use dark chocolate M&Ms for less sweetness
- Make them mini-sized for party trays
Or—this one’s underrated—add a little lemon zest to the dough. It brightens everything.
Common Problems (And Easy Fixes)
Cookies spread too much?
Your butter was too soft. Chill the dough next time.
Too dry?
They baked too long. Pull them out earlier—even if they look slightly underdone.
Not colorful enough?
Press extra M&Ms on top right after baking.
Texture feels off?
You might have added too much flour. It happens—try spooning and leveling next time instead of scooping.
Nutrition Info
- Calories: 180–220
- Carbs: 22g
- Fat: 9g
- Protein: 2–3g
It’s a treat—not a salad. But hey, balance matters.
FAQs
- Can I make the dough ahead of time?
Yes, and it actually improves the flavor if you let it sit in the fridge for a few hours. - Can I use regular M&Ms?
Absolutely. Easter ones just make them more festive. - Why are my cookies flat?
Usually butter that’s too warm or skipping the chill step. - Can I freeze the dough?
Yes—freeze in scooped portions for easy baking later.
Conclusion
These Easter M&M Cookies are simple, reliable, and just fun to make. They don’t require much effort, but they deliver that soft, chewy, bakery-style result every time.
And maybe that’s why people keep coming back to them.
Don’t Miss: Christmas Chocolate Chip Cookies (Easy & Delicious)

Ingredients
Method
- Step 1 – Preheat and Set UpPreheat your oven to 350°F. Line a baking sheet with parchment paper.You could skip the parchment, but honestly, it makes cleanup so much easier.

- Step 2 – Cream Butter and SugarIn a large bowl, beat the butter, granulated sugar, and brown sugar together for about 2–3 minutes.You’re looking for a light, fluffy texture—not dense, not grainy.
- Step 3 – Add Eggs and VanillaMix in the egg, then the extra yolk, followed by the vanilla.Why the extra yolk? It adds richness and keeps the cookies soft. Small detail, big difference.
- Step 4 – Mix the Dry IngredientsIn a separate bowl, whisk together flour, baking soda, and salt.Slowly add this into your wet mixture. Don’t rush it.And don’t overmix—once the flour disappears, you’re done.
- Step 5 – Fold in the M&MsGently stir in the M&Ms.Save a handful to press on top later—it gives that bakery-style look.
- Step 6 – Scoop the DoughUse a cookie scoop or spoon to portion out dough balls (about 2 tablespoons each).Place them about 2 inches apart. They will spread. They always do.
- Step 7 – BakeBake for 9–11 minutes.The edges should look set, but the centers might seem slightly underdone. That’s exactly what you want.
- Step 8 – Cool (The Hardest Part)Let them cool on the tray for 5 minutes before moving.They’ll firm up as they sit. Try not to eat one immediately—though honestly, no judgment if you do.


