
This Best Jalapeño Popper Dip transforms the bold, comforting flavors of classic jalapeño poppers into one warm, creamy, scoopable appetizer. Every bite combines melty cheese, a gentle jalapeño kick, optional smoky bacon, and a buttery golden topping baked until crisp and bubbling.
Because it is easy to prepare and serve, this dip fits almost any occasion. Add it to a game day table, holiday snack spread, backyard BBQ, or casual movie night. Pair it with tortilla chips, crackers, toasted bread, or crunchy vegetables, and it will likely be the dish guests return to again and again.
Best of all, the recipe is flexible without becoming complicated. For example, you can keep it mild for a mixed crowd, substitute Pepper Jack for extra heat, leave out the bacon for a meatless version, or add colorful garnishes for a party-ready finish.
Why You’ll Love This Recipe
Quick to prep: First, you only need about 10–15 minutes of hands-on preparation before the dip goes into the oven.
Easy to serve: Instead of shaping and plating individual appetizers, simply bake the dip, place it on the table, and let everyone scoop their own portion.
Creamy with a crispy top: While the filling stays rich and melty, the buttery panko topping adds a satisfying crunch.
Simple to adjust: Depending on your guests, you can make it mild, medium, spicy, bacon-loaded, or completely vegetarian.
Make-ahead friendly: Prepare the filling in advance and refrigerate it. Then, add the topping and bake shortly before serving.
Low cleanup: Finally, the recipe requires only one mixing bowl, one baking dish, and very little complicated prep.
Ingredients
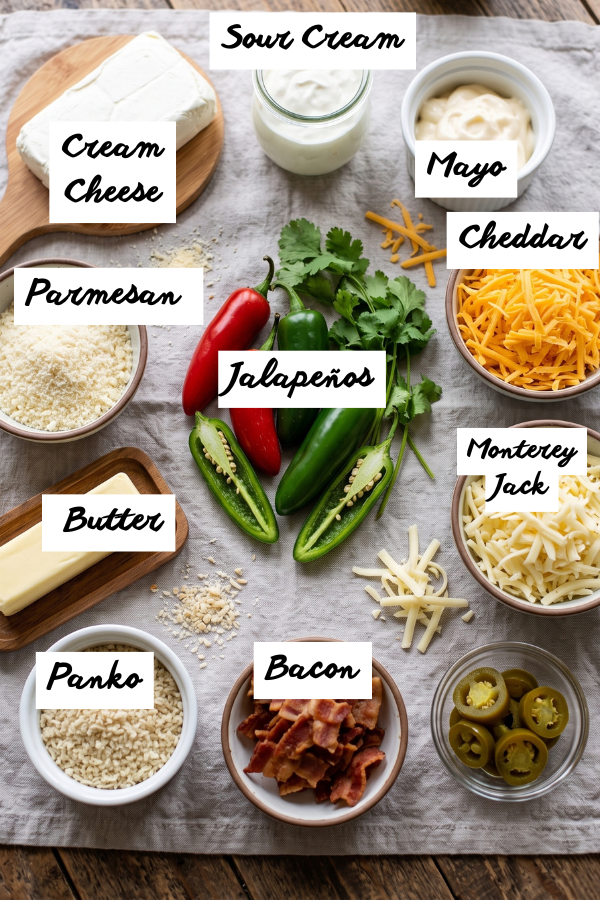
Cream Cheese
Use 8 ounces of softened cream cheese. This forms the base of the dip and creates a rich, creamy texture in every scoop.
For the smoothest filling, let the cream cheese sit at room temperature before mixing. Cold cream cheese can remain lumpy and make the ingredients harder to combine.
Full-fat cream cheese produces the richest and smoothest result. However, reduced-fat cream cheese can also work when you want a slightly lighter version.
Sour Cream
Use ½ cup of sour cream.
Sour cream adds tanginess, loosens the filling, and prevents the dip from feeling too dense or heavy.
Alternatively, plain Greek yogurt can be used for a lighter and slightly tangier variation.
Mayonnaise
Use ⅓ cup of mayonnaise.
Mayonnaise provides additional richness and helps the dip remain creamy after baking.
If you prefer a lighter mayonnaise flavor, reduce the amount to ¼ cup. Then, add an extra spoonful of sour cream to maintain the creamy consistency.
Cheddar Cheese
Use 1 cup of shredded cheddar cheese.
Sharp cheddar provides a stronger, more savory flavor, while mild cheddar offers a softer taste that may be better for families or mixed crowds.
Whenever possible, shred the cheese from a block because freshly shredded cheese melts more smoothly. Nevertheless, pre-shredded cheese works well when convenience is more important.
Monterey Jack Cheese
Use 1 cup of shredded Monterey Jack cheese.
This cheese melts smoothly and gives the dip its creamy, stretchy texture.
For additional heat, replace Monterey Jack with Pepper Jack cheese.
Parmesan Cheese
Use ½ cup of Parmesan cheese, divided.
Part of the Parmesan goes into the creamy filling, while the remaining portion is mixed into the topping.
In addition to adding salty, savory flavor, Parmesan helps the surface become beautifully golden during baking.
Jalapeños
Use 4 ounces of canned diced jalapeños, drained well.
Canned jalapeños are convenient because they have a soft texture and relatively consistent heat. Alternatively, pickled jalapeños work well when you want the dip to have a little more tang.
For a fresher flavor, use 2–4 finely chopped fresh jalapeños. Remove the seeds and ribs for a milder result, or leave some intact for additional heat.
If you prefer a softer texture, sauté or roast the fresh peppers before adding them to the filling.
Bacon
Use 6 slices of cooked bacon, chopped.
Although bacon is optional, it provides smoky, salty flavor that pairs especially well with the creamy cheese and spicy jalapeños.
Cook the bacon until crisp, drain it thoroughly, and reserve a small amount for garnishing the top.
For a vegetarian version, leave out the bacon. Instead, add smoked paprika, sliced green onions, roasted corn, or extra Parmesan for more depth.
Seasonings
Use:
- 1 teaspoon garlic powder
- ½ teaspoon onion powder
- Salt, to taste
- Black pepper, to taste
Garlic powder and onion powder enhance the filling without overpowering the jalapeño flavor.
However, add salt carefully at first. The cheese, bacon, Parmesan, and canned jalapeños may already contain enough salt.
Crispy Topping
Use:
- ¾ cup panko breadcrumbs
- 3 tablespoons melted butter
- ¼ cup Parmesan cheese
This simple topping creates a buttery crunch that contrasts with the creamy filling.
If panko is unavailable, substitute regular breadcrumbs, crushed crackers, or crushed tortilla chips.
Step-by-Step Instructions
Step 1: Preheat the Oven
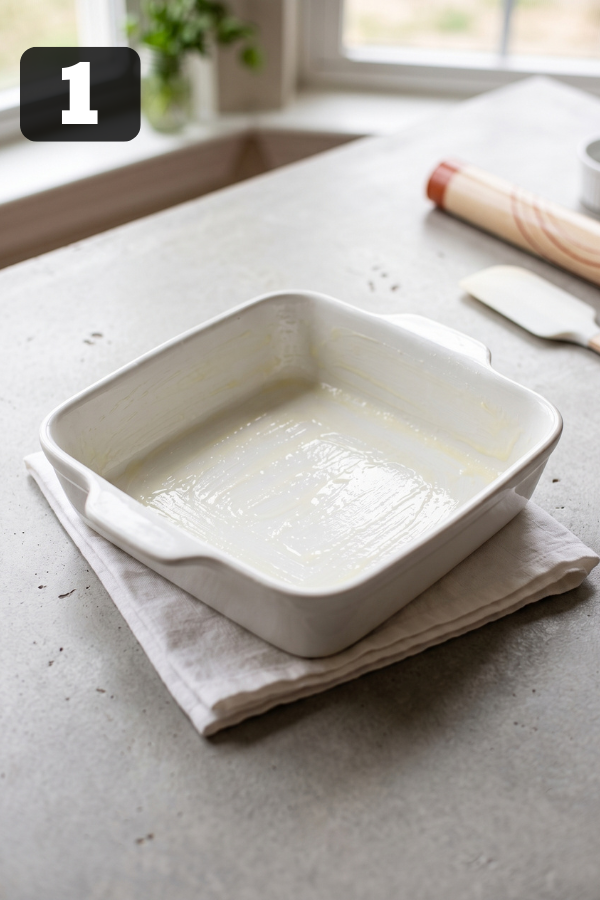
Preheat the oven to 375°F.
Next, lightly grease an 8×8-inch baking dish, a small oven-safe skillet, or a 1.5–2 quart casserole dish.
A shallow baking dish usually works best because the dip heats evenly and provides more surface area for the crispy golden topping.
A deeper dish can also be used. However, it may require a few additional minutes in the oven.
Step 2: Cook the Bacon
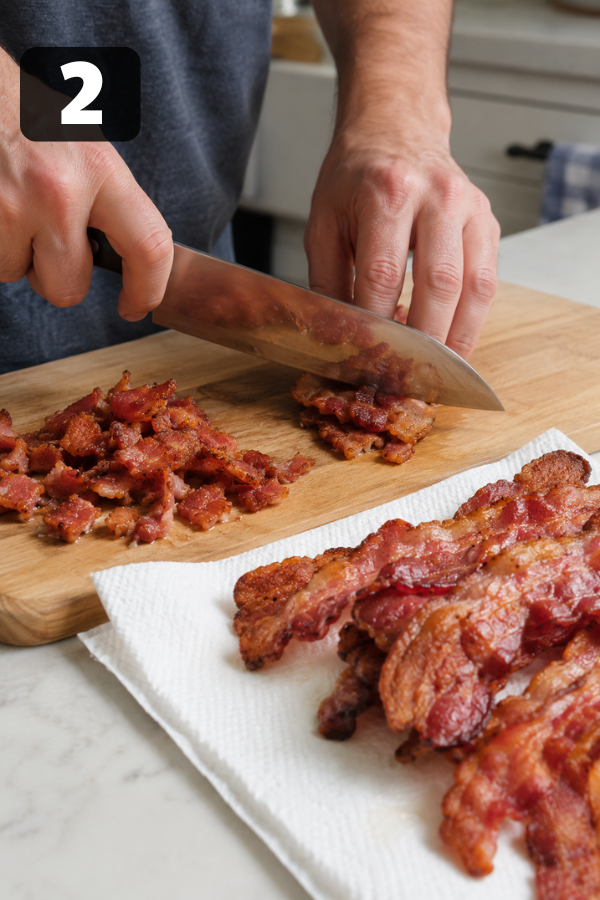
Cook 6 slices of bacon until crisp.
Once cooked, transfer the bacon to a paper towel-lined plate to remove excess grease. Then, chop it into small pieces and reserve a spoonful for the topping.
For a faster option, pre-cooked bacon pieces can be used. Although they may not have the same freshly cooked flavor, they still add a pleasant smoky taste.
Step 3: Mix the Creamy Base
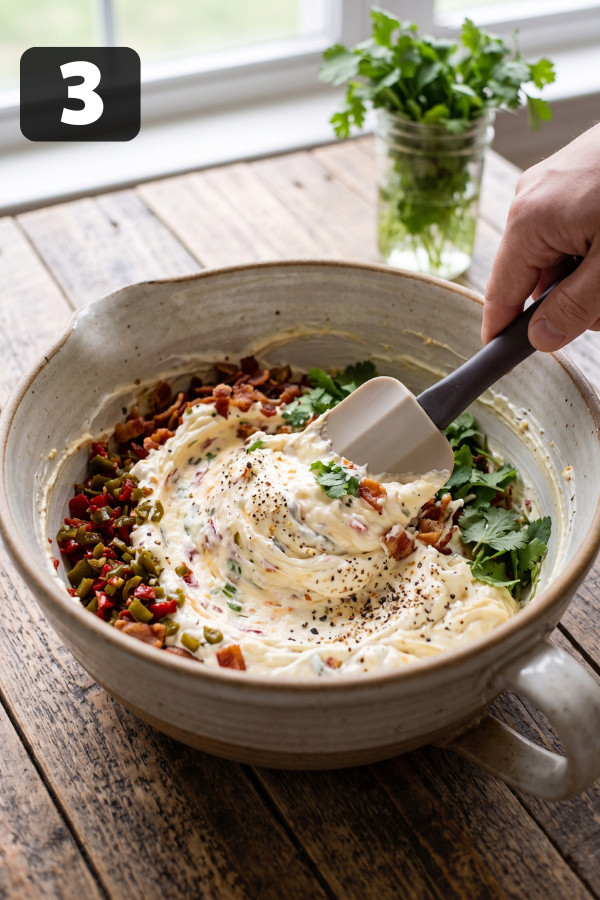
In a large mixing bowl, combine:
- Softened cream cheese
- Sour cream
- Mayonnaise
- Garlic powder
- Onion powder
- Salt
- Black pepper
Mix until the ingredients form a smooth and creamy base.
A hand mixer makes this step especially quick and helps create a lighter texture. However, a sturdy spatula or wooden spoon also works well when the cream cheese is properly softened.
Take time to remove any cream cheese lumps because a smooth base creates a much better finished dip.
Step 4: Fold in the Cheese, Jalapeños, and Bacon
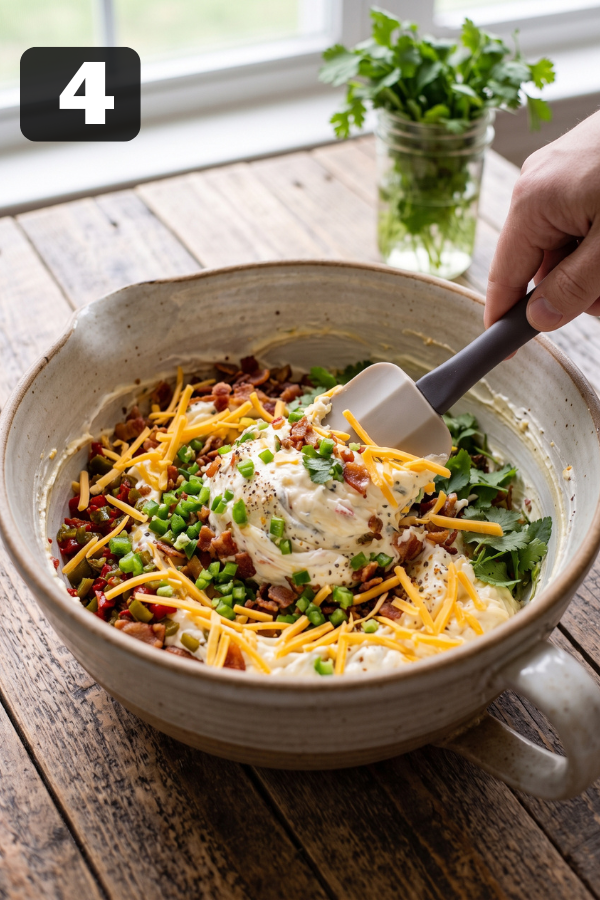
Add the following ingredients to the creamy base:
- Shredded cheddar
- Shredded Monterey Jack
- ¼ cup Parmesan
- Drained jalapeños
- Most of the chopped bacon
Gently fold everything together until the ingredients are evenly distributed.
At this stage, taste a small amount of the mixture before baking. For additional heat, add cayenne pepper, hot sauce, Pepper Jack, or more chopped jalapeños.
On the other hand, if the mixture tastes too spicy, stir in another spoonful of sour cream or cream cheese.
Step 5: Spread the Dip into the Baking Dish
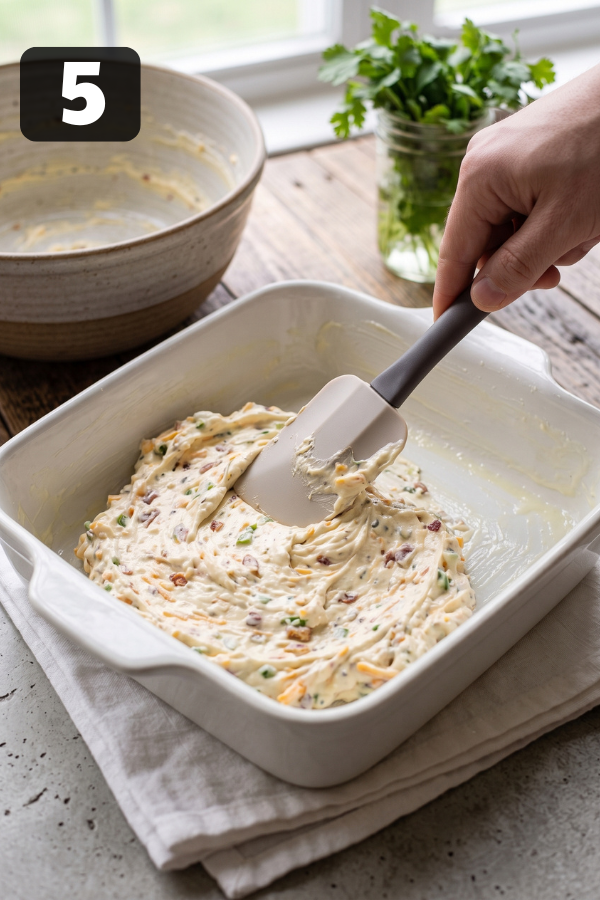
Transfer the mixture to the prepared baking dish.
Using a spatula, spread the filling into an even layer and smooth the surface.
Avoid pressing the mixture down too firmly. Otherwise, the finished dip may become dense instead of soft and creamy.
Additionally, leave a little room near the top of the baking dish because the edges may bubble as the dip heats.
Step 6: Make the Buttery Topping
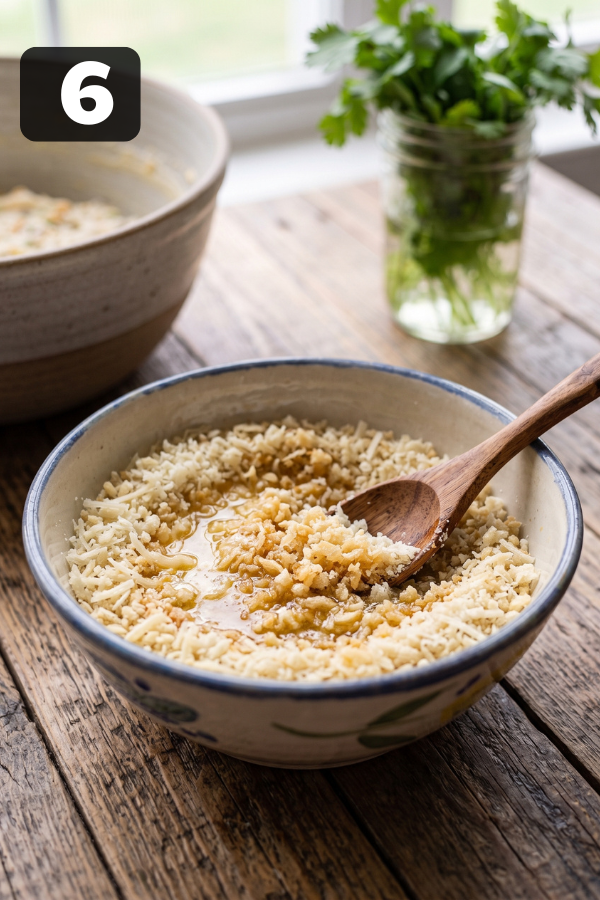
In a small bowl, combine:
- Panko breadcrumbs
- Melted butter
- Remaining Parmesan cheese
Stir until the breadcrumbs are evenly coated with butter.
Next, sprinkle the topping evenly over the dip.
For a more attractive presentation, add the reserved bacon and a few jalapeño slices over the breadcrumb layer.
Step 7: Bake Until Hot and Bubbly
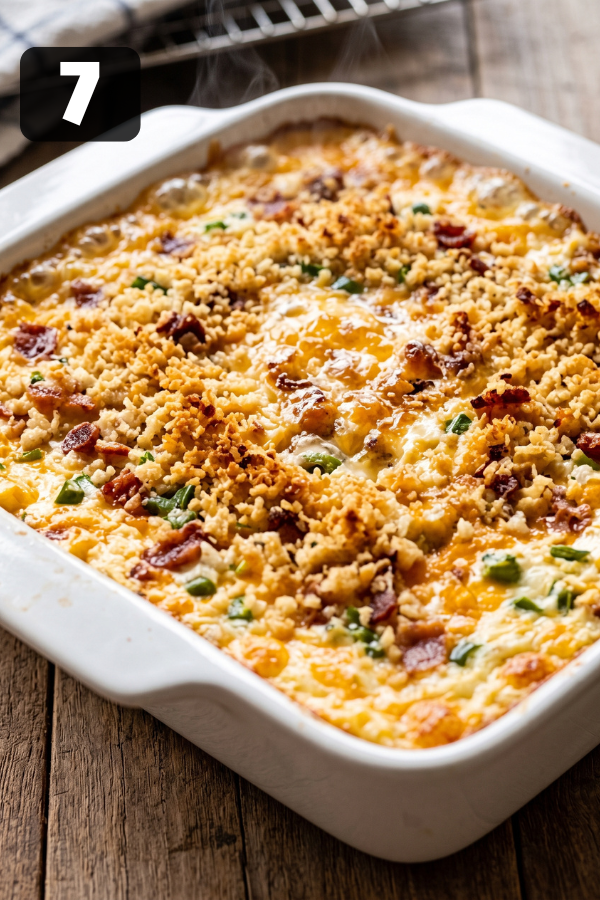
Bake the dip for 18–22 minutes.
It is ready when the edges are bubbling, the center is hot, and the topping is lightly golden.
If the dip was prepared ahead and refrigerated, it may need an additional 5–10 minutes of baking time.
Meanwhile, if the topping begins to brown before the center becomes hot, cover the dish loosely with aluminum foil and continue baking.
Step 8: Broil for Extra Color
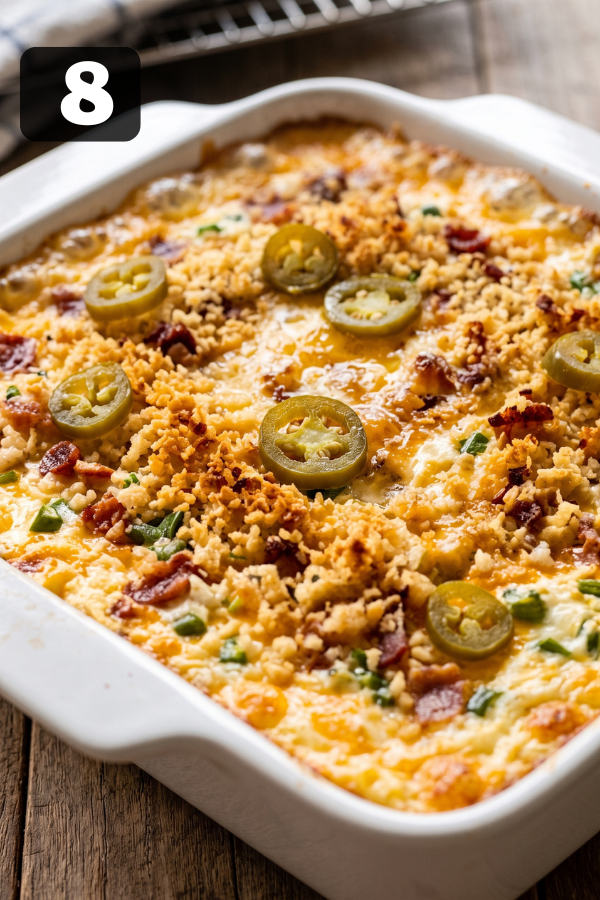
For a darker, crispier topping, broil the dip for 1–3 minutes at the end of baking.
Watch it carefully because panko breadcrumbs can turn from golden to burnt very quickly.
This is not the time to walk away or answer a text message.
Step 9: Let It Rest and Serve
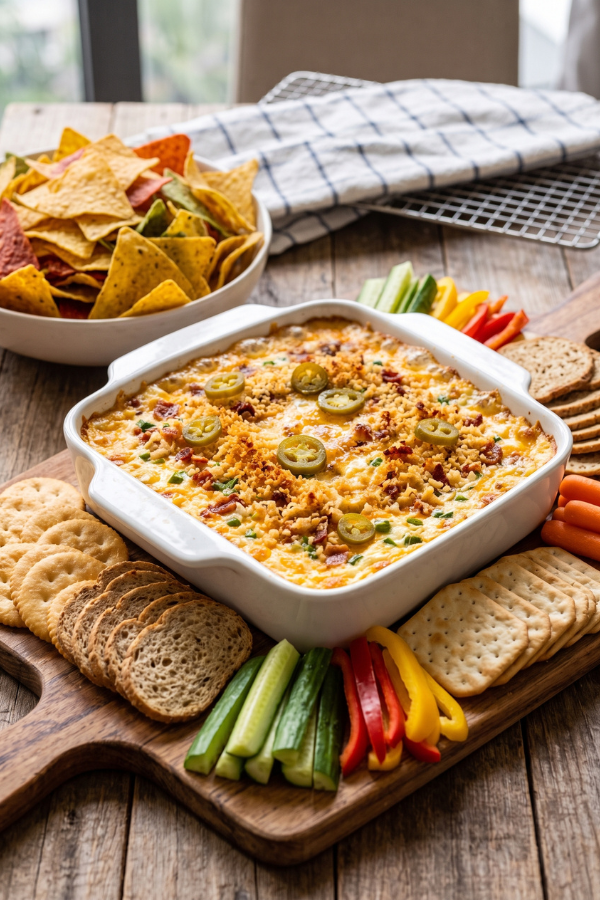
Remove the dip from the oven and allow it to rest for approximately 5 minutes.
During this time, the filling will thicken slightly, making it easier to scoop.
Finally, serve the dip warm with tortilla chips, crackers, toasted baguette slices, celery sticks, cucumber rounds, carrots, or bell pepper strips.
Tips for Success
The biggest secret to a delicious jalapeño popper dip is balance. Ideally, it should taste creamy without feeling overly heavy, spicy without becoming harsh, and cheesy without turning greasy.
To begin, always soften the cream cheese before mixing. This simple step helps the ingredients blend more evenly and prevents small lumps from forming.
Next, drain the jalapeños thoroughly. Since canned peppers can hold extra liquid, patting them dry may also help prevent a watery dip.
For the best flavor and texture, use a combination of cheeses. Cheddar provides bold flavor, Monterey Jack creates a smooth melt, and Parmesan adds salty, savory depth.
Additionally, avoid overbaking the dip. Once the edges are bubbling and the topping is golden, remove it from the oven. Otherwise, the cheese may separate and become oily.
When preparing the recipe ahead of time, store the filling and topping separately. Add the breadcrumb mixture immediately before baking so it remains crisp.
Finally, garnish the finished dip with sliced green onions, fresh jalapeño rounds, chopped bacon, or parsley for a more colorful presentation.
Variations and Substitutions
Bacon Jalapeño Popper Dip
For a smoky, savory version, add crisp chopped bacon to the filling and sprinkle additional pieces over the top.
This variation is especially popular for game day gatherings, parties, and casual weekend snacks.
Vegetarian Jalapeño Popper Dip
Leave out the bacon to create a meatless version.
To replace the smoky flavor, add smoked paprika, roasted corn, extra green onions, or more Parmesan cheese.
Chicken Jalapeño Popper Dip
Add 1–2 cups of shredded cooked chicken.
Rotisserie chicken works particularly well because it is convenient, tender, and already seasoned.
This variation makes the dip more filling and can even turn it into a casual snack-style dinner.
When adding chicken, mix in one or two extra spoonfuls of sour cream so the filling remains creamy.
Gluten-Free Jalapeño Popper Dip
Use gluten-free panko, crushed gluten-free crackers, or crushed corn tortilla chips for the topping.
Alternatively, omit the breadcrumb topping and add extra cheese instead.
Serve the dip with corn tortilla chips or fresh vegetables.
Low-Carb Jalapeño Popper Dip
Skip the panko topping.
Instead, cover the filling with additional cheese, bacon, or sliced jalapeños.
For serving, choose celery sticks, cucumber rounds, bell pepper strips, or other low-carb vegetables.
Lighter Jalapeño Popper Dip
Replace the sour cream with plain Greek yogurt.
Reduced-fat cream cheese can also be used, although the final texture may be slightly less rich.
In addition, serve the dip with plenty of fresh vegetables to create a lighter appetizer plate.
Storage and Leftover Notes
Store leftover jalapeño popper dip in an airtight container in the refrigerator for 3–4 days.
For a small portion, reheat the dip in the microwave using 30-second intervals. Stir between each interval so the filling warms evenly.
For a larger portion, cover the baking dish loosely with foil. Then, reheat it at 325°F–350°F until the center is warm.
However, freezing is not recommended. Because cream cheese and sour cream may separate after thawing, the dip can become grainy or watery.
Instead, prepare the filling ahead and refrigerate it for up to 3 days. Keep the topping in a separate container, then sprinkle it over the dip immediately before baking.
What to Serve With Jalapeño Popper Dip
Because this dip is thick and creamy, it tastes best with sturdy dippers. Thin chips may break easily, so choose options that can hold a generous scoop.
Good choices include:
- Tortilla chips
- Crackers
- Toasted baguette slices
- Pretzels
- Pita chips
- Celery sticks
- Carrot sticks
- Cucumber slices
- Bell pepper strips
For a fuller party spread, pair the dip with chicken wings, sliders, chili, nachos, quesadillas, or a simple vegetable tray.
Meanwhile, refreshing drinks such as iced tea, lemonade, lime sparkling water, light beer, or crisp white wine can help balance the rich filling.
Afterward, finish the meal with an easy dessert. Brownies, chocolate chip cookies, lemon bars, fruit salad, or mini cheesecakes would all work well.
Common Issues and Their Solutions
The Dip Is Too Thick
Stir 1–2 tablespoons of sour cream into the dip while it is still warm.
Next time, add slightly more sour cream or mayonnaise to the filling and avoid baking it for too long.
The Dip Is Watery
The jalapeños may not have been drained thoroughly.
To prevent excess moisture, drain canned peppers well and pat them dry with a paper towel if necessary.
In addition, avoid using too many low-fat dairy ingredients because they can release more liquid when heated.
The Dip Is Greasy
Greasy dip may result from bacon grease, oily cheese, or overbaking.
Therefore, drain the bacon thoroughly, use cheeses that melt smoothly, and remove the dip from the oven once the edges begin bubbling.
The Topping Is Soggy
The breadcrumb mixture may have been added too early.
When preparing the dip ahead of time, refrigerate the filling and topping separately. Then, add the topping immediately before baking.
The Center Is Cold
A deep baking dish or refrigerator-cold filling may require additional baking time.
Cover the top loosely with foil and continue baking until the center is hot.
Next time, allow the assembled dip to sit at room temperature for 15–20 minutes before placing it in the oven.
The Dip Is Too Spicy
Stir in additional sour cream, softened cream cheese, or shredded cheese.
Serving the dip with bread, crackers, or fresh vegetables can also soften the perceived heat.
For a milder result next time, remove the seeds and inner ribs from fresh jalapeños before chopping them.
The Dip Tastes Bland
Add a small pinch of salt, more Parmesan, additional garlic powder, onion powder, or a splash of pickled jalapeño brine.
Furthermore, bacon, sharp cheddar, green onions, and fresh jalapeños can help bring more flavor to the dip.
Frequently Asked Questions
1. Can I make jalapeño popper dip ahead of time?
Yes. Prepare the filling up to 3 days in advance, cover it tightly, and refrigerate it.
However, keep the topping separate until you are ready to bake so the breadcrumbs remain crisp.
2. Can I use fresh jalapeños instead of canned?
Absolutely. Use 2–4 finely chopped fresh jalapeños.
For less heat, remove the seeds and ribs. Additionally, you can sauté or roast the peppers first if you prefer a softer texture.
3. Is jalapeño popper dip spicy?
The heat level can range from mild to spicy.
Because cream cheese and sour cream soften the heat, the standard recipe is usually manageable for most guests.
For additional spice, add Pepper Jack, cayenne pepper, hot sauce, or extra fresh jalapeños.
4. Can I make this recipe without bacon?
Certainly. Even without bacon, the dip remains creamy, cheesy, and flavorful.
Instead, add smoked paprika, green onions, roasted corn, or extra Parmesan for more savory depth.
5. What cheese melts best in this dip?
Monterey Jack melts especially smoothly, while cheddar contributes stronger flavor.
Parmesan, meanwhile, adds salty and savory notes. Therefore, combining all three creates the best overall balance.
6. Can I freeze jalapeño popper dip?
Freezing is not recommended because dairy-based dips can separate after thawing.
For better results, prepare the filling ahead of time and refrigerate it instead.
Nutrition Info
Nutrition will vary based on brands, toppings, and serving size. For a rough estimate, one serving may contain:
- Calories: 180–300
- Protein: 5–10g
- Carbs: 3–8g
- Fat: 15–25g
For a lighter option, serve it with vegetables and use Greek yogurt in place of sour cream.
Final Thoughts
This Best Jalapeño Popper Dip is simple, cozy, and always a crowd-pleaser. It gives you all the creamy, cheesy, lightly spicy flavor of jalapeño poppers without the extra work.
Serve it warm, add the toppings you love, and don’t be surprised if the dish is scraped clean before the party is over.
Don’t Miss: Jalapeño Popper Wonton Cups
Don’t Miss: The Best Guacamole Recipe
Also Try: Baked Cream Cheese Chicken Taquitos
Ingredients
Method
- Preheat the oven to 375°F. Lightly grease an 8x8-inch baking dish, small oven-safe skillet, or 1.5–2 quart casserole dish.

- Cook the bacon until crisp, then drain and chop. Reserve a small spoonful for topping.
- Mix the creamy base in a large bowl: softened cream cheese, sour cream, mayonnaise, garlic powder, onion powder, salt, and black pepper. Stir until smooth.
- Fold in the cheese and jalapeños: cheddar, Monterey Jack, ¼ cup Parmesan, drained jalapeños, and most of the chopped bacon.
- Spread the dip evenly into the prepared baking dish. Smooth the top with a spatula.
- Make the topping by mixing panko breadcrumbs, melted butter, and the remaining Parmesan. Sprinkle evenly over the dip.
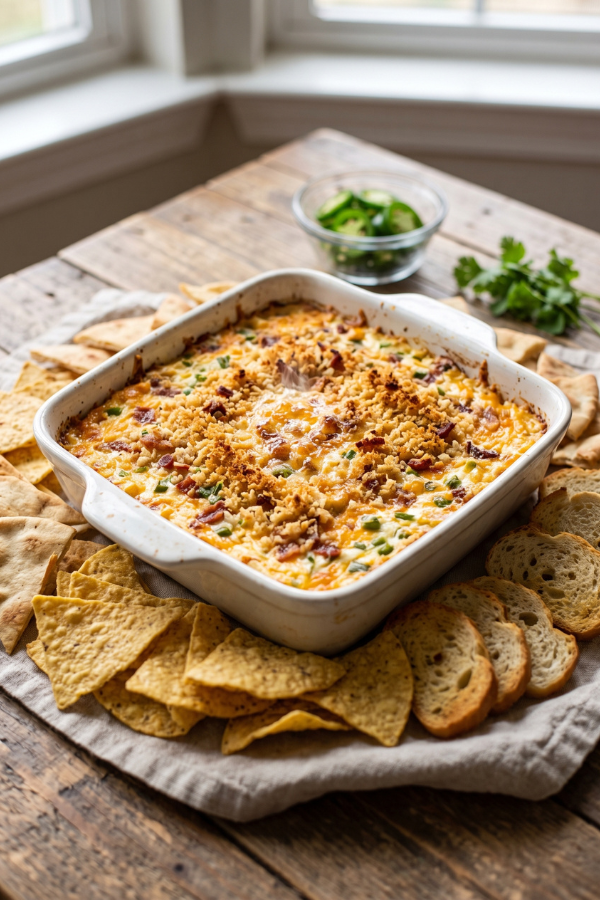
- Bake for 18–22 minutes, or until the dip is hot, bubbly around the edges, and golden on top.
- Broil for 1–3 minutes if you want a deeper golden topping. Watch closely so it doesn’t burn.
- Rest for 5 minutes, then garnish if desired and serve warm with chips, crackers, bread, or fresh vegetables.
