
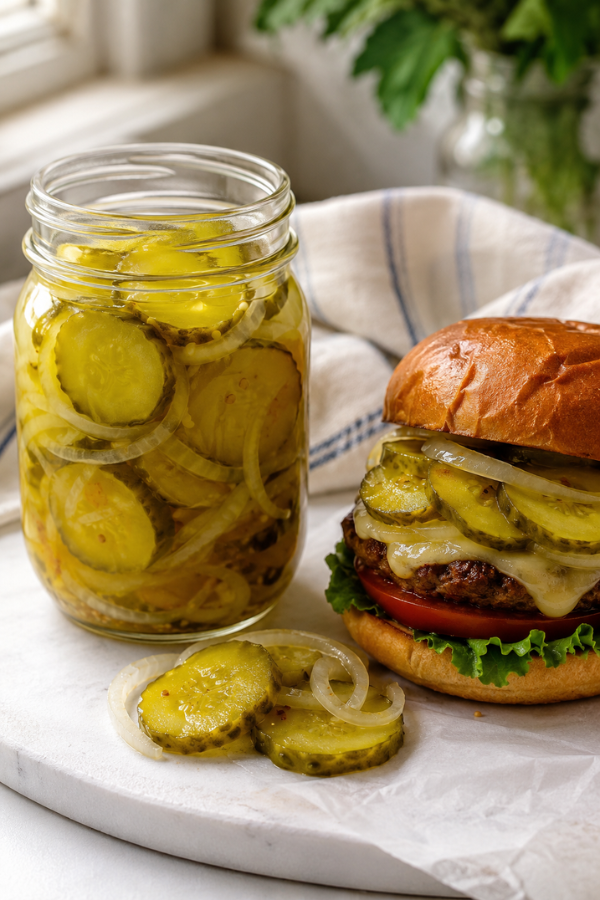
This Bread and Butter Pickles Canning Recipe turns fresh cucumbers and onions into sweet, tangy, golden pickle slices you’ll want on burgers, sandwiches, BBQ plates, and quick lunches. It’s a classic water bath canning recipe with simple ingredients, a bright vinegar brine, and practical steps for better crunch. Make a batch during cucumber season, let the jars mellow for a few weeks, and in the future-you will be very happy.
Why You’ll Love This Recipe
First, it’s practical. One canning session gives you jars that are ready for later. That matters when life is full and dinner is already asking too many questions.
Second, these pickles pull a lot of weight. Add them to a plain turkey sandwich and suddenly it tastes planned. Chop them into egg salad and it feels deli-style. Serve them with grilled chicken or pulled pork, and they cut through rich, smoky flavors like a little burst of sunshine.
You’ll also like this recipe if you’re new to canning. It has clear markers: use vinegar with 5% acidity, leave 1/2-inch headspace, and process the jars based on your altitude. Not fancy. Just careful.
And honestly, the flavor is hard to beat. Sweet, sharp, oniony, gently spiced. Not loud. Just right.
What Are Bread and Butter Pickles?
Bread and butter pickles are sweet pickled cucumber slices, usually made with onions and warm spices. They’re often served on sandwiches, burgers, hot dogs, BBQ plates, and snack boards.
Compared with dill pickles, they’re sweeter and less herb-heavy. Dill pickles lean sour and garlicky. Bread and butter pickles lean sweet, tangy, and lightly spiced.
There are also two main styles:
- Refrigerator bread and butter pickles: quick, crisp, and stored cold.
- Canned bread and butter pickles: heat processed in jars so they can be stored unopened in the pantry.
Chef John’s popular Allrecipes version, for example, is a crunchy refrigerator-style bread and butter pickle with jalapeño for heat. It’s great for quick eating, but shelf-stable canning needs proper water bath processing.
Ingredients You’ll Need
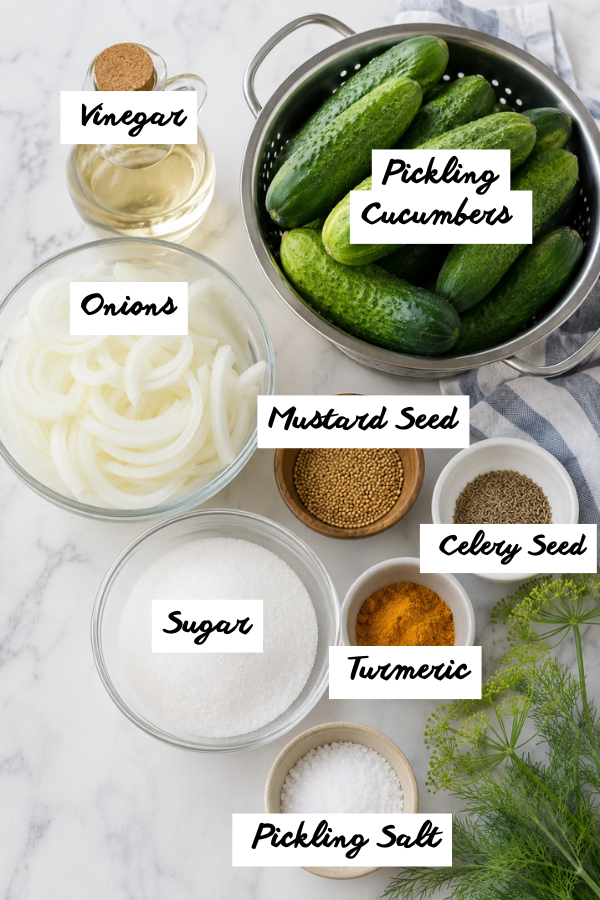
For a classic canning batch, gather:
- 6 pounds pickling cucumbers, about 4 to 5 inches long
- 8 cups thinly sliced onions, about 3 pounds
- 1/2 cup canning or pickling salt
- 4 cups vinegar, 5% acidity
- 4 1/2 cups sugar
- 2 tablespoons mustard seed
- 1 1/2 tablespoons celery seed
- 1 tablespoon ground turmeric
Use pickling cucumbers if you can. They’re smaller, firmer, and less watery than large slicing cucumbers. Kirby cucumbers are a good choice. Skip soft, yellowing, waxed, or oversized cucumbers if crisp texture matters to you.
The vinegar matters too. Use bottled vinegar labeled 5% acidity. White vinegar gives a clean, bright flavor. Apple cider vinegar gives a deeper, fruitier taste and a slightly darker brine. Both can work, but the acidity has to be right.
For salt, use canning or pickling salt. Table salt can make the brine cloudy because of added anti-caking agents. It won’t ruin your life, but it can make your beautiful jars look a little murky.
Equipment for Water Bath Canning
You don’t need a fancy kitchen, but you do need the right basic tools:
- Water bath canner or large deep pot with rack
- Pint or quart jars
- New canning lids
- Canning rings
- Jar lifter
- Canning funnel
- Bubble remover or clean plastic spatula
- Large bowl
- Large pot for brine
- Clean kitchen towels
- Sharp knife, crinkle cutter, or mandoline
A mandoline makes even slices, but please use the guard. Cucumbers are cheaper than fingertips.
Step-by-Step Instructions
Step 1: Wash and Slice the Cucumbers
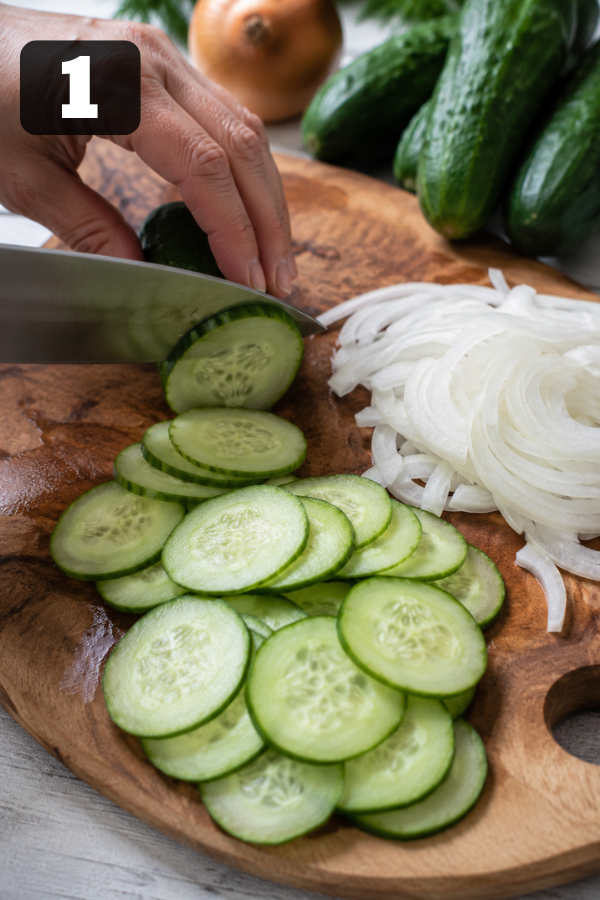
Wash the cucumbers well under cool running water. Trim off the blossom end. The NCHFP recipe calls for removing 1/16 inch from the blossom end, which is a small but useful step for better pickle texture.
Slice the cucumbers into thin rounds. The tested NCHFP recipe uses 3/16-inch slices. Thin slices are classic because they stack neatly on sandwiches, but don’t make them paper-thin or they may soften too much during processing.
Slice the onions thinly and add them to a large bowl with the cucumbers.
Step 2: Salt and Ice the Cucumbers
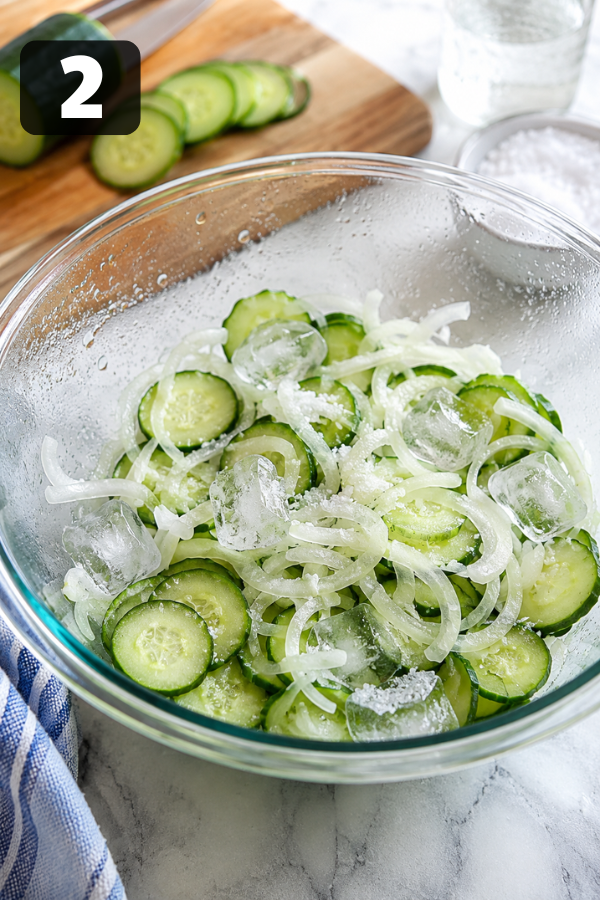
Sprinkle the pickling salt over the cucumber and onion mixture. Cover with crushed or cubed ice and refrigerate for 3 to 4 hours. The NCHFP method calls for covering the mixture with 2 inches of ice and adding more ice as needed.
This step feels like waiting, but it’s doing real work. Salt pulls out extra water. Ice keeps the cucumbers cold and firm. Together, they help the slices stay pleasant instead of limp.
Busy-cook tip: start this part in the morning or after lunch, then process jars later in the day.
Step 3: Prep the Jars and Canner
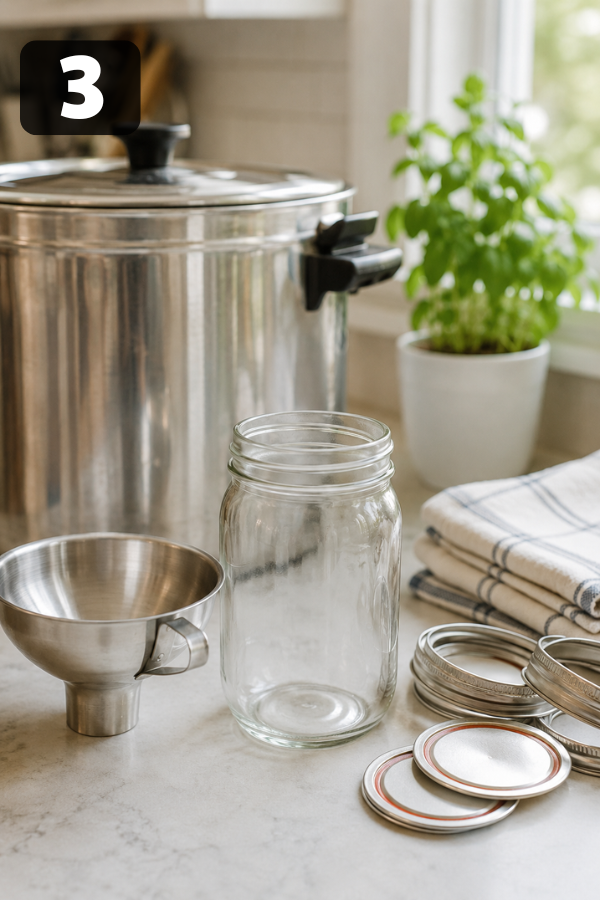
Wash your jars, lids, and rings. Keep the jars hot until you’re ready to fill them. Fill your water bath canner and bring the water toward a boil.
Set out your funnel, ladle, jar lifter, towel, and bubble remover before the brine is ready. Canning goes smoother when you’re not digging through a drawer while hot vinegar steam is fogging your glasses.
Step 4: Make the Sweet-Tangy Brine
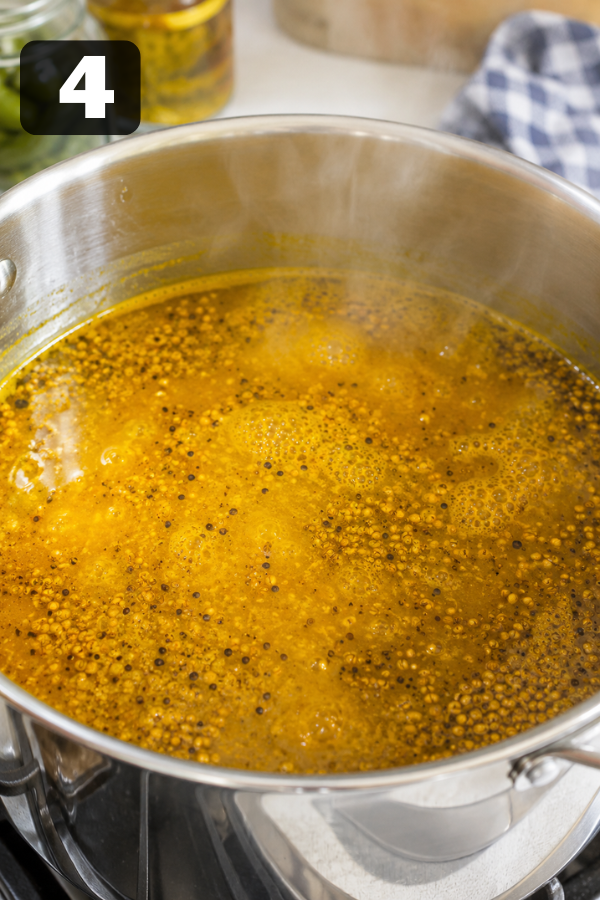
In a large pot, combine vinegar, sugar, mustard seed, celery seed, and turmeric. Bring the mixture to a boil and boil for 10 minutes.
Drain the cucumber and onion mixture well. Add it to the hot brine and slowly reheat to boiling. This step warms the vegetables before they go into the jars, which helps with safe hot packing.
The kitchen will smell sharp, sweet, and old-fashioned in the nicest way.
Step 5: Fill the Jars
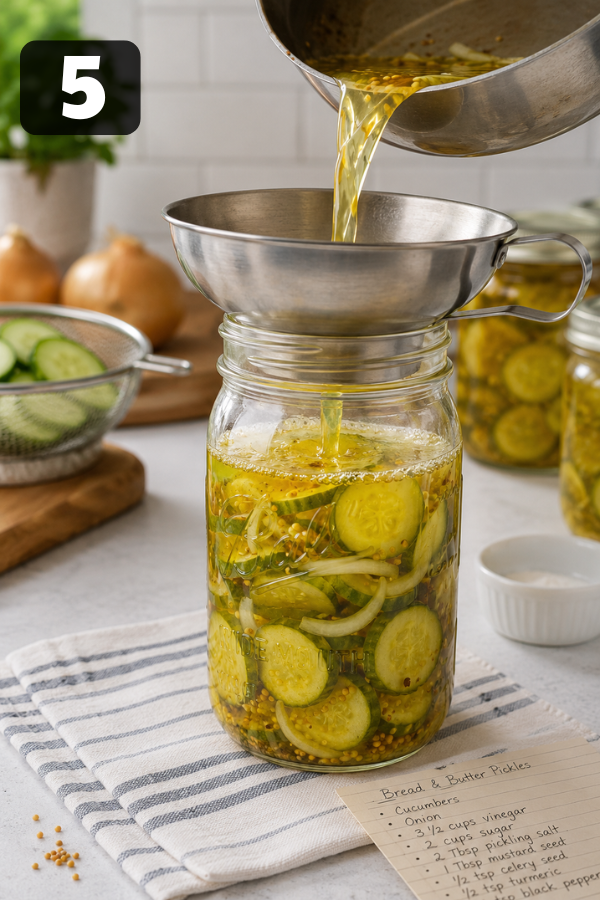
Pack the hot cucumber and onion slices into hot jars. Ladle hot brine over the slices, leaving 1/2-inch headspace. Remove air bubbles, adjust the brine if needed, wipe the rims, and apply lids and bands until fingertip tight.
Don’t crank the bands down like you’re closing a stubborn pickle jar. Fingertip tight is enough. Air needs room to escape during processing.
Step 6: Process in a Boiling Water Canner
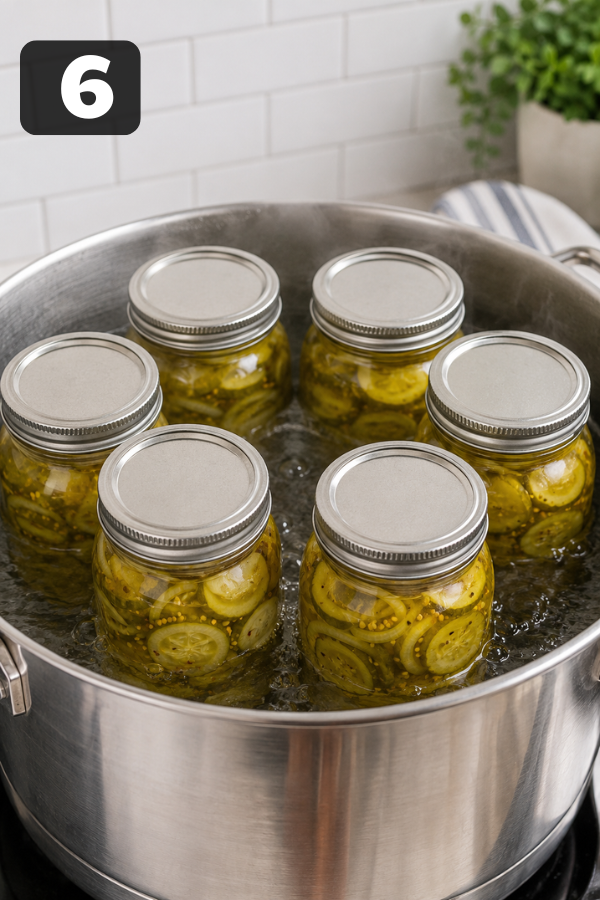
Place jars in the boiling water canner. Make sure the jars are covered with water. Once the water returns to a full boil, start timing.
For the NCHFP bread-and-butter pickle process, pints or quarts are processed as follows:
- 0–1,000 feet: 10 minutes
- 1,001–6,000 feet: 15 minutes
- Above 6,000 feet: 20 minutes
These altitude-adjusted times come from the NCHFP bread-and-butter pickle canning directions.
Step 7: Cool, Check, and Store
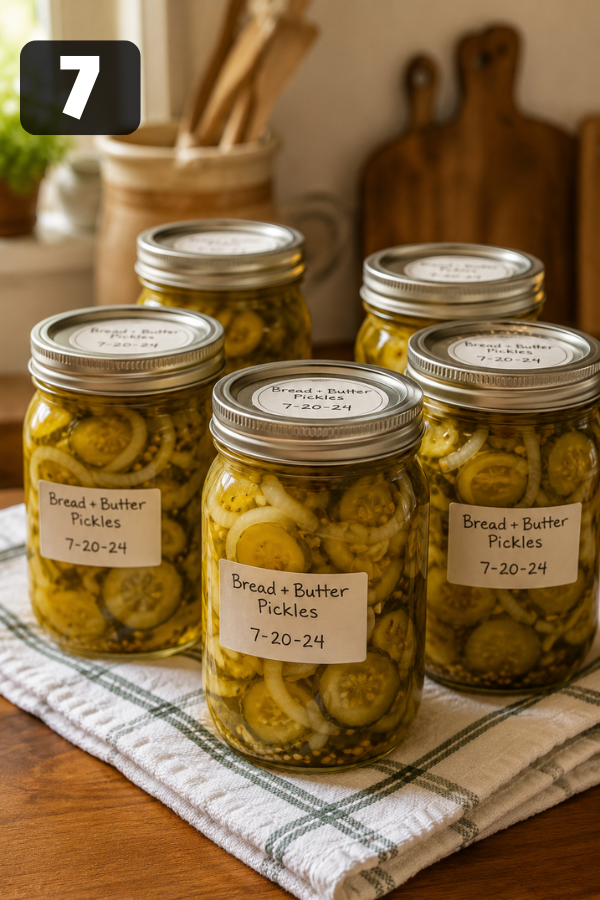
Remove jars carefully and place them on a towel. Let them cool undisturbed for 12 to 24 hours.
Check the seals. The lid should not flex up and down when pressed. If a jar didn’t seal, refrigerate it and eat it soon.
For sealed jars, remove the rings, wipe the jars if needed, label them, and store them in a cool, dark place. For the fullest flavor, wait 4 to 5 weeks before opening. NCHFP also notes this waiting period gives the pickles better flavor.
Hard to wait? Yes. Worth it? Also yes.
Tips for Crisp, Better Pickles
Start with fresh cucumbers. This is the big one. Pickles can’t become crisp if the cucumbers were tired before they hit the cutting board.
Remove the blossom end. It’s a tiny cut, but it matters.
Don’t skip the ice soak. Grow a Good Life also uses a salted ice-water rest for cucumbers and onions before canning, which supports better texture.
Don’t overprocess. More heat doesn’t mean safer pickles if you’re already following the tested time. It just means softer pickles.
Use the right vinegar. Again: 5% acidity.
And if you want an advanced texture trick, there’s a low-temperature pasteurization method for certain pickle recipes. NCHFP describes holding jars at 180°F to 185°F for 30 minutes, using a thermometer, to help preserve texture. Temperatures above 185°F may soften pickles more than needed. Use this only when your tested recipe allows it and you can watch the temperature closely.
Common Problems and Simple Fixes
Soft Pickles
Soft pickles usually come from old cucumbers, skipped chilling time, overprocessing, or using cucumbers that were too large and seedy.
Next time, use smaller pickling cucumbers, trim the blossom end, chill with salt and ice for the full time, and follow the exact processing time for your altitude.
Cloudy Brine
Cloudy brine may come from table salt, spice sediment, or cucumber residue. It can also be a warning sign if paired with bubbling, mold, leaking, a bad smell, or a failed seal.
Use pickling salt, wash cucumbers well, and discard any jar that looks or smells unsafe.
Jars Didn’t Seal
This often happens when rims weren’t wiped clean, headspace was off, lids were faulty, or bands were too tight or too loose.
Refrigerate unsealed jars. For the next batch, wipe rims carefully and leave 1/2-inch headspace.
Pickles Taste Too Sweet
Bread and butter pickles are meant to be sweet. That’s their whole personality. If they taste too sweet alone, serve them with salty or smoky foods like burgers, ham sandwiches, pulled pork, or sharp cheddar.
Don’t reduce the sugar unless you’re using a tested reduced-sugar canning recipe.
Storage and Leftovers
Properly sealed canned pickles should be stored in a cool, dark place. For the best quality, use them within about a year. Once opened, refrigerate the jar and keep the pickles covered in brine.
Use clean utensils each time. No fingers in the jar, even if nobody’s watching.
Do not freeze canned bread and butter pickles. Freezing changes the texture, and not in a charming way.
What to Serve With Bread and Butter Pickles
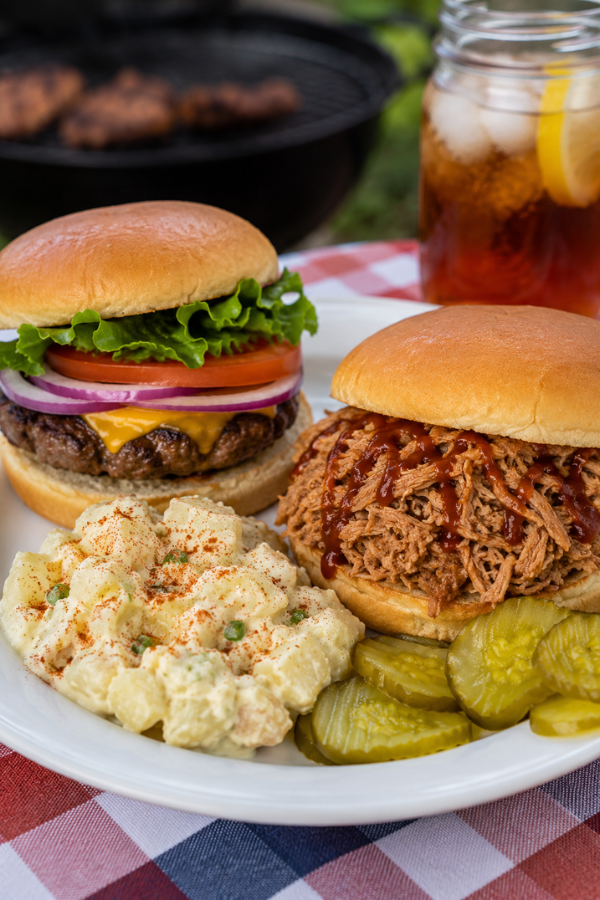
These pickles are small, but they know how to show up.
Try them with:
- Cheeseburgers or turkey burgers
- Pulled pork sandwiches
- Fried chicken sandwiches
- Tuna salad or egg salad
- Hot dogs
- Grilled cheese
- BBQ ribs
- Potato salad and baked beans
- Cheese boards
- Lunchbox wraps
For drinks, keep it simple: iced tea, lemonade, sparkling water, light beer, dry cider, or a crisp white wine. For dessert at a cookout, lemon bars, peach cobbler, or strawberry shortcake all fit the mood.
Nutrition Info
Bread and butter pickles are usually low in calories per small serving, but they can be high in sodium and sugar depending on how many you eat and how much brine clings to the slices.
These pickles are naturally fat-free and usually vegan. They’re also gluten-free if your vinegar and spices are certified gluten-free. They are not low-sugar or low-sodium in classic form.
FAQs
1. Can I make bread and butter pickles ahead of time?
Yes. In fact, they’re better made ahead. Let sealed jars sit 4 to 5 weeks before opening so the flavor can mellow and blend.
2. Can I use regular cucumbers?
You can, but pickling cucumbers give a better texture. Large slicing cucumbers often have more water and bigger seeds, so they can turn soft.
3. Can I reduce the sugar?
Not for this canning recipe unless you use a tested reduced-sugar version. Sugar affects the classic flavor and brine balance.
4. Can I use apple cider vinegar?
Yes, as long as it has 5% acidity. It will make the brine darker and the flavor a little deeper.
5. Are these pickles spicy?
No, not as written. Add jalapeño or red pepper flakes if you want a gentle kick, but keep the core brine ratio unchanged.
6. How long do canned bread and butter pickles last?
For the best quality, use sealed jars within about one year. Refrigerate after opening.
Final Thoughts
A good jar of bread and butter pickles is one of those small kitchen things that makes everyday meals feel cared for. Not fussy. Not fancy. Just useful, bright, and full of flavor.
Make them when cucumbers are fresh, follow the canning steps carefully, and give the jars a few weeks to settle. Then open one on a busy night when dinner needs a little spark.
That first crisp, sweet-tangy bite? That’s why people keep canning.
Don’t Miss: Dill Pickle Pasta Salad
Don’t Miss: BBQ Chicken Sliders
Also Try: Homemade Strawberry Rhubarb Jam
Ingredients
Method
- Wash and slice: Rinse cucumbers well, trim off the blossom ends, then slice into thin rounds. Thinly slice the onions and place everything in a large bowl.

- Salt and chill: Sprinkle pickling salt over the cucumbers and onions. Cover with ice and refrigerate for 3–4 hours, then drain well.
- Prepare jars: Wash jars, lids, and rings. Keep jars hot and prepare the water bath canner before filling.
- Make the brine: Combine vinegar, sugar, mustard seed, celery seed, and turmeric in a large pot. Bring to a boil and boil for 10 minutes.
- Add cucumbers: Add the drained cucumber and onion mixture to the hot brine. Slowly heat back to boiling.
- Fill and process: Pack hot pickles into hot jars, cover with brine, and leave 1/2-inch headspace. Remove bubbles, wipe rims, apply lids, and process in a boiling water canner for 10–20 minutes based on altitude.
- Cool and store: Let jars cool for 12–24 hours. Check seals, label jars, and store in a cool, dark place. For best flavor, wait 4–5 weeks before opening.
