
Cherry pie is lovely, but it can take more time than you have on a busy day. These Cherry Pie Bars give you the same cozy flavor in a much easier, sliceable dessert.
The base is buttery and tender, the cherry filling is glossy and sweet-tart, and the simple glaze makes the whole pan look bakery-worthy. No rolling dough, no lattice crust, no pie stress—just an easy one-pan treat that’s perfect for sharing.
Why You’ll Love These Cherry Pie Bars
These bars are simple, pretty, and dependable for almost any occasion, from potlucks and cookouts to holidays or weekend baking.
You’ll love them because they:
- Use simple pantry ingredients
- Are easier than traditional cherry pie
- Make about 20–24 bars
- Travel well for parties and gatherings
- Freeze nicely for make-ahead treats
- Work with canned, frozen, or homemade cherry filling
Ingredients You’ll Need
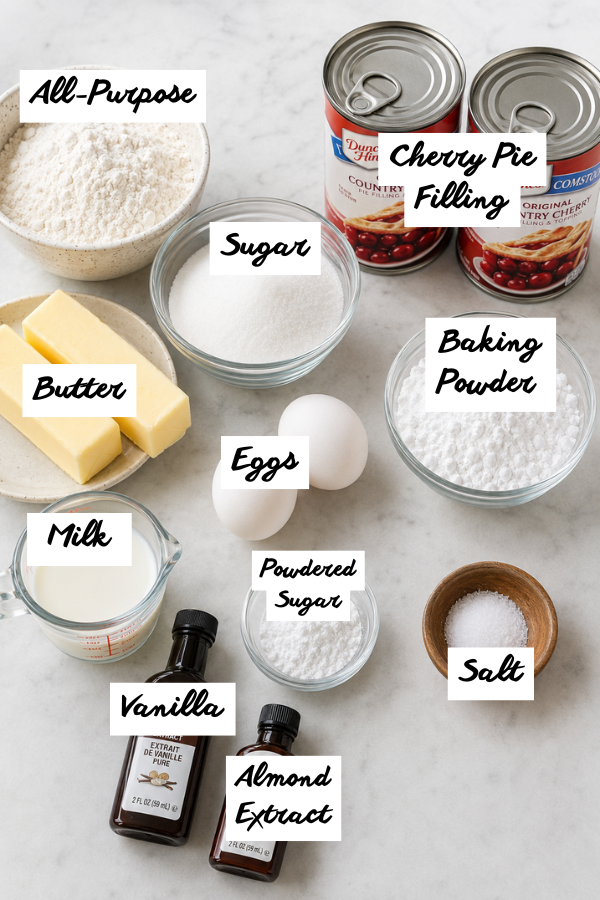
You probably have most of these already, except maybe the cherry pie filling. That’s the beauty of it.
For the Bars
- 1 cup unsalted butter, softened
- 1 ¾ cups granulated sugar
- 4 large eggs, room temperature
- 1 teaspoon vanilla extract
- ¼ teaspoon almond extract
- 3 cups all-purpose flour
- 1 teaspoon baking powder
- ½ teaspoon salt
- 2 cans cherry pie filling, 21 ounces each
For the Glaze
- 1 cup powdered sugar
- 2 tablespoons milk
- ½ teaspoon vanilla extract
- ⅛ teaspoon almond extract
The almond extract is small but mighty. Don’t pour with a heavy hand. A little gives the bars that classic bakery-style cherry flavor; too much can take over.
Ingredient Notes and Easy Swaps
Canned cherry pie filling is the fastest choice. It keeps the recipe easy and consistent, which is helpful when you’re baking for a crowd. Two 21-ounce cans give the bars a generous cherry layer without making them too wet.
Fresh cherries work too, but they need more prep. You’ll need to pit them, cook them with sugar and lemon juice, and thicken them with cornstarch. Worth it in cherry season? Absolutely. Necessary on a busy weeknight? Not really.
Frozen cherries are a nice middle ground. Cook about 5 cups frozen cherries with ½ cup sugar, 1 tablespoon lemon juice, and 2 tablespoons cornstarch until thick and glossy. Let the filling cool a bit before spreading it over the crust.
For a lighter touch, you can reduce the sugar in the dough to 1 ½ cups. The bars will be a little less sweet, but still tender. You can also skip the glaze if you want a simpler dessert.
Step-by-Step Instructions
Step 1: Prep the Pan
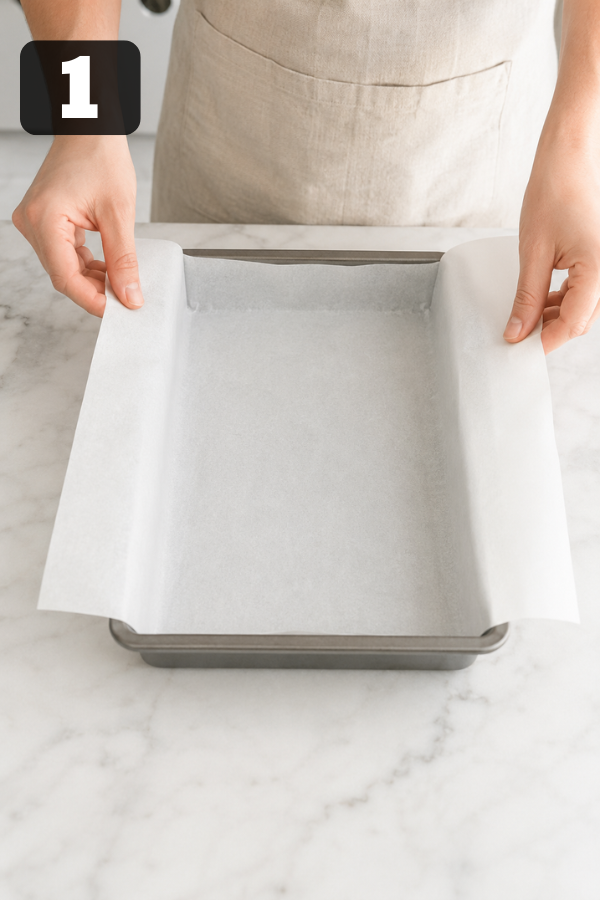
Preheat the oven to 350°F. Grease a 9×13-inch baking pan or line it with parchment paper.
Parchment paper makes life easier. Leave a little overhang on the sides so you can lift the cooled bars out before slicing. It’s one of those small kitchen tricks that feels almost too simple, but it saves a lot of mess.
Step 2: Cream the Butter and Sugar
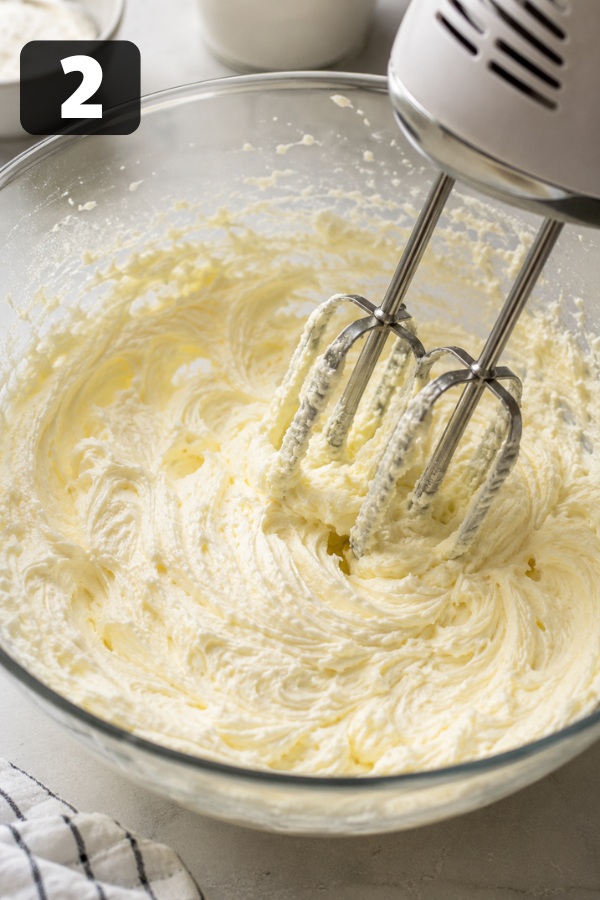
In a large bowl, beat the softened butter and sugar until light and creamy. This takes about 2–3 minutes with a hand mixer.
The mixture should look pale and fluffy. If the butter is too cold, it won’t blend well. If it’s melted, the bars may turn greasy. Softened butter is the sweet spot.
Step 3: Add the Eggs and Extracts
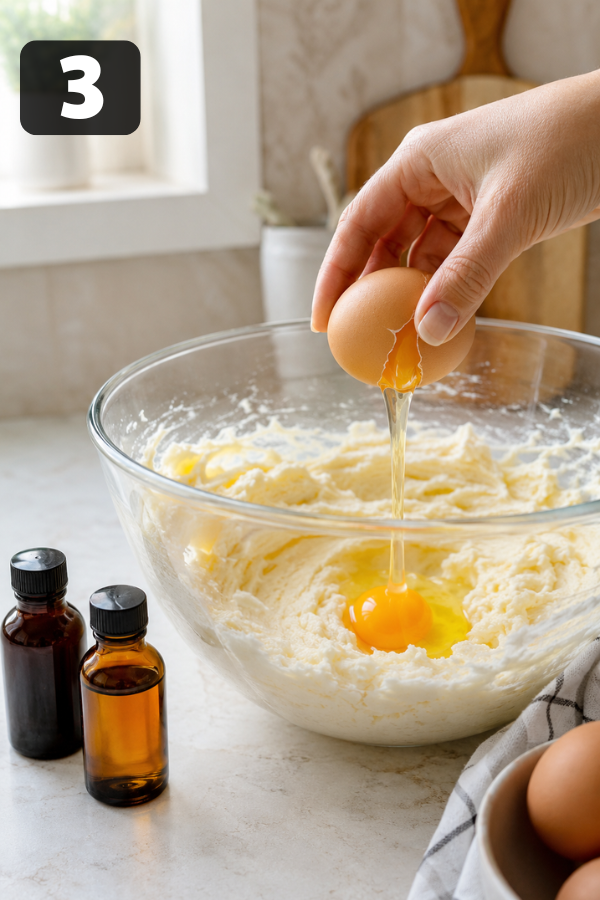
Beat in the eggs, one at a time. Add the vanilla extract and almond extract.
The batter may look a little loose at this stage. That’s fine. Once the flour goes in, it will become thick and spreadable.
Step 4: Add the Dry Ingredients
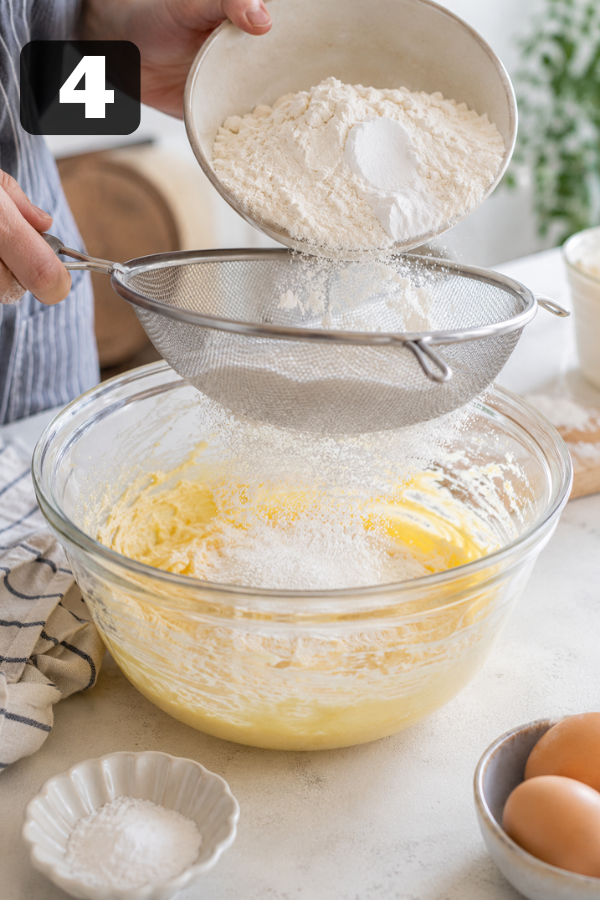
In a separate bowl, whisk together the flour, baking powder, and salt.
Add the dry mixture to the butter mixture and mix until just combined. Don’t overmix. Once you don’t see dry flour, stop.
The dough should be thick, soft, and a little sticky.
Step 5: Build the Base
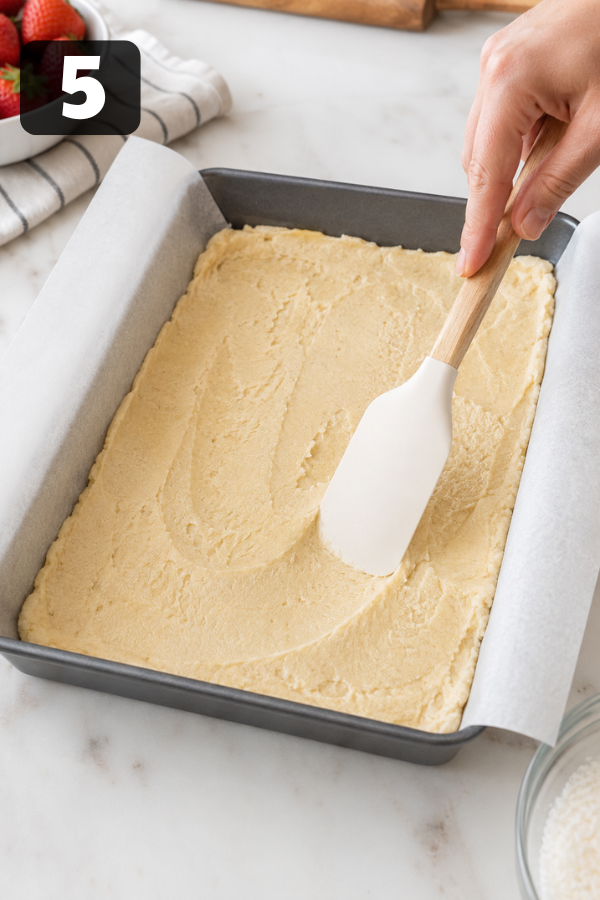
Spread about two-thirds of the dough into the prepared pan.
This part can be slightly annoying because the dough is sticky. Use a spatula, clean hands, or the back of a spoon lightly sprayed with cooking spray. Press it into an even layer.
It doesn’t need to be perfect. Rustic is fine. Cherry filling covers many sins.
Step 6: Add the Cherry Filling
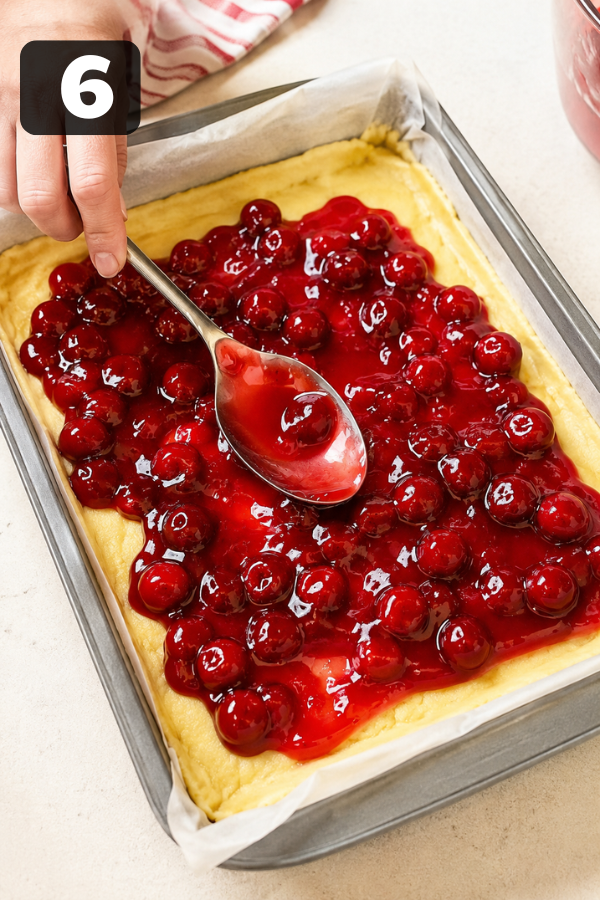
Spoon the cherry pie filling over the dough and spread it gently from edge to edge.
Try not to push too hard, or you may drag up the bottom layer. A light hand works best.
Step 7: Add the Topping
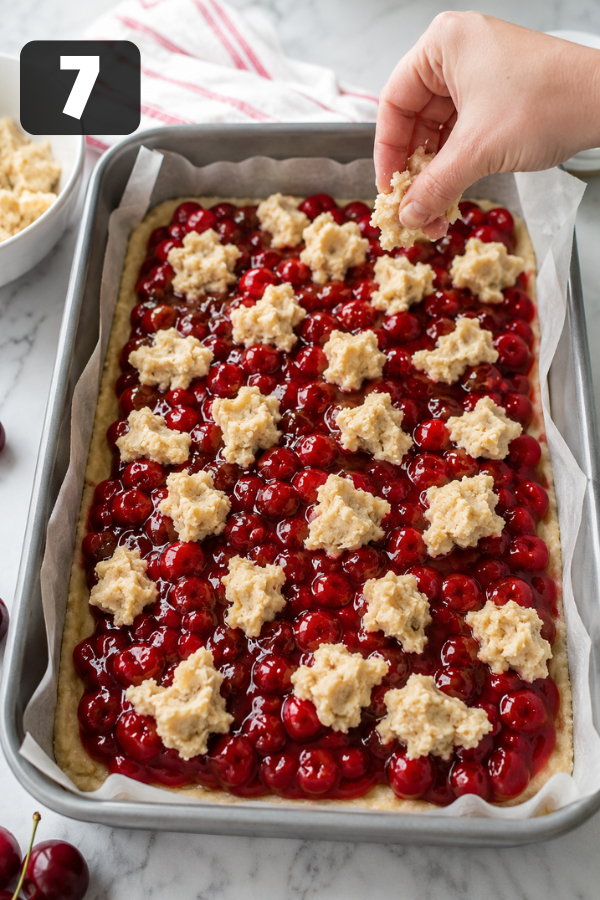
Drop small spoonfuls of the remaining dough over the cherry layer.
Leave some cherry filling peeking through. Those red pockets make the bars look beautiful after baking.
Step 8: Bake
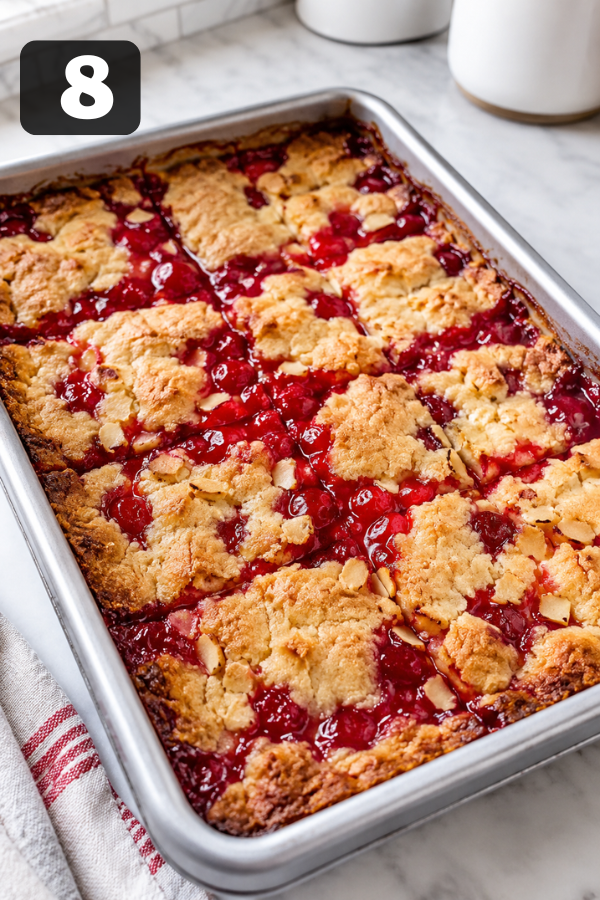
Bake for 35–40 minutes, or until the top is lightly golden and the edges are set.
The center should not look wet or jiggly. A few bubbling cherry spots are a good sign.
If your oven runs hot, start checking around 32 minutes. If the top browns too fast, loosely cover the pan with foil for the last few minutes.
Step 9: Cool Completely
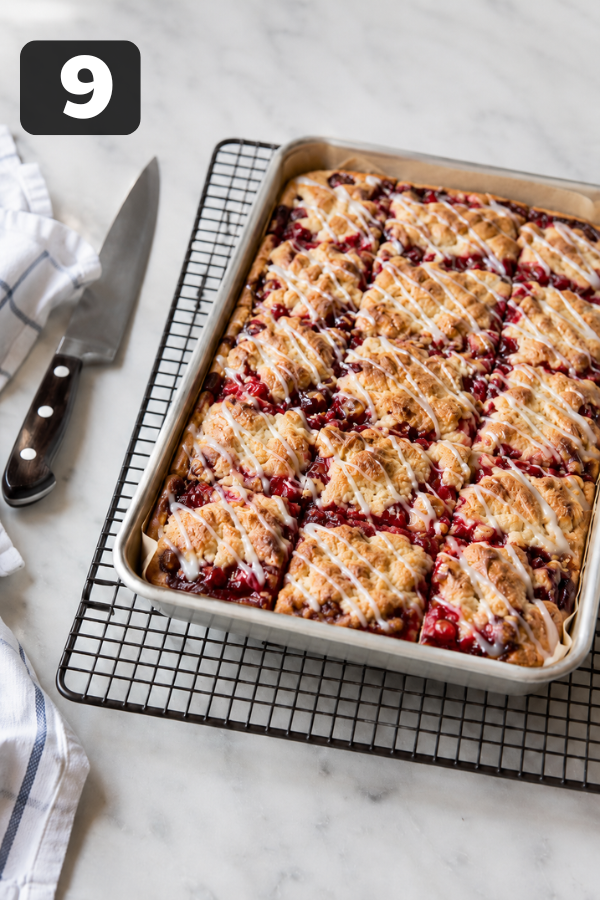
This is the hardest part. The bars need to cool before slicing.
Warm cherry filling is loose, and if you cut too soon, the bars may fall apart. Let them cool at room temperature for at least 1 hour. For neat bakery-style squares, chill them for another 1–2 hours.
Step 10: Glaze and Slice
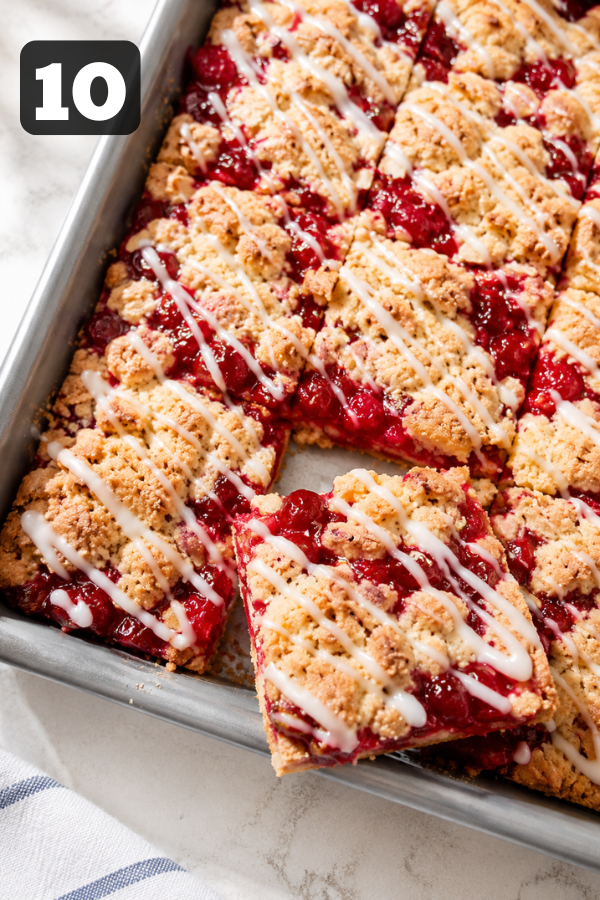
Whisk together powdered sugar, milk, vanilla, and almond extract. Drizzle over the cooled bars.
Let the glaze set for 10–15 minutes, then slice.
For clean cuts, use a sharp knife and wipe it between slices. A little extra effort here makes the bars look polished.
Tips for Success
The biggest tip is simple: cool the bars fully. It’s tempting to rush, especially when the kitchen smells like butter and cherries, but patience gives you cleaner slices.
A few more tips help too:
- Use room-temperature butter, not melted butter.
- Spoon and level the flour instead of packing it into the cup.
- Don’t overmix after adding flour.
- Use two cans of filling for a full cherry layer.
- Chill before slicing if serving to guests.
You know what? These bars are forgiving. Even if they don’t slice perfectly, they still taste wonderful. Serve messy pieces in bowls with vanilla ice cream and call it dessert cobbler bars. No one will complain.
Common Problems and Easy Fixes
Why are my Cherry Pie Bars too soft?
They may need more cooling time. Cherry filling firms as it cools. If the bars are still warm, they’ll be soft in the center.
Fix: Chill the pan for 1–2 hours before slicing.
Why is the bottom layer soggy?
The filling may have been too wet, or the bars may not have baked long enough.
Fix: Bake until the edges are set and the top is lightly golden. If using homemade filling, cook it until thick before adding it to the crust.
Why did the topping brown too fast?
Your oven may run hot, or the pan may be too close to the top heating element.
Fix: Cover loosely with foil during the last 10 minutes.
Why are the bars dry?
Too much flour is the usual reason.
Fix: Spoon flour into the measuring cup, then level it. Don’t scoop straight from the bag.
Storage and Make-Ahead Notes
Cherry Pie Bars are excellent for making ahead.
Store them in an airtight container at room temperature for up to 2 days. For longer storage, keep them in the fridge for 4–5 days.
To freeze, place sliced bars in a freezer-safe container with parchment paper between layers. Freeze for up to 3 months. Thaw in the fridge overnight or at room temperature for about 1 hour.
If you plan to freeze them, it’s better to freeze without glaze, then glaze after thawing. The texture looks fresher that way.
What to Serve with Cherry Pie Bars
These bars are lovely on their own, but a little pairing never hurts.
Serve them with:
- Vanilla ice cream
- Whipped cream
- Hot coffee
- Iced tea
- Cold milk
- Lemonade
- Greek yogurt for a less-sweet snack plate
For holidays, they sit nicely next to brownies, lemon bars, pumpkin bars, and apple crisp. They bring that bright red color that makes a dessert table feel cheerful.
Healthier Little Tweaks
Let’s be real: Cherry Pie Bars are dessert. They’re not a salad in disguise.
But you can make them a bit lighter without losing the joy:
- Cut the glaze in half.
- Slice into 24 smaller bars.
- Use reduced-sugar cherry pie filling.
- Replace ½ cup flour with white whole wheat flour.
- Add lemon zest for more flavor without more sugar.
- Serve with plain Greek yogurt instead of ice cream.
Small changes count, especially when dessert is part of real life, not a once-a-year event.
Cherry Pie Bar Variations
Cherry Almond Pie Bars
Add sliced almonds on top before baking and use almond glaze. This version tastes like something from a cozy bakery case.
Cherry Cheesecake Bars
Spread a thin layer of sweetened cream cheese over the bottom dough before adding cherry filling. It’s richer, creamier, and perfect for holidays.
Chocolate Cherry Bars
Sprinkle ½ cup mini chocolate chips over the cherry filling before adding the topping. Chocolate and cherry always know what they’re doing.
Mixed Berry Cherry Bars
Use one can cherry filling and one cup blueberry or raspberry filling. This gives the bars a deeper berry flavor and a pretty color.
FAQs
1. Can I use one can of cherry pie filling?
Yes, but the cherry layer will be thinner. For a 9×13 pan, two cans give better coverage and flavor.
2. Can I make Cherry Pie Bars ahead of time?
Yes. They’re actually easier to slice after chilling, so making them a day ahead works well.
3. Do Cherry Pie Bars need to be refrigerated?
They can sit at room temperature for about 2 days, but refrigeration is better if your kitchen is warm or if the bars are glazed.
4. Can I freeze Cherry Pie Bars?
Yes. Freeze sliced bars for up to 3 months. Wrap well to prevent freezer burn.
5. Can I use homemade cherry pie filling?
Yes. Use about 4 cups of thick homemade cherry filling. Make sure it cools slightly before spreading it over the dough.
6. Can I use other pie fillings?
Yes. Blueberry, apple, peach, strawberry, and mixed berry all work. Apple filling may need a sprinkle of cinnamon.
7. Are Cherry Pie Bars good for parties?
Very good. They slice well, travel well, and don’t need forks if cut into small squares.
Nutrition Info
Estimated per bar (based on 24 servings):
- Calories: 240–280
- Carbohydrates: 35–40g
- Protein: 2–3g
- Fat: 10–12g
- Saturated Fat: 6–7g
- Sugar: 20–25g
- Fiber: 1–2g
- Sodium: 90–130mg
Nutrition values are estimates and may vary depending on the brand of cherry pie filling and specific ingredients used.
Conclusion
These Cherry Pie Bars are everything you love about classic cherry pie in an easy, shareable dessert. With a buttery crust, sweet-tart cherry filling, and a simple glaze, they’re perfect for holidays, potlucks, family gatherings, or anytime you’re craving a homemade treat. Make a batch ahead, slice them up, and enjoy a dessert that’s as easy to serve as it is to love.
Don’t Miss: Fresh Strawberry Rhubarb Pie
Don’t Miss: Maple Glazed Apple Blondies Recipe
Also Try: Chocolate Raspberry Cake
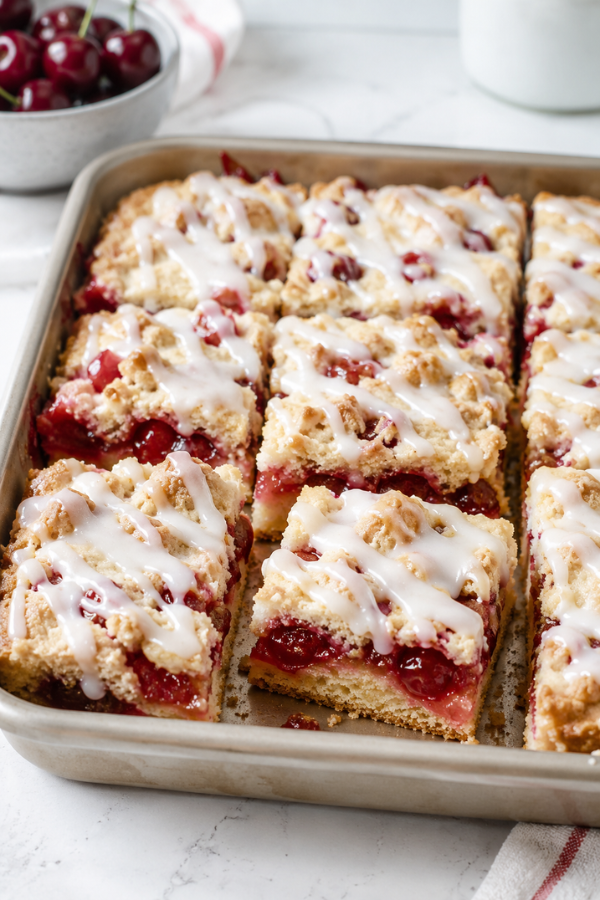
Ingredients
Method
- Step 1: Preheat the oven to 350°F. Grease or line a 9x13-inch baking pan with parchment paper.

- Step 2: Beat softened butter and sugar until light and fluffy, about 2–3 minutes.
- Step 3: Add eggs one at a time, then mix in vanilla and almond extract.
- Step 4: Whisk together flour, baking powder, and salt. Mix into the wet ingredients until just combined.
- Step 5: Spread about two-thirds of the dough evenly into the prepared pan.
- Step 6: Spoon the cherry pie filling over the dough and spread into an even layer.
- Step 7: Drop small spoonfuls of the remaining dough over the cherry filling.
- Step 8: Bake for 35–40 minutes, until lightly golden and set around the edges.
- Step 9: Cool completely at room temperature, then chill for cleaner slices if desired.
- Step 10: Whisk glaze ingredients together, drizzle over the bars, let set, then slice and serve.
