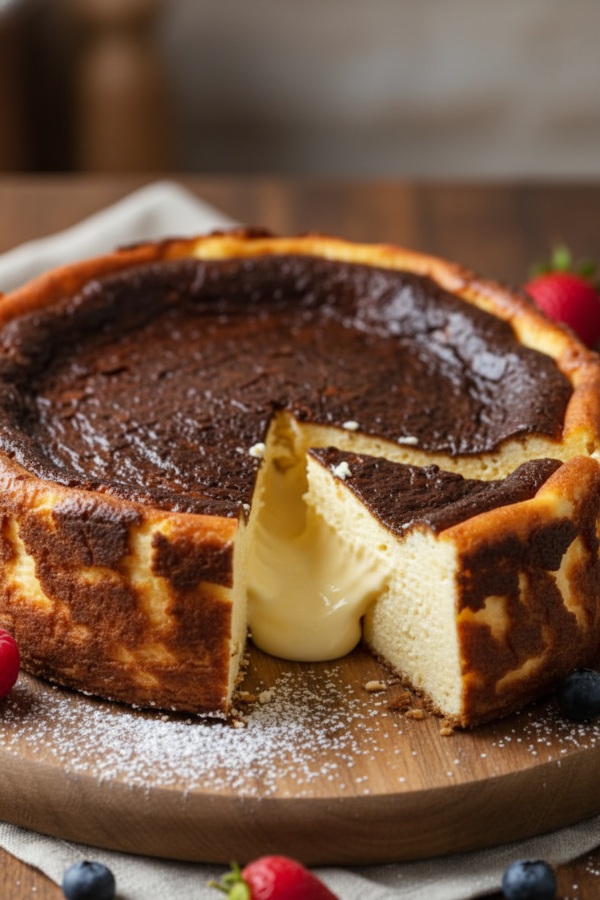
Easy Basque Burnt Cheesecake Recipe is the kind of dessert that proves perfection isn’t always necessary. With its deeply caramelized top, creamy jiggly center, and rustic cracked edges, this cheesecake looks beautifully imperfect—but tastes rich, smooth, and unforgettable.
Unlike traditional cheesecakes that often need a water bath and careful baking, this recipe is surprisingly simple. The first time I made it, I thought I had ruined it because the top looked so dark. But after chilling overnight, it turned into one of the creamiest cheesecakes I’d ever tasted—lightly tangy, deeply caramel-like, and incredibly easy to love.
What Makes Basque Burnt Cheesecake Different?
Basque burnt cheesecake is the opposite of classic New York cheesecake. Instead of baking low and slow, it’s baked hot and fast at 425°F–450°F, creating a dark caramelized top while keeping the center creamy and custardy.
What makes it special:
- No crust
- No water bath
- Rustic appearance is expected
- Soft, creamy center
- Deep caramelized flavor
Originally created in San Sebastián, Spain, this cheesecake became famous because it’s simple, forgiving, and incredibly delicious.
Why You’ll Love This Recipe
This dessert fits perfectly into busy real life while still feeling special.
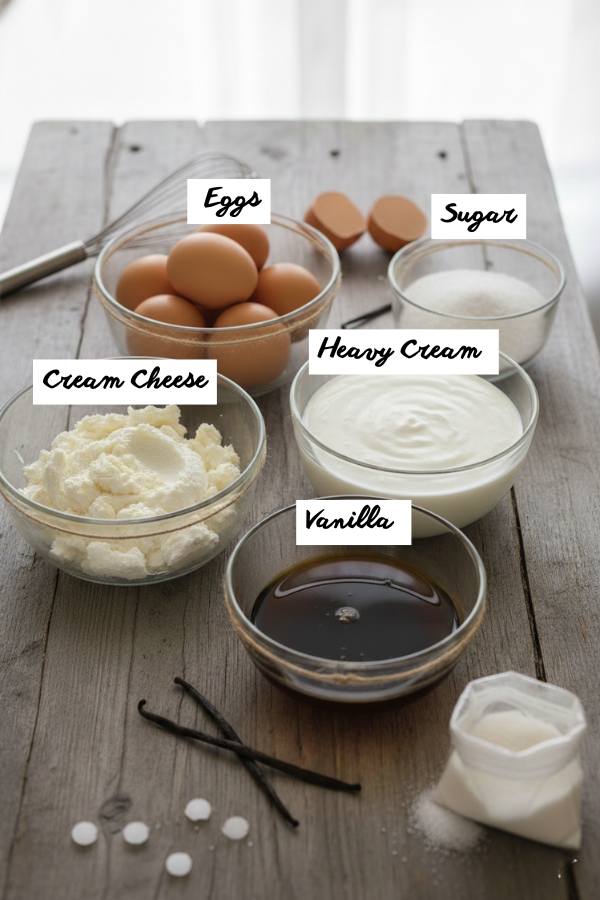
It Uses Simple Ingredients
You only need a few basics:
- Cream cheese
- Eggs
- Sugar
- Heavy cream
- Vanilla
- Flour
No Water Bath Needed
No wrapping pans in foil or worrying about leaks. Just mix, bake, and chill.
Rustic = Beautiful
Cracks, uneven edges, and a sunken center are all part of the signature look.
Even Better the Next Day
After chilling overnight, the texture becomes extra creamy and smooth—perfect for making ahead.
Ingredients You’ll Need
Cream Cheese
Use full-fat cream cheese for the best texture.
Low-fat versions tend to turn grainy or watery. Philadelphia-style cream cheese works beautifully here.
You’ll need:
- 4 blocks (8 oz each)
Let the cream cheese sit out for about 45 minutes before mixing. Cold cream cheese creates lumps, and nobody wants to fight lumps at 9 p.m.
Heavy Cream
This gives the cheesecake its silky, custard-like center.
Don’t swap with milk. It won’t create the same richness.
Eggs
Eggs hold everything together while keeping the center soft.
Room-temperature eggs blend much more smoothly into the batter.
Sugar
Granulated sugar sweetens the cake and helps caramelize the top.
Basque cheesecake is usually less sweet than American cheesecake, which honestly makes it easier to keep eating.
Flour
Just a small amount stabilizes the filling.
Some recipes skip it entirely, but a little flour makes the texture more reliable for home bakers.
Step-by-Step Instructions
Step 1 – Prepare the Pan

Line an 8-inch or 9-inch springform pan with parchment paper.
Don’t try to make it perfectly smooth. Crumple the parchment first, then press it into the pan. The wrinkles create that iconic rustic edge.
Make sure the parchment rises above the pan because the cheesecake puffs dramatically while baking.
Step 2 – Beat the Cream Cheese and Sugar
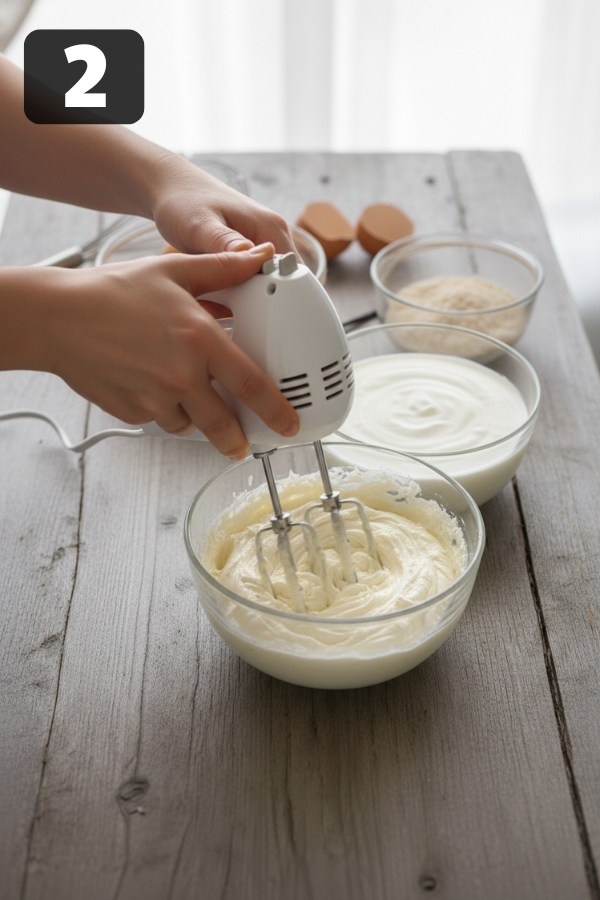
In a large bowl, beat the softened cream cheese and sugar until completely smooth.
This part matters more than people think. Tiny lumps stay visible after baking.
Mix until silky—but don’t aggressively whip too much air into it.
Step 3 – Add the Eggs
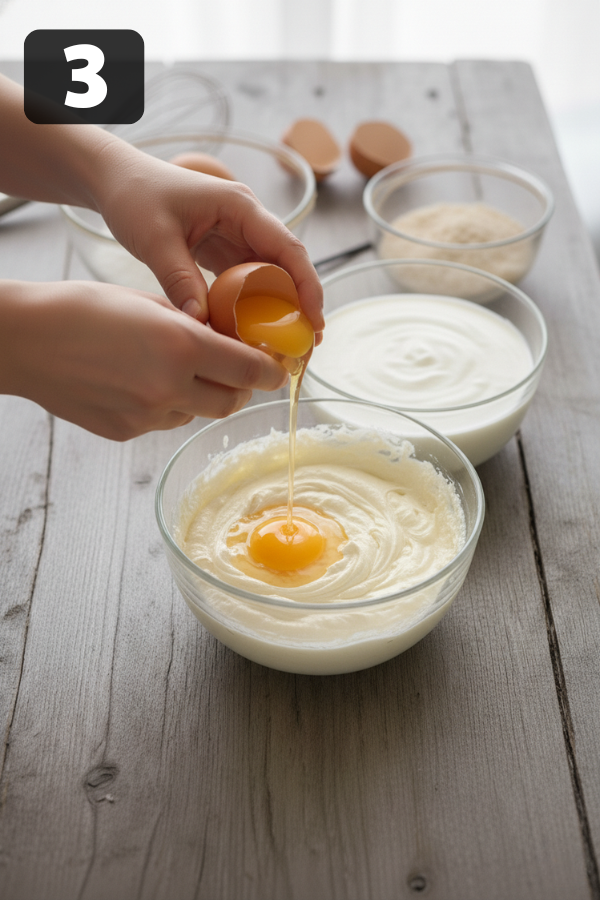
Add eggs one at a time.
Mix gently after each addition until just combined.
If the batter starts looking separated or curdled, stop and scrape the bowl before continuing.
Step 4 – Add Heavy Cream, Vanilla, and Flour
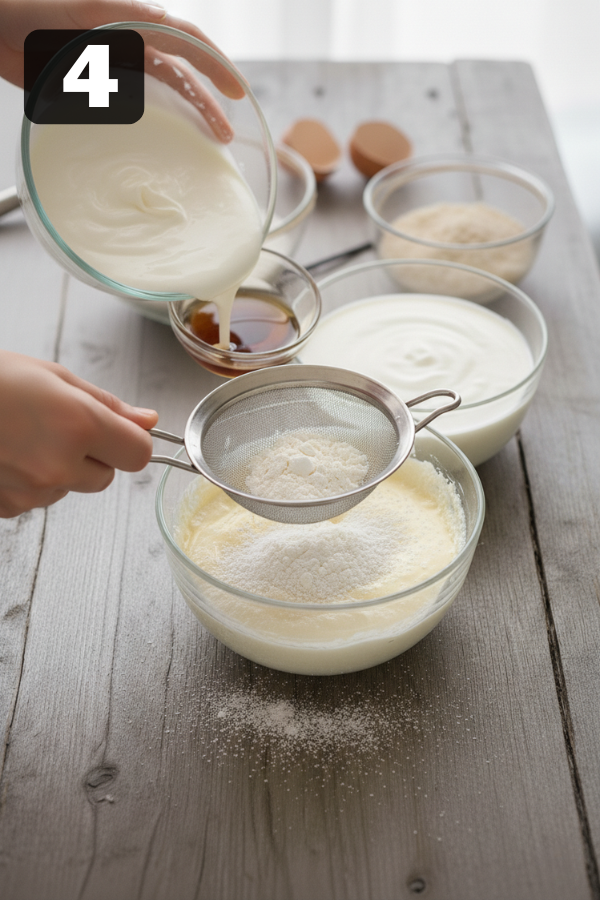
Pour in the heavy cream and vanilla.
Then sift in the flour.
The batter should look smooth, glossy, and slightly thinner than classic cheesecake batter.
Honestly, the first time you see it, it almost feels too loose. That’s normal.
Step 5 – Bake Hot and Fast
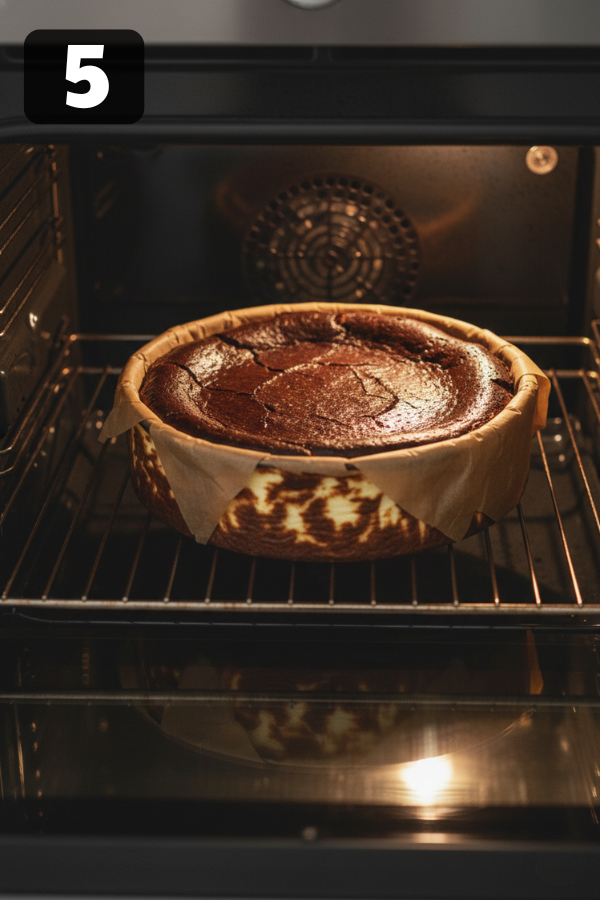
Pour the batter into the lined pan.
Bake at 425°F for about 40–50 minutes.
The top should become deeply golden brown—almost burnt-looking. That’s exactly what you want.
The center should still jiggle noticeably when shaken.
A lot of people overbake at this stage because they panic. Don’t.
Step 6 – Cool and Chill

Let the cheesecake cool at room temperature for about an hour.
Then refrigerate overnight.
Yes, overnight matters.
Fresh from the oven, the center can feel too soft. By morning, it transforms into this creamy, velvety texture that tastes straight out of a fancy café.
Tips for the Best Basque Cheesecake
Don’t Fear the Burnt Top
The dark surface creates the signature bittersweet flavor.
If the top is pale, the flavor won’t be quite right.
Room Temperature Ingredients Matter
Cold ingredients create lumps and uneven texture.
If you forgot to soften the cream cheese? Microwave it in short bursts—carefully.
Use an Oven Thermometer
A surprising number of ovens run hot or cold by 15–25 degrees.
And with this cheesecake, temperature affects everything:
- caramelization
- texture
- bake time
Chill Longer Than You Think
Overnight chilling improves:
- texture
- slicing
- flavor depth
It’s frustrating to wait, I know. But worth it.
Common Problems (And How to Fix Them)
My Cheesecake Is Too Runny
Usually caused by:
- underbaking
- not chilling long enough
Fix:
- Bake 5–10 minutes longer next time
- Chill overnight
The Top Isn’t Dark Enough
Your oven may not be hot enough.
Try:
- moving the rack slightly higher
- baking longer
- preheating more thoroughly
It Sank in the Middle
Good news—that’s normal.
Basque cheesecake naturally collapses as it cools.
Actually, that creamy sunken center is part of what makes it special.
What to Serve With It
This cheesecake is rich, so lighter pairings work beautifully.
Fresh Fruit
- Strawberries
- Raspberries
- Cherries
- Roasted peaches
The acidity balances the richness.
Coffee Drinks
Basque cheesecake and espresso together? Incredible.
Also great with:
- cappuccino
- iced coffee
- Earl Grey tea
Dessert Sauces
If you want something extra:
- salted caramel
- berry compote
- dark chocolate drizzle
Though honestly, it barely needs anything.
Storage and Make-Ahead Tips
Refrigerator
Store covered in the fridge for up to 5 days.
The texture stays creamy surprisingly well.
Freezing
You can freeze slices individually.
Wrap tightly and freeze for up to 2 months.
Thaw overnight in the fridge.
FAQs
1. Is Basque Cheesecake Supposed to Be Jiggly?
Yes. The center should wobble when it comes out of the oven.
It firms up while chilling.
2. Why Is It Called Burnt Cheesecake?
Because the top intentionally caramelizes until very dark brown.
It tastes toasted—not actually burnt.
3. Can I Make It Ahead?
Absolutely.
It’s actually better the next day.
4. Do I Need a Water Bath?
Nope. That’s one of the best parts.
Nutrition Info
Approximate per slice:
- Calories: 420
- Protein: 7g
- Fat: 33g
- Carbs: 24g
This is definitely a rich dessert. But because it’s less sugary than many cheesecakes, it feels balanced rather than heavy.
Conclusion
If you’ve been intimidated by homemade cheesecake before, this EASY Basque Burnt Cheesecake recipe is the perfect place to start. It’s rich, creamy, beautifully rustic, and surprisingly forgiving. No complicated techniques, no perfect finish required—just simple ingredients turning into something seriously impressive. One slice in, and you’ll understand why this cozy Spanish dessert became a favorite in kitchens everywhere.
Don’t Miss: Blueberry Cream Cheese Bread (Easy & Delicious)
Don’t Miss:Cinnamon Roll Banana Bread
Also Try: Maple Glazed Apple Blondies Recipe
Ingredients
Method
- Step 1 – Prepare the PanLine an 8-inch or 9-inch springform pan with parchment paper.Don’t try to make it perfectly smooth. Crumple the parchment first, then press it into the pan. The wrinkles create that iconic rustic edge.Make sure the parchment rises above the pan because the cheesecake puffs dramatically while baking.

- Step 2 – Beat the Cream Cheese and SugarIn a large bowl, beat the softened cream cheese and sugar until completely smooth.This part matters more than people think. Tiny lumps stay visible after baking.Mix until silky—but don’t aggressively whip too much air into it.
- Step 3 – Add the EggsAdd eggs one at a time.Mix gently after each addition until just combined.If the batter starts looking separated or curdled, stop and scrape the bowl before continuing.
- Step 4 – Add Heavy Cream, Vanilla, and FlourPour in the heavy cream and vanilla.Then sift in the flour.The batter should look smooth, glossy, and slightly thinner than classic cheesecake batter.Honestly, the first time you see it, it almost feels too loose. That’s normal.
- Step 5 – Bake Hot and FastPour the batter into the lined pan.Bake at 425°F for about 40–50 minutes.The top should become deeply golden brown—almost burnt-looking. That’s exactly what you want.The center should still jiggle noticeably when shaken.A lot of people overbake at this stage because they panic. Don’t.
- Step 6 – Cool and ChillLet the cheesecake cool at room temperature for about an hour.Then refrigerate overnight.Yes, overnight matters.Fresh from the oven, the center can feel too soft. By morning, it transforms into this creamy, velvety texture that tastes straight out of a fancy café.


